❌

Reading view

Best wildlife cameras 2026: The ultimate buying guide to every major camera brand

Wildlife photographers need a camera that is reliable and built to capture fast-moving action at a moment's notice. A fast burst rate, accurate autofocus and robust handling are vital when it comes to wildlife cameras, or you'll end up with sad, blurry photos of an empty tree stump.

We've curated a list of the best models from each of the top camera brands, so no matter which system you want to invest in, there will be something for you here.

Best Canon cameras for wildlife photography
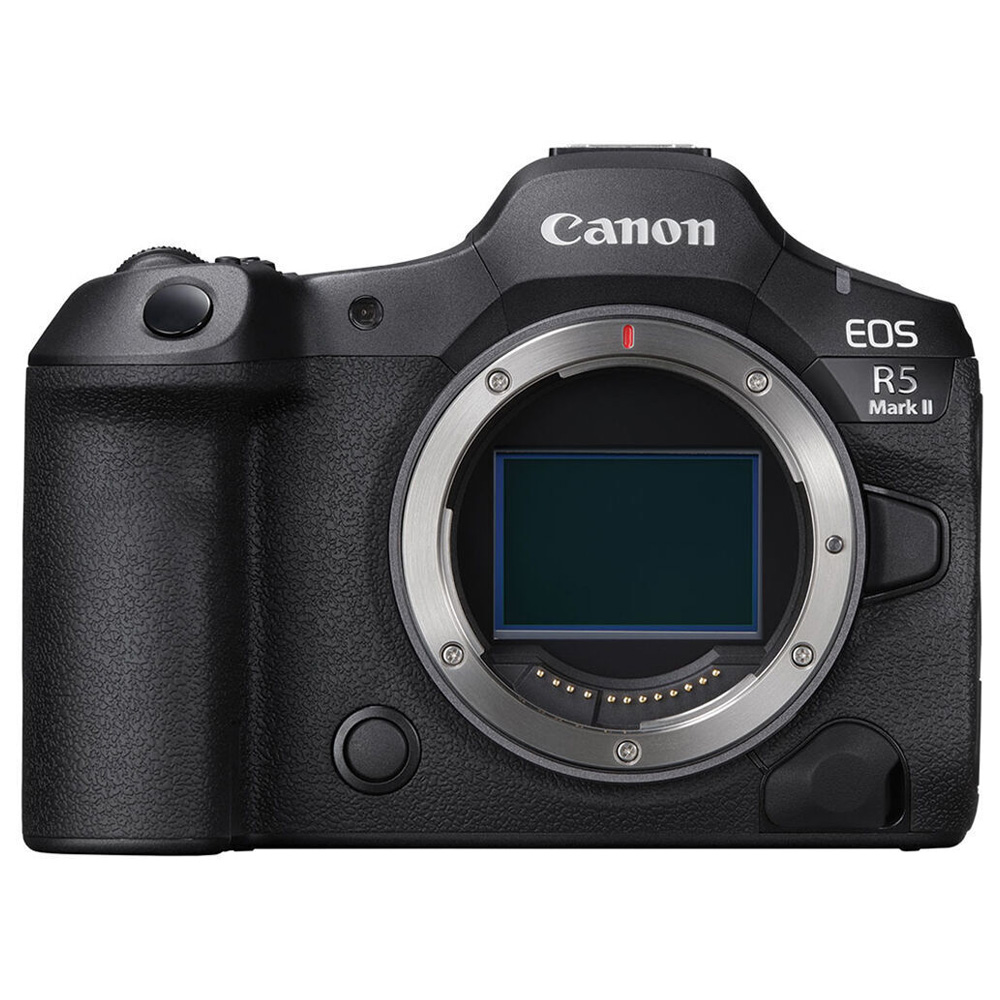
Canon EOS R5 IIBest for detail

Canon EOS R5 II

Canon's highest-resolution mirrorless camera with a 45MP stacked sensor, the R5 II is for wildlife photographers who want a professional workflow and need to crop aggressively. It's flexible across multiple wildlife types and delivers pro-level output without going all the way up to the R1.

Read our full Canon EOS R5 II review

Pros

  • 45.5MP resolution produces beautiful images and allows a lot of cropping room
  • Stacked sensor enables faster readout speed, better noise handling and no rolling shutter
  • 30FPS blackout-free burst rate is ideal for wildlife photography
  • Excellent autofocus on moving subjects
  • Chunky grip easily handles larger lenses
  • Excellent hybrid shooter, boasting up to 8K 60p RAW video

Cons

  • Only compatible with newer batteries
  • Eye-control AF needs work
  • Quite a bit more expensive than the new R6 III, which could be the more sensible option
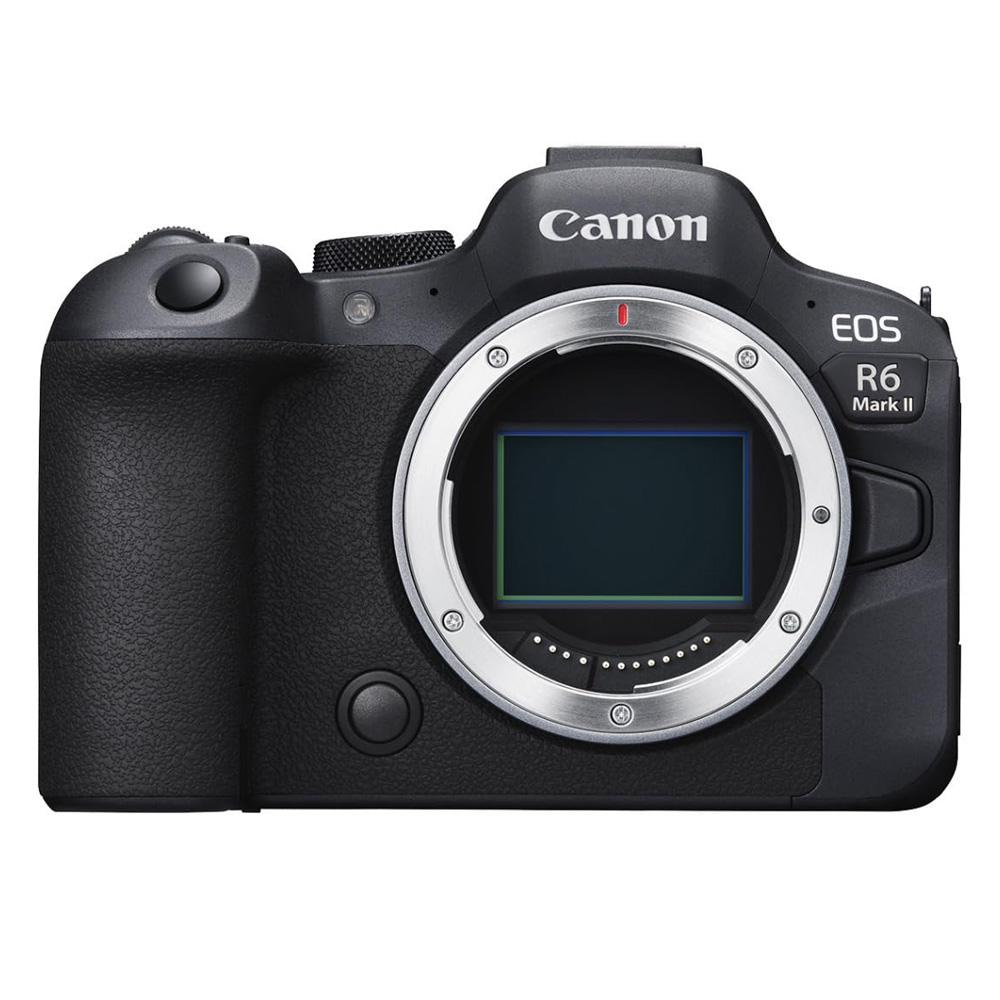
Canon EOS R6 Mark II on a white backgroundBest intermediate

Canon EOS R6 III

The new Canon EOS R6 III is an absolute triumph for wildlife photography, and it has solved all the niggles we had with the R6 II when we reviewed it. It has blackout-free 40FPS shooting and an improved 32.5MP sensor, with pre-continuous shooting and up to 7K video. This camera is hard to beat for enthusiasts and intermediate-level shooters.

Read our full Canon EOS R6 III review

Pros

  • Blisteringly fast blackout-free 40FPS bursts
  • Improved 32.5MP resolution compared to the Mark II's 24MP sensor.
  • Pre-continuous shooting ensures you never miss a shot
  • Sticky and accurate subject tracking (most of the time)
  • Compatible with faster CFexpress cards
  • Excellent battery life β€” we easily took over 6,000 images before our SD card gave out
  • Beautiful color reproduction

Cons

  • CFexpress card slot comes at the expense of a second SD card slot
  • New LP-E6P battery means you'll have to invest in new spares
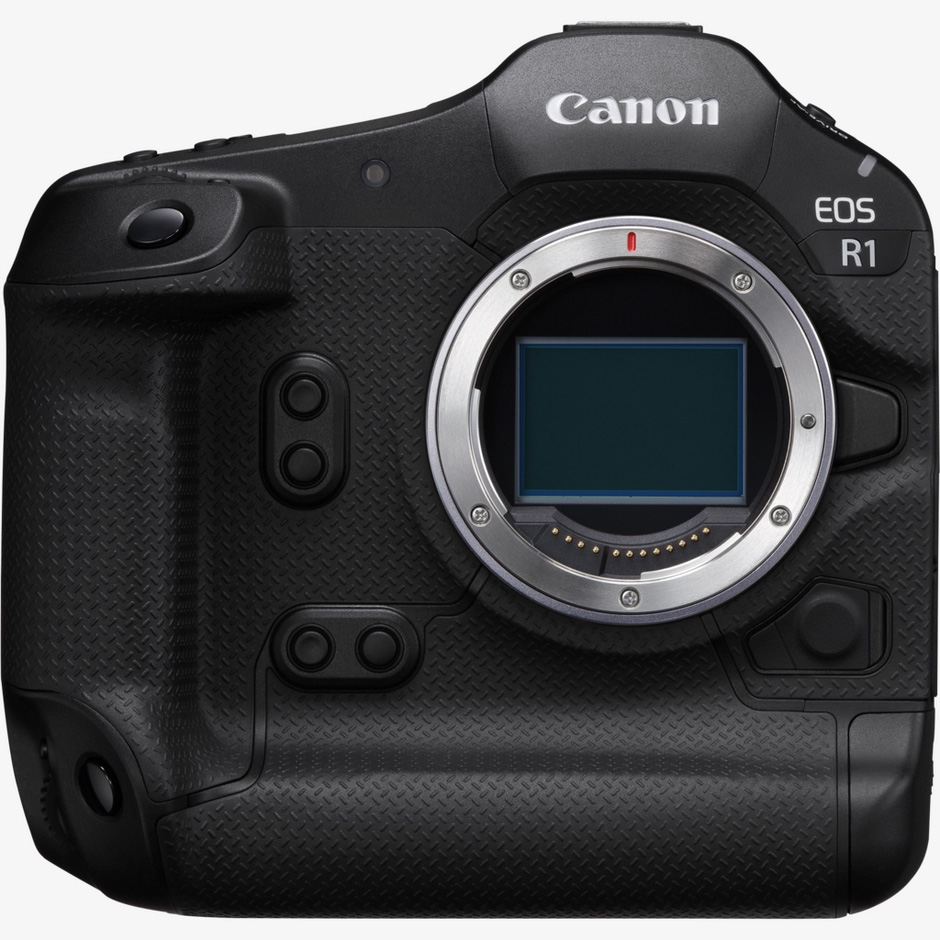
Canon EOS R1 on a white backgroundBest for pros

Canon EOS R1

A monster camera for professional wildlife and sport photographers who need unrivaled power and reliability and can afford to invest in their photography career. Even though it doesn't have the best resolution, the stacked sensor produces less noise and better image quality, and allows for a faster readout speed.

Read the full Canon EOS R1 review at our sister site, Digital Camera World

Pros

  • Stacked 24MP sensor
  • Up to 40FPS blackout-free burst rate
  • Intelligent AI autofocus
  • Pre-continuous shooting to ensure you never miss a shot
  • Built like a tank, with a large integrated vertical grip for professional sports and wildlife photography
  • Dual CFexpress card slots
  • 9.44 million dot viewfinder is bright and detailed
  • Offers 6K video

Cons

  • Not compatible with SD cards
  • Not a small or lightweight camera β€” over 2.42 pounds (1.1kg) before you even add a lens
  • 24MP resolution limits heavy cropping
  • Very expensive
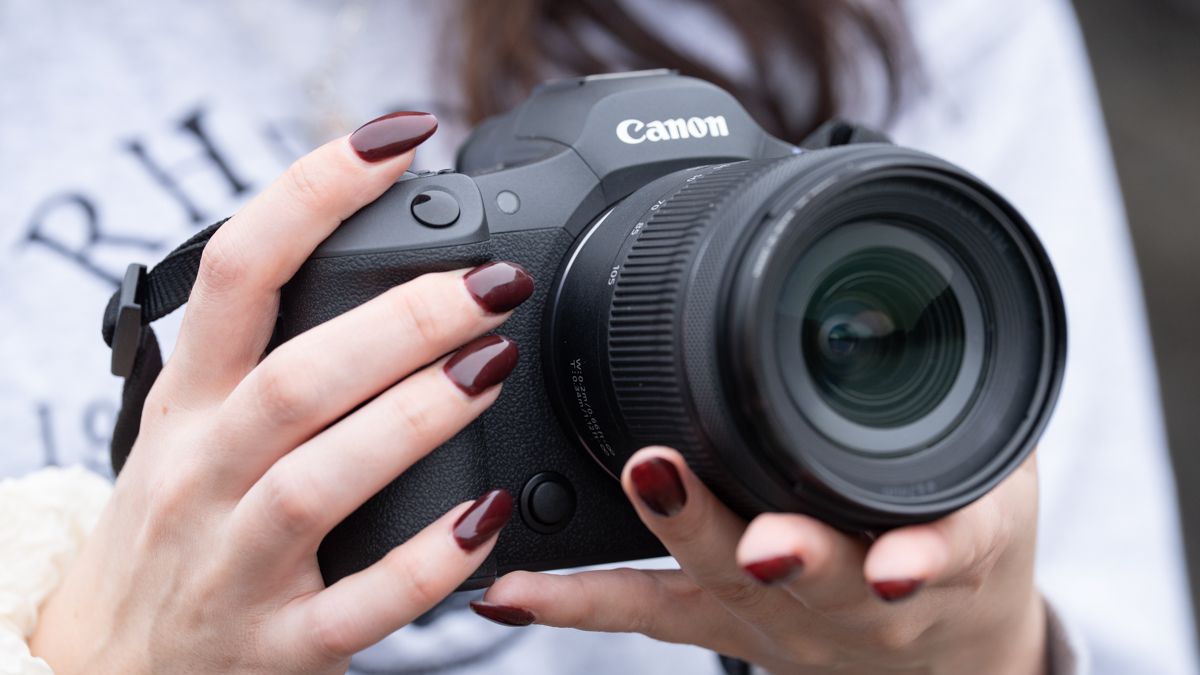
Canon EOS R5 II in the hand
Canon EOS R5 IIJase Parnell-Brookes
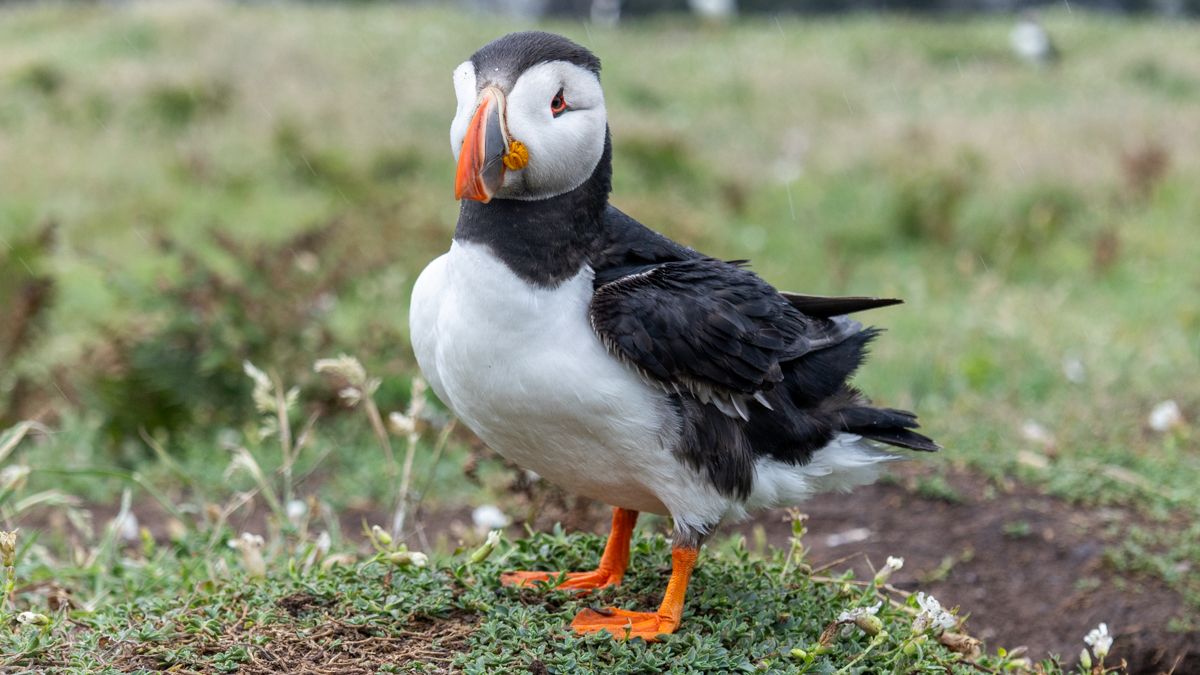
puffin on grass
Taken with Canon EOS R5 IIKimberley Lane
hoverfly on a leaf
Taken with Canon EOS R5 IIKimberley Lane
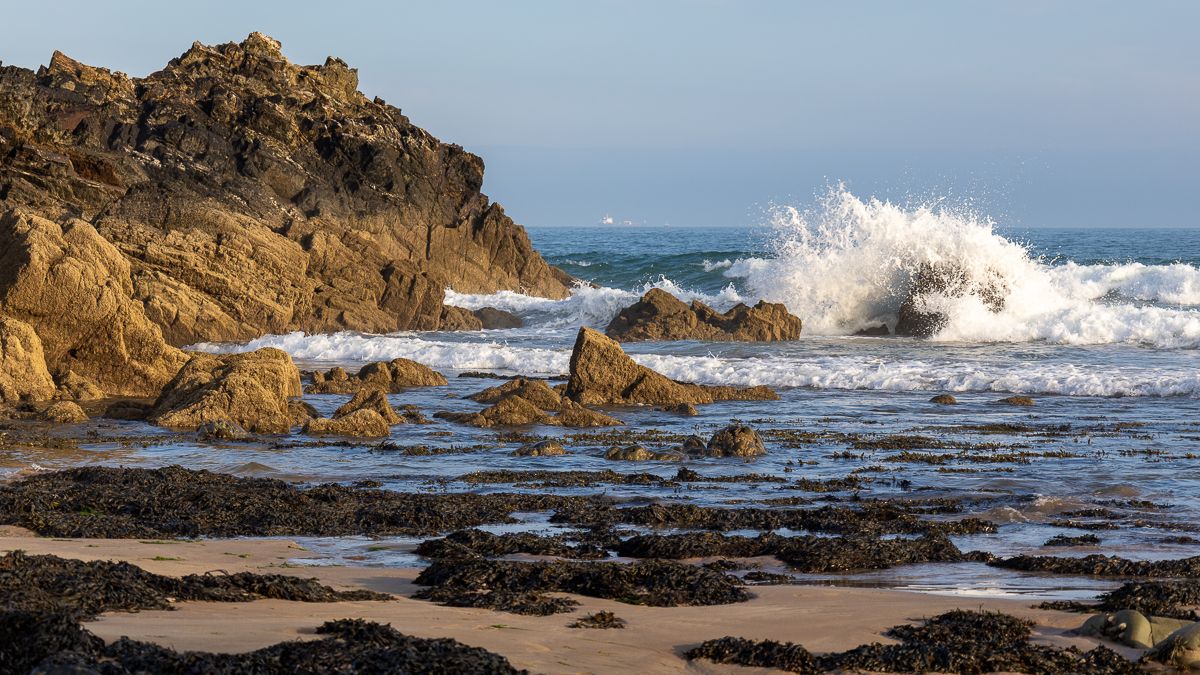
water crashing on rocks
Taken with Canon EOS R5 IIKimberley Lane
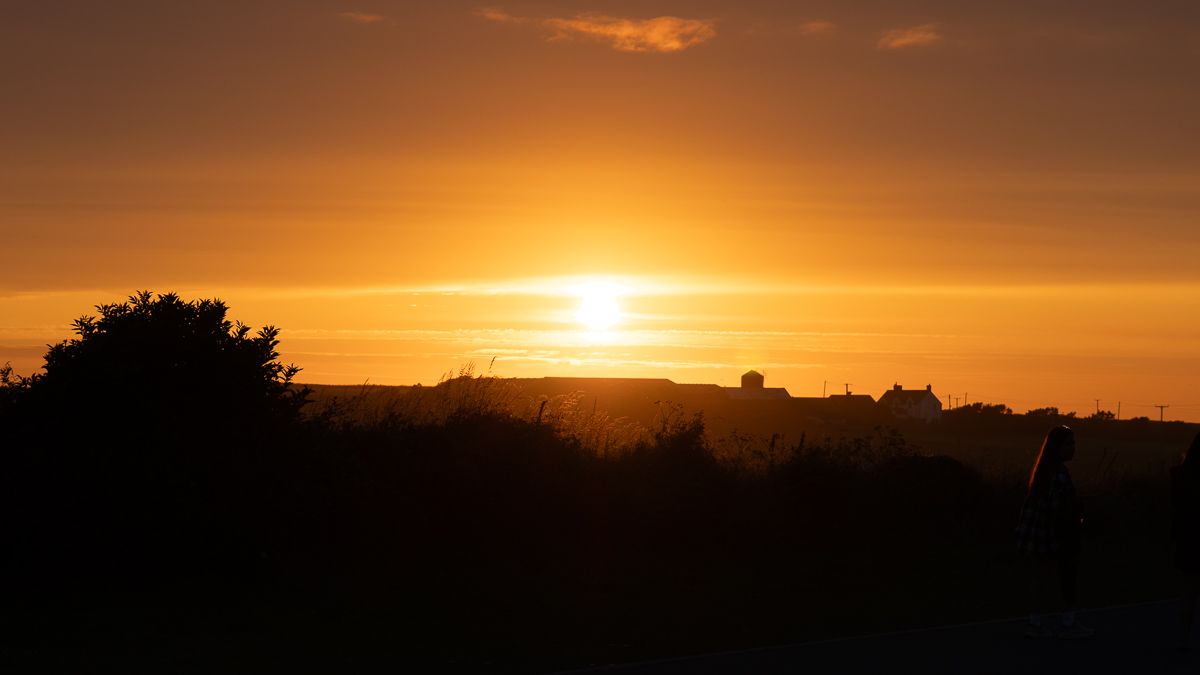
orange sunset silhouette
Taken with Canon EOS R5 IIKimberley Lane
rock formations at Marloes Sands
Taken with Canon EOS R5 IIKimberley Lane
Honorable mentions

Canon EOS 90D

If you prefer a DSLR and are happy to stick with a hobbyist camera that won't receive any future updates.

Canon EOS R7

A beginner-friendly wildlife option with a 1.6x crop factor to extend the reach of your lenses β€” effectively a cheat code for wildlife photography.

Canon EOS R6 II

If you like the look of the R6 III but want to save a bit of money, its predecessor is definitely still worthy of your hard-earned cash.

Avoid: Canon EOS R8

It's an excellent starter camera for more general styles, but the buffer fills up quickly and there aren't enough buttons and controls on the body to make it efficient for wildlife photography.

Best Sony cameras for wildlife photography
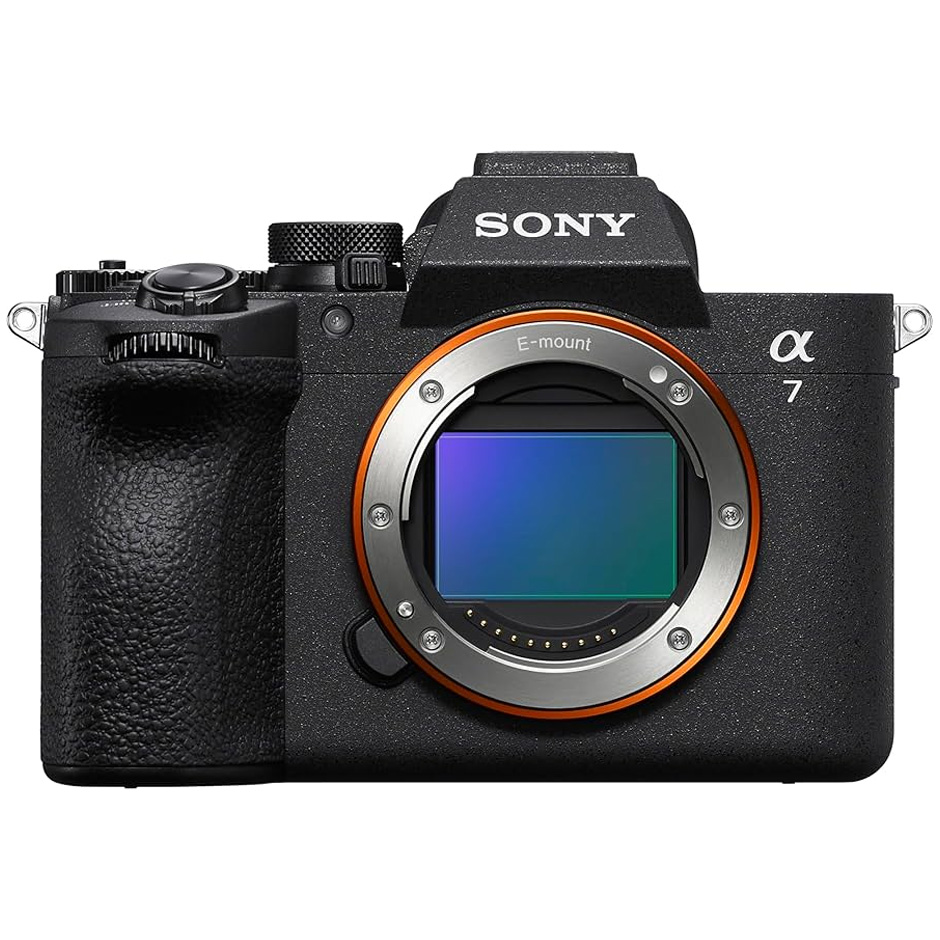
Sony A7 V on a white backgroundBest value for money

Sony A7 V

A big and welcome upgrade from the previous generation, with a new partially stacked sensor, improved AI autofocus and finally, a higher burst rate than the rather feeble 10FPS of the previous generation. The Sony A7 V is a very attractive option for wildlife, as well as general photography and hybrid shooting, but its Achilles heel is the shallow buffer, which fills up fast and will very quickly get annoying if you regularly shoot in bursts.

We will be reviewing the A7 V soon, but until then, you can read the full review at our sister site, Digital Camera World

Pros

  • Blackout-free 30FPS burst rate with AF/AE tracking is much improved over the 10FPS in the previous model
  • Features new partially stacked 33MP sensor to produce stunning and detailed images
  • New AI subject detection can detect birds, animals and insects β€” including Eye AF
  • This model now offers pre-capture, which captures images just before the shutter is pressed
  • Handles noise well, which is an advantage if you're shooting at dawn or dusk, or are pairing it with a more affordable lens with an f/5.6 max aperture.

Cons

  • Autofocus can struggle when shooting small birds or through foliage
  • Buffer depth (~95 compressed RAW files) is shallow and will fill quickly
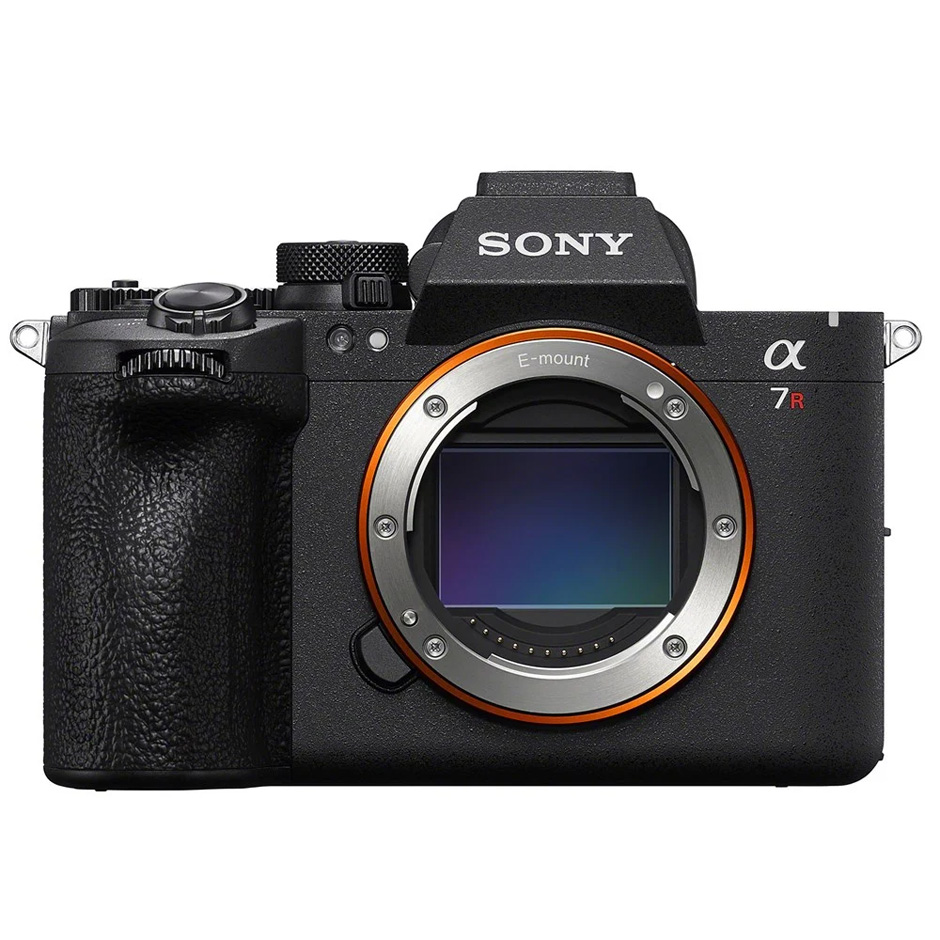
Sony A7R VI on a white backgroundIf you need heavy cropping power

Sony A7R VI

With Sony's highest resolution yet, the monstrous A7R VI is the newest and most expensive model in the R lineup. Sony has finally answered our prayers by boosting the burst rate from 10FPS in the previous model up to a massive 30FPS in this new one. For this price, that's more like it. Plus, with a massive 67MP, you'll get some serious cropping power, which comes in handy if you're shooting distant wildlife or birds.

We will be reviewing the A7R VI soon, but for now, you can read the full review at our sister site, Digital Camera World

Pros

  • Massive 67MP offers exceptional detail and leaves tons of room for cropping
  • 30FPS blackout-free bursts seriously levels up the R range like never before
  • Offers Continuous Shooting Speed Boost, which allows you to assign a custom button to temporarily jump from a lower, more sustained burst rate to the maximum 30FPS instantly, which avoids filling up the card too quickly
  • AI subject detection has animal, bird and insect modes and is generally very accurate
  • Pre-capture records images before you fully press the shutter

Cons

  • Do you really need 67MP?
  • High resolution means noisy images β€” we definitely found this to be the case with the previous generation
  • Autofocus can be tripped up if your animal is partially covered by reeds or branches
  • The most expensive release in the R range
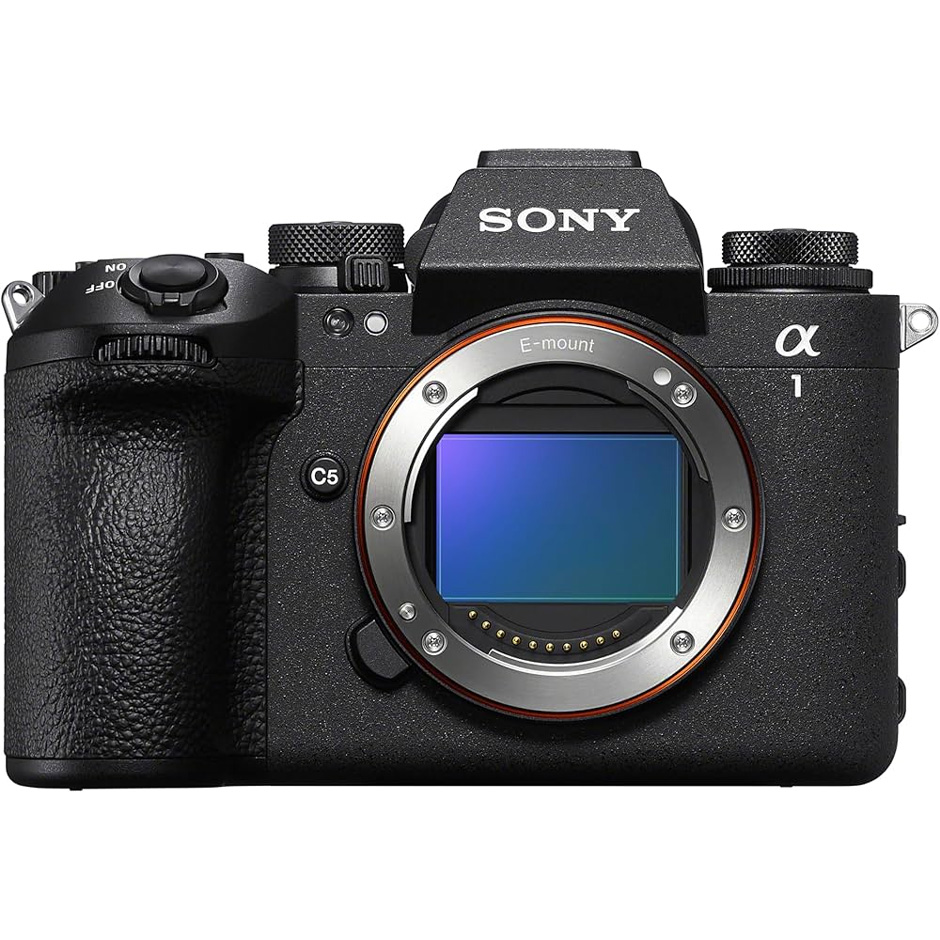
Sony A1 II on a white backgroundUltimate choice for pros

Sony A1 II

Experienced users looking for a balance of resolution and speed need look no further than the Sony A1 II. It has a 50.1MP stacked sensor, 30FPS bursts and Sony's class-leading AI autofocus, so what's not to love? That said, it's overkill for beginners and amateurs β€” plus we'd only recommend it if you can also invest in some of Sony's more expensive glass.

Read the full Sony A1 II review at our sister site, Digital Camera World

Pros

  • A perfect blend of speed (30FPS blackout-free bursts) and resolution (50.1MP)
  • Sticky, accurate AI autofocus with Eye AF for animals, birds and insects
  • Both card slots accept CFexpress Type A or SD UHS-II/UHS-I
  • RAW files offer incredible dynamic range
  • Pre-capture starts taking images when the shutter is half-pressed

Cons

  • Expensive, and will be wasted money unless you can also afford to invest in expensive lenses
  • New Sony A7R VI is cheaper and has more resolution
  • Overkill unless you're an experienced shooter
Honorable mentions

Sony A7R V

Stunning 61MP images, but with a much slower burst rate of 10FPS. It's long been our favorite Sony camera (until the new releases), and it's an excellent option if you don't shoot fast-moving animals or birds in flight. We've taken some beautiful wildlife images with it.

Sony A7 IV

A more affordable option here, and it still has AI-powered autofocus, although the 33MP sensor isn't stacked like the new A7 V. Plus, like the previous generation R model, it only has a 10FPS burst rate. Still, its noise handling is excellent, and it is suitable for more general styles of photography.

Sony A1

If you don't need pre-capture, go for the original Sony A1. It's still a wildlife powerhouse with the same 50MP resolution and 30FPS bursts as the new Mark II.

Sony A9 III

An absolute speed demon, but let's be honest β€” does anyone actually need 120FPS? Probably not. However, the Sony A9 III is considered to be one of the best cameras for birds in flight (BIF), but it'll be overkill unless you only shoot sports or fast-action bird photography.

Avoid: older or entry-level Sony cameras

Sony's entry level and older cameras tend to be capped at around 10FPS burst rates, and the older models also don't have any AI-powered autofocus features, which make wildlife photography much more fruitful. It's a shame, as there's no real "beginner" Sony wildlife camera on the market that suits these criteria.

Best Nikon cameras for wildlife photography
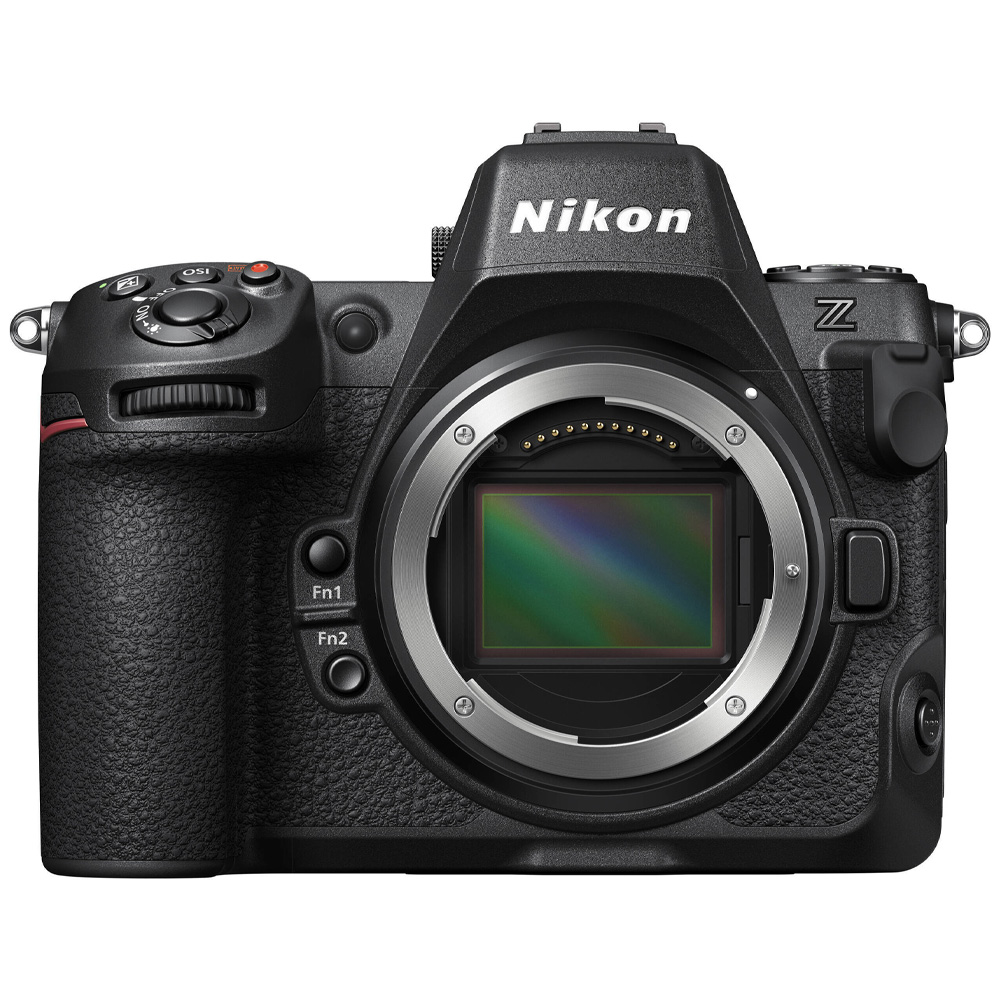
Nikon Z8 on a white backgroundThe clear winner

Nikon Z8

For wildlife photography (and most other styles, too, while we're at it), the obvious choice for most Nikon shooters is the Nikon Z8. Often dubbed a "baby Z9", it has all the brains and brawn of the flagship Z9 in a smaller and more affordable package.

Read our full Nikon Z8 review

Pros

  • 45.7MP resolution with a stacked sensor gives a lot of room for cropping
  • Up to 120FPS bursts (11MP), or 20FPS sustained β€” all blackout-free
  • Killer autofocus
  • It can record more than 1,000 RAW images before any buffering kicks in β€” insanely useful for wildlife
  • Performs well in low light
  • Pre-release burst captures up to 1 second of images before the shutter is fully pressed

Cons

  • Battery could be better
  • 120FPS is only 11MP, which you likely won't need when you're buying a 45.7MP camera
  • Occasional AF flaws
  • Screen isn't fully articulating

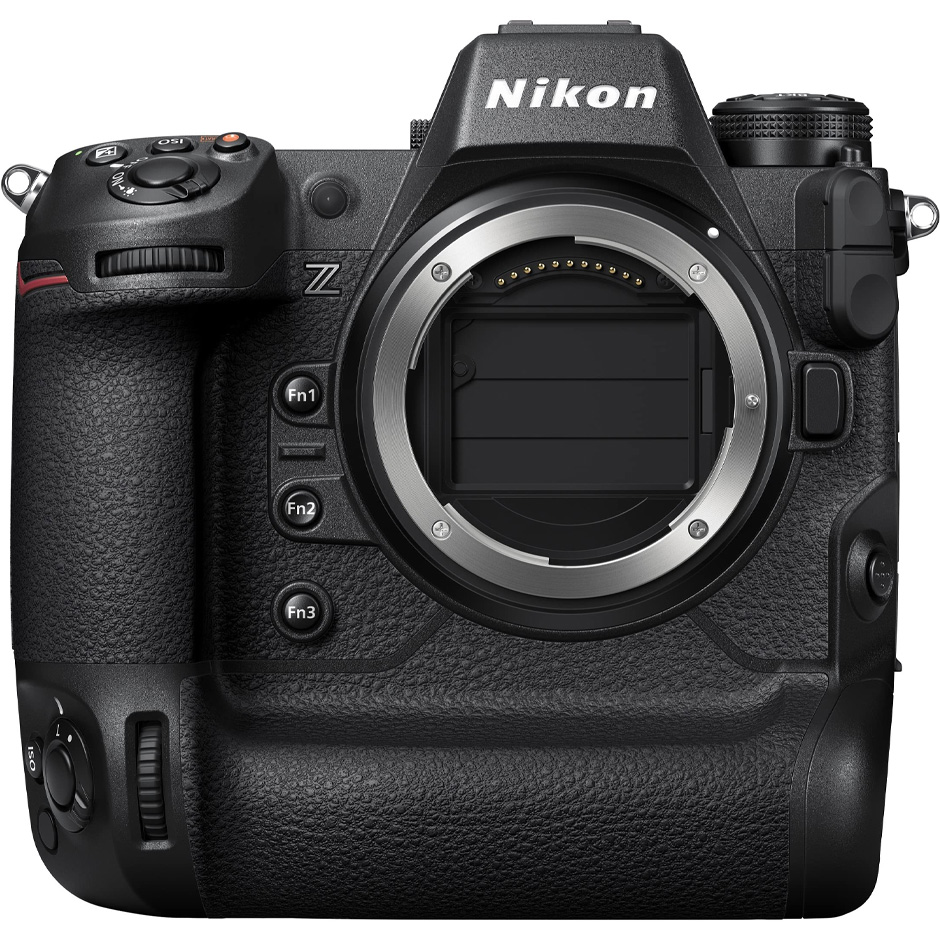
Nikon Z9 on a white backgroundIf you need extra grip

Nikon Z9

If you saw the Z8 and thought, "Hey, I need something big and heavy", then the flagship R9 could be better for you. The integrated grip offers improved balance and weight distribution for longer lenses, although it's only compatible with CFexpress cards, making this model best suited for professionals.

Read the full Nikon Z9 review at our sister site, Digital Camera World

Pros

  • Advanced 3D tracking and dedicated animal/bird eye AF
  • Stunning 45.7MP resolution from a stacked sensor
  • 20FPS blackout-free burst shooting for RAW images, with an option for 120FPS bursts at 11MP
  • Pre-release burst can capture images up to 1 second before the shutter is fully pressed
  • Robust, and built like a tank for heavy shooting over long periods

Cons

  • Only compatible with expensive CFexpress cards
  • Not as travel-friendly as the Z8 due to the bigger and heavier body
  • Not many people will use 120FPS for 11MP images
  • 3.69 million-dot EVF resolution is a little low compared to other flagship models like the Sony A1 II and Canon EOS R1 (9.44 million)
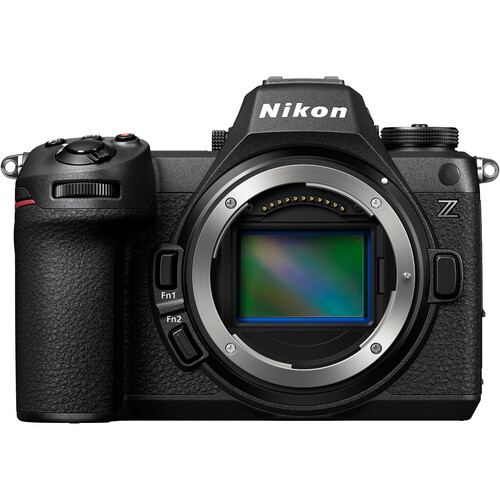
Nikon Z6 III body onlyBest mid-range

Nikon Z6 III

For anyone on a moderate budget looking for a capable wildlife camera, the Nikon Z6 III has a partially stacked sensor, 20FPS RAW shooting and dedicated animal and bird detection modes, all wrapped up in a compact and lightweight body β€” the only downside being the rather limited 24.5MP resolution.

Read the full Nikon Z6 III review at our sister site, Digital Camera World

Pros

  • 20FPS burst rate when shooting RAW images, up to 60FPS JPEG and up to 120FPS in DX crop mode.
  • Partially-stacked sensor gives faster readout speed and reduced rolling shutter
  • Clean images in low light
  • Smaller and lighter than the Z8
  • Bird detection added with a recent firmware update (2.0)
  • Features pre-release capture to capture JPEG frames up to 1 second before fully releasing the shutter

Cons

  • 24.5MP resolution won't allow for heavy cropping
  • Some users report that the autofocus struggles with birds in flight at a distance
  • Pre-release capture doesn't yet support RAW files
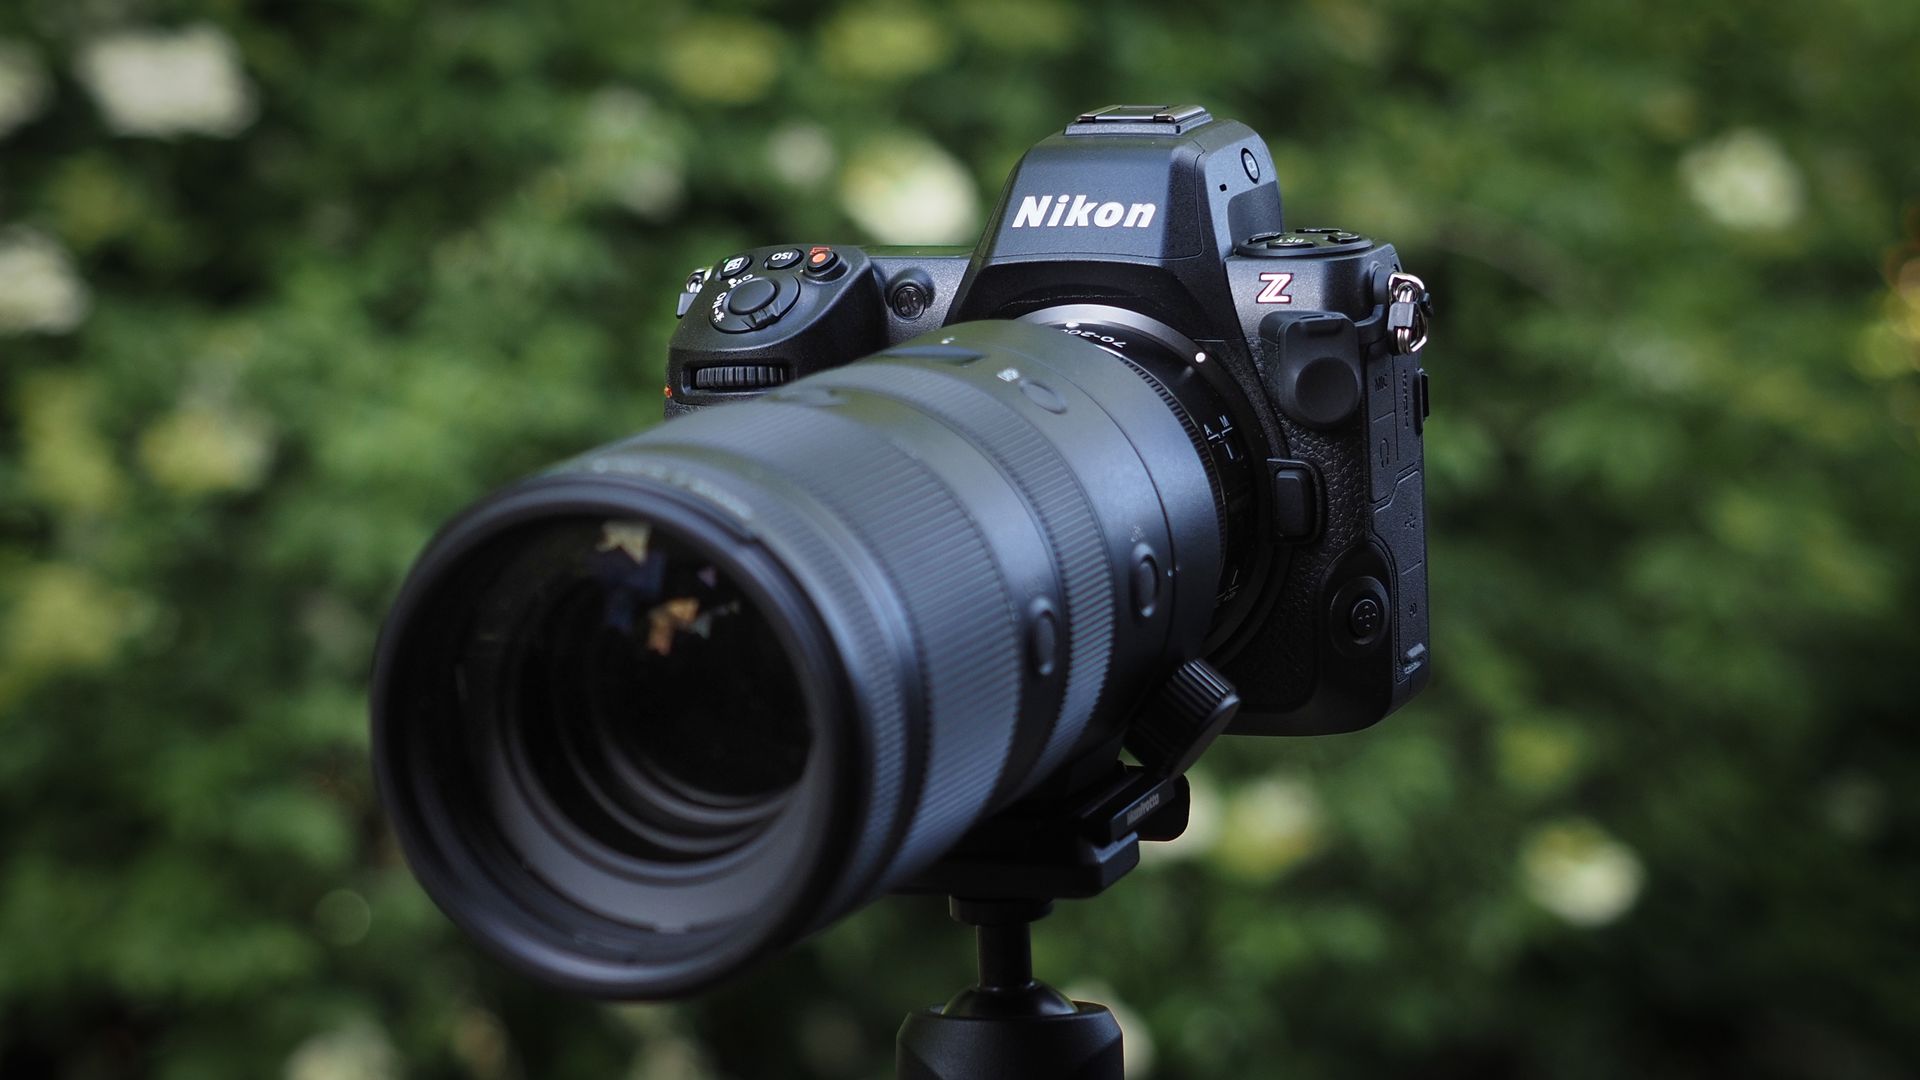
Nikon Z8 camera, pictured against a background of blurred green foliage
Nikon Z8James Artaius
Nikon Z8 sample image
Taken with the Nikon Z8James Artaius
Nikon Z8 sample image
Taken with the Nikon Z8James Artaius
Honorable mentions

Nikon Z50 II

A budget-friendly crop sensor (DX) model with flagship level autofocus and up to 30FPS bursts in a small, lightweight body. Plus, the 1.5x crop factor gives you extended reach when paired with full-frame lenses.

Nikon D850

Known as one of the best DSLRs ever made, the Nikon D850 is an incredible choice if you don't need the bells and whistles of a mirrorless β€” but keep in mind that it won't receive any future updates.

Nikon CoolPix P1000

If you need unparalleled zoom, the P1000 bridge camera has an insane 24-3,000mm zoom range. There are drawbacks, including the limited 16MP resolution and lack of weather sealing, but for beginners who want an all-in-one package for casual shooting, it's definitely worth a look.

Nikon D500

An affordable, entry-level APS-C model with 10FPS bursts, sharp 20MP images and fierce autofocus.

Avoid: Older DSLRs

Older DSLR models are typically much slower, have outdated autofocus and limited ISO performance for low-light work.

Best OM System cameras for wildlife photography
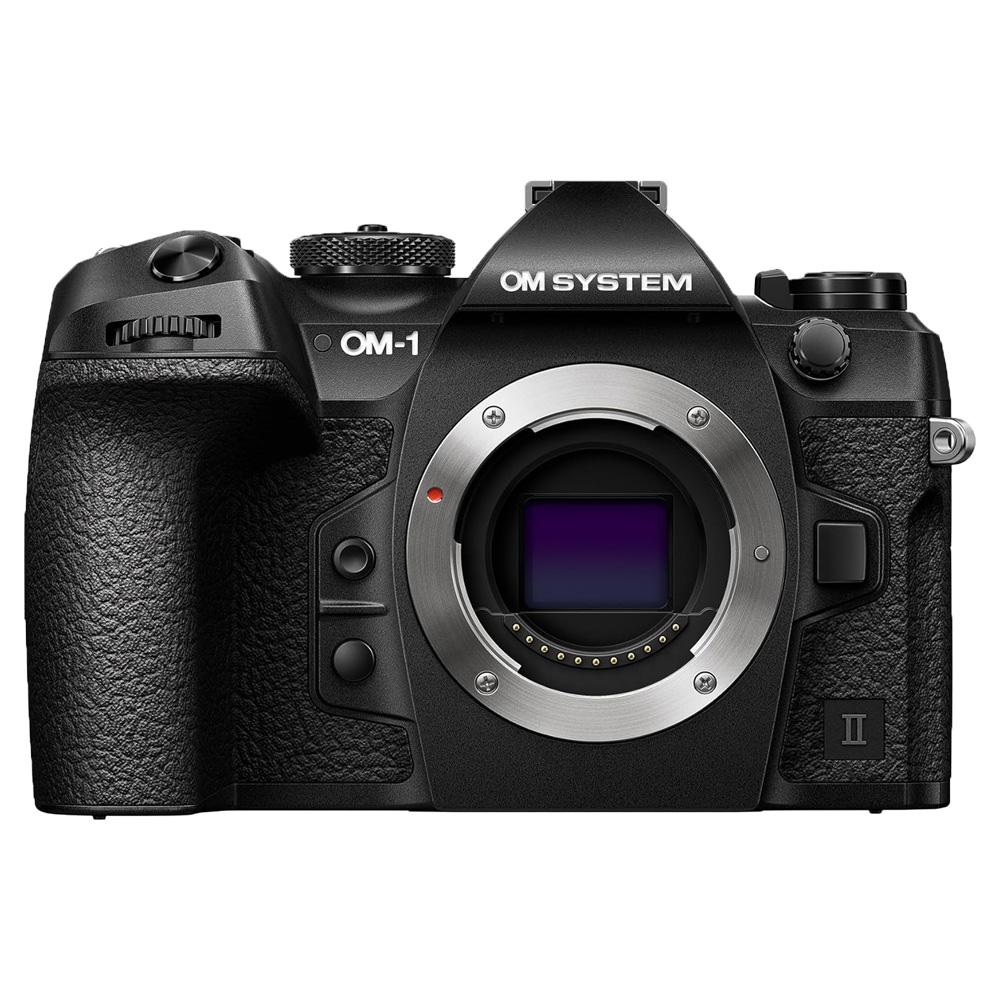
OM System OM-1 Mark II camera on a white backgroundBest overall

OM System OM-1 II

Wildlife photographers who want a powerful system in a small package should look at the OM-1 Mark II β€” it can shoot a blisteringly fast 50FPS with full AF/AE tracking (or 120FPS with locked focus), and even though the 20.4MP resolution sounds a little on the low side, we were pleasantly surprised by the image quality.

Read our full OM System OM-1 Mark II review

Pros

  • Insane 120FPS burst rate with locked focus, up to 50FPS with AF/AE tracking
  • Surprisingly good images for 20.4MP
  • Accurate autofocus with bird and human modes
  • Compact and lightweight, even when paired with long lenses
  • Pro Capture captures images before shutter is fully pressed
  • Buffer can hold around 213 RAW frames at 120FPS

Cons

  • 20.4MP may be underwhelming for some users, and doesn't allow for heavy cropping
  • Not enough of an upgrade if you already own the OM-1
  • Noisy low-light images
  • Button design and layout could be improved
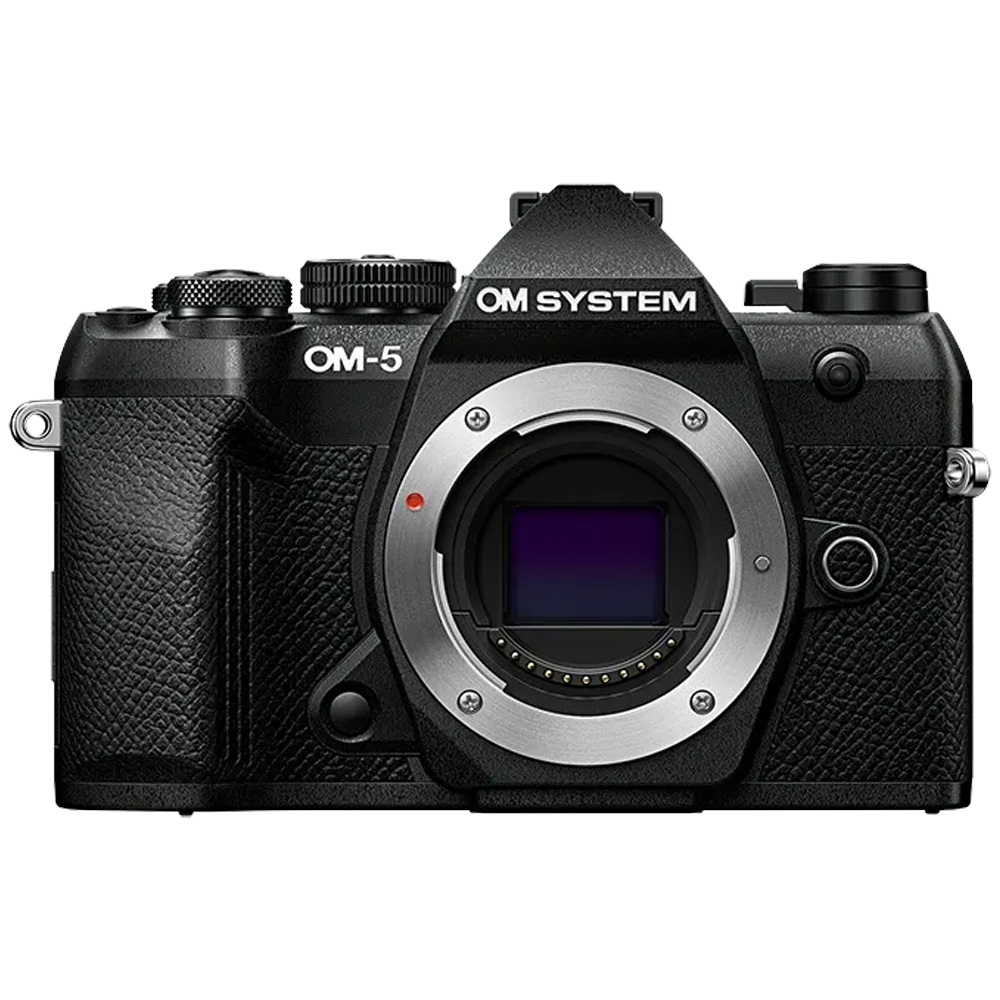
OM System OM-5 Mark II on a white backgroundFor hobbyists

OM System OM-5 Mark II

If you're just getting into wildlife photography and don't need the best of the best, the OM-5 Mark II is a great camera for people who want to photograph wildlife among other styles. It lacks dedicated bird/animal subject detection, but on the whole, OM System's autofocus is still pretty good.

Read the full OM-5 Mark II review at our sister site, Digital Camera World

Pros

  • Very compact and lightweight
  • Pro Capture starts recording images before the shutter is fully released
  • An affordable entry point into wildlife photography
  • Excellent IBIS for handheld shots
  • IP53 weather sealing

Cons

  • Lacks dedicated bird/animal subject detection
  • MFT sensor struggles with high ISO images, making it less than ideal for low-light work
  • The small grip might make it more difficult to hold it with larger lenses
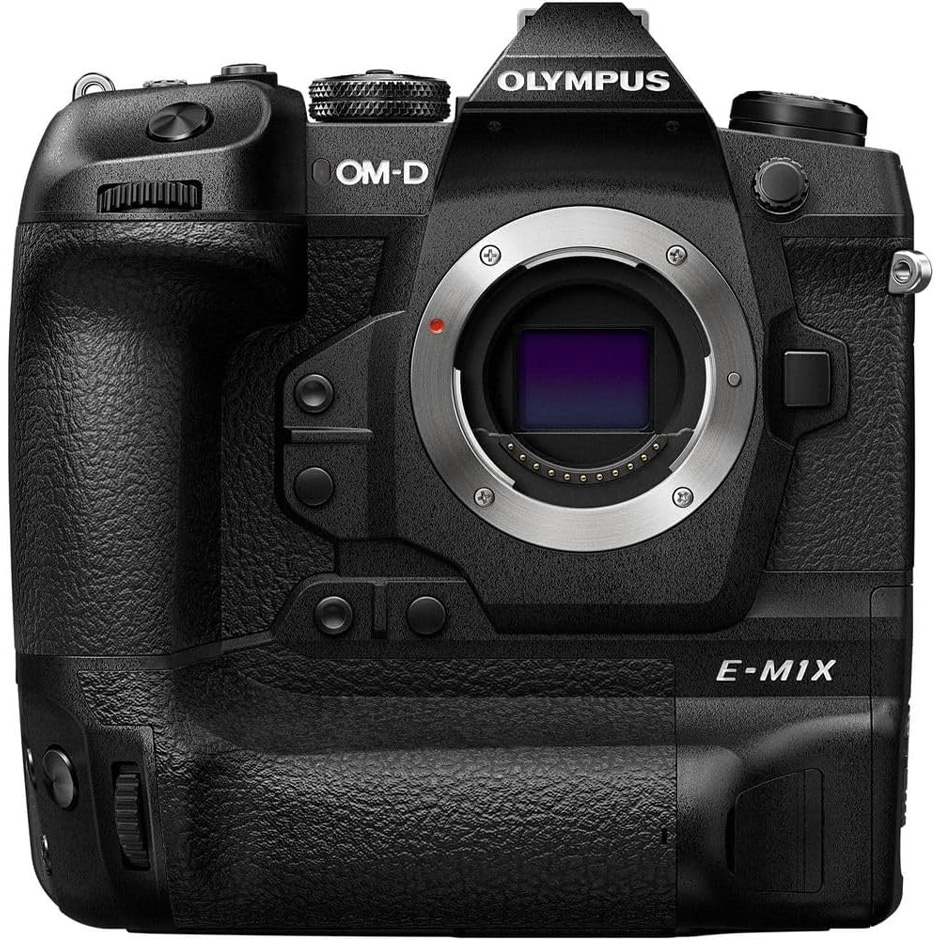
Olympus OM-D E-M1X on a white backgroundFor something more robust

Olympus OM-D E-M1X

While MFT cameras are often favored for being small and lightweight, big lenses can often feel unbalanced. The OM-D E-M1X fixes this issue with its integrated vertical grip, and the speedy bursts and AI animal detection modes are ideal for fast action β€” we called it a "wildlife wonder."

Read our full Olympus OM-D E-M1X review

Pros

  • Up to 60FPS bursts with locked autofocus, or 18FPS with tracking
  • Small, lightweight lenses that offer a 2x crop factor thanks to the MFT sensor
  • Stunning image stabilization
  • Bird and animal subject detection modes
  • Built-in vertical grip for more secure handling

Cons

  • Limited ISO range, and MFT sensors tend to produce noisy images
  • Less scope to crop with the 20.4MP resolution
  • Smaller sensor has a deeper depth of field, which gives less separation between your subject and the background
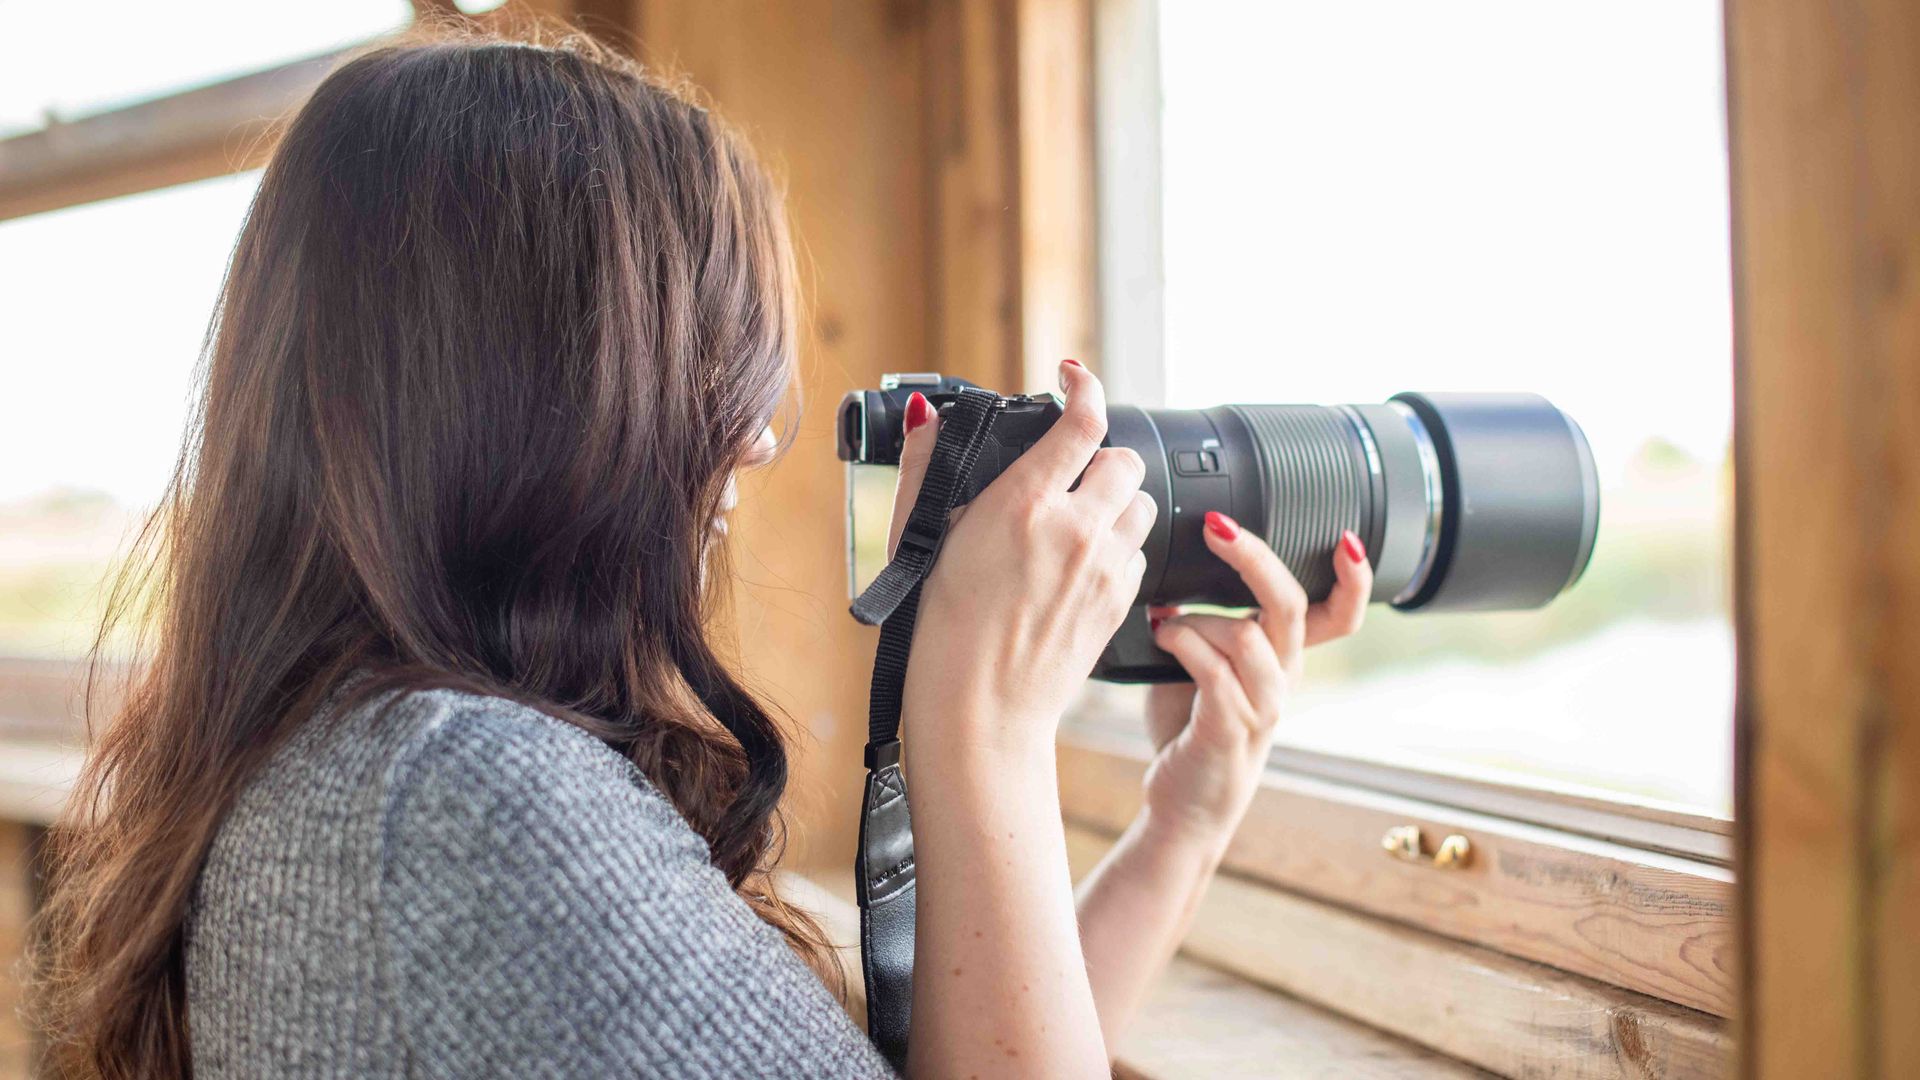
The author using the OM-1 Mark II in a hide
OM System OM-1 Mark IIJase Parnell-Brookes
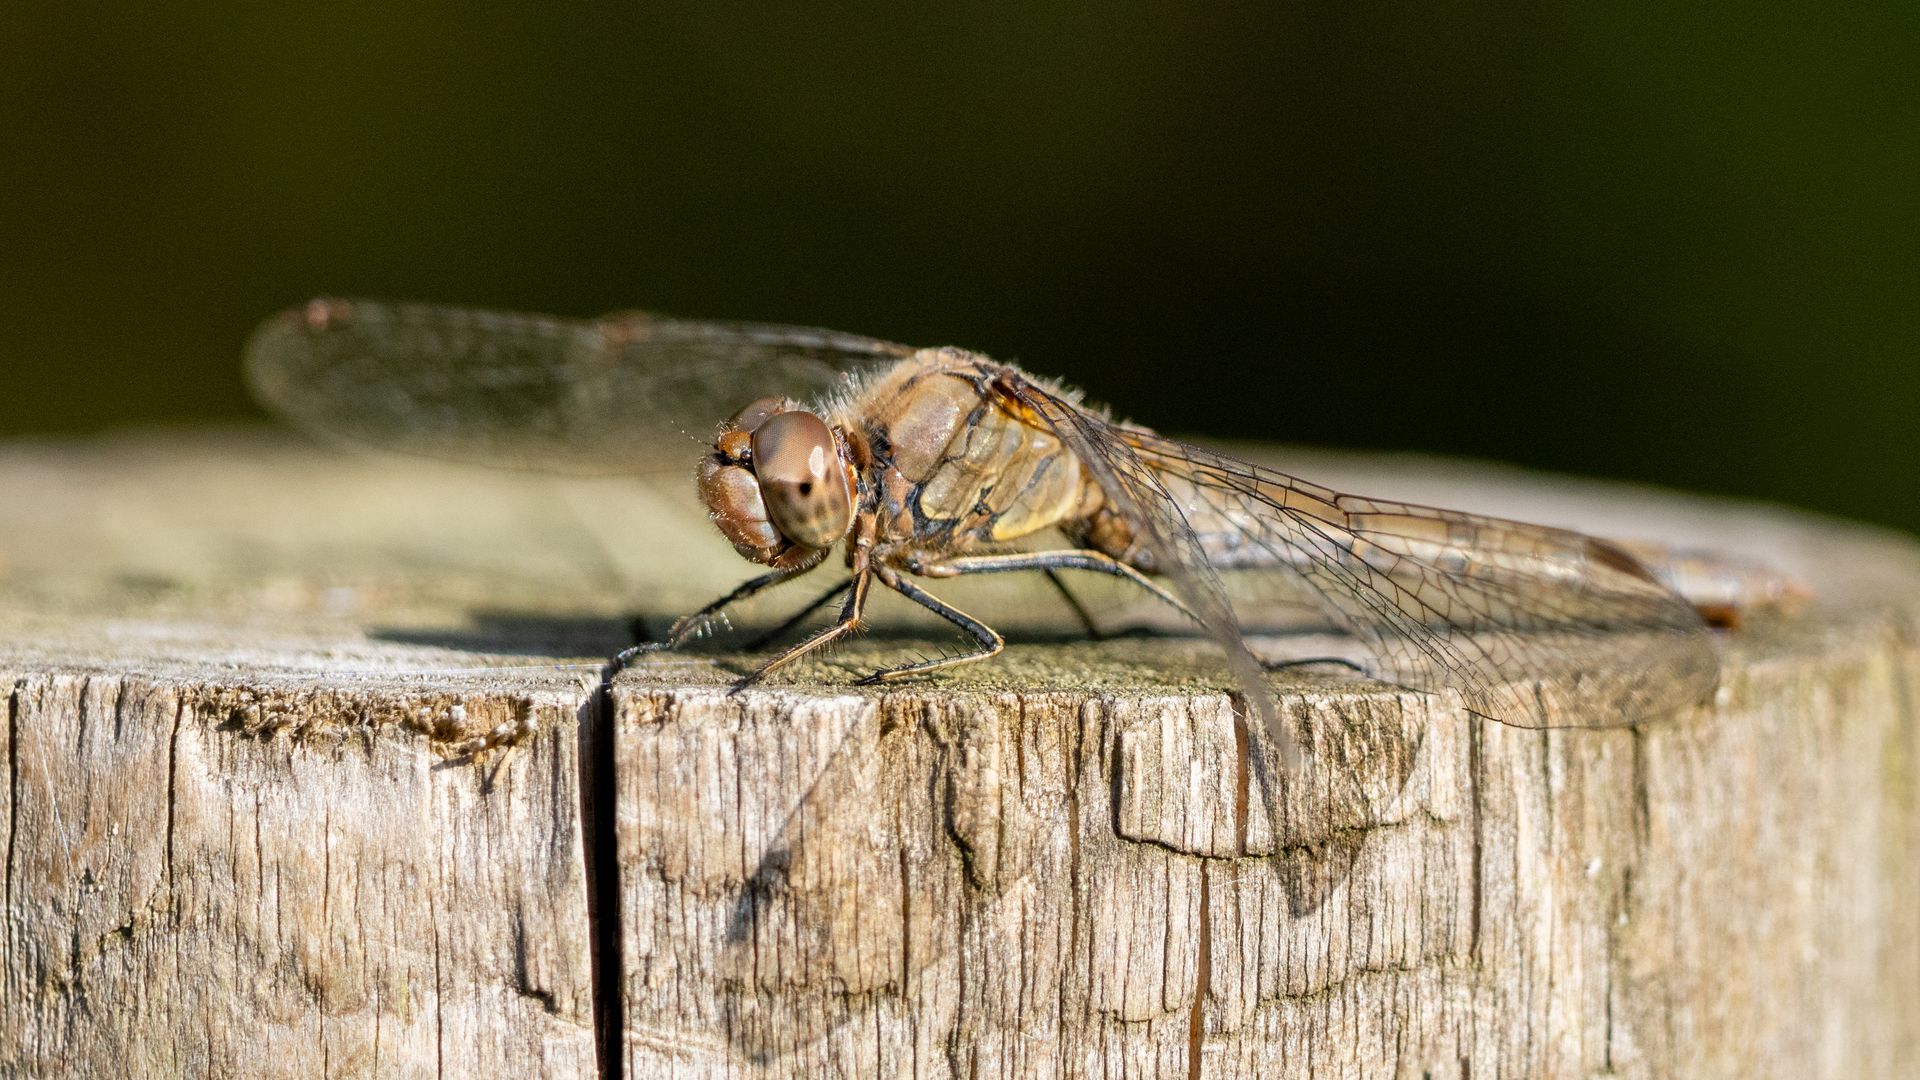
dragonfly on a fence
Taken with the OM System OM-1 Mark IIKimberley Lane
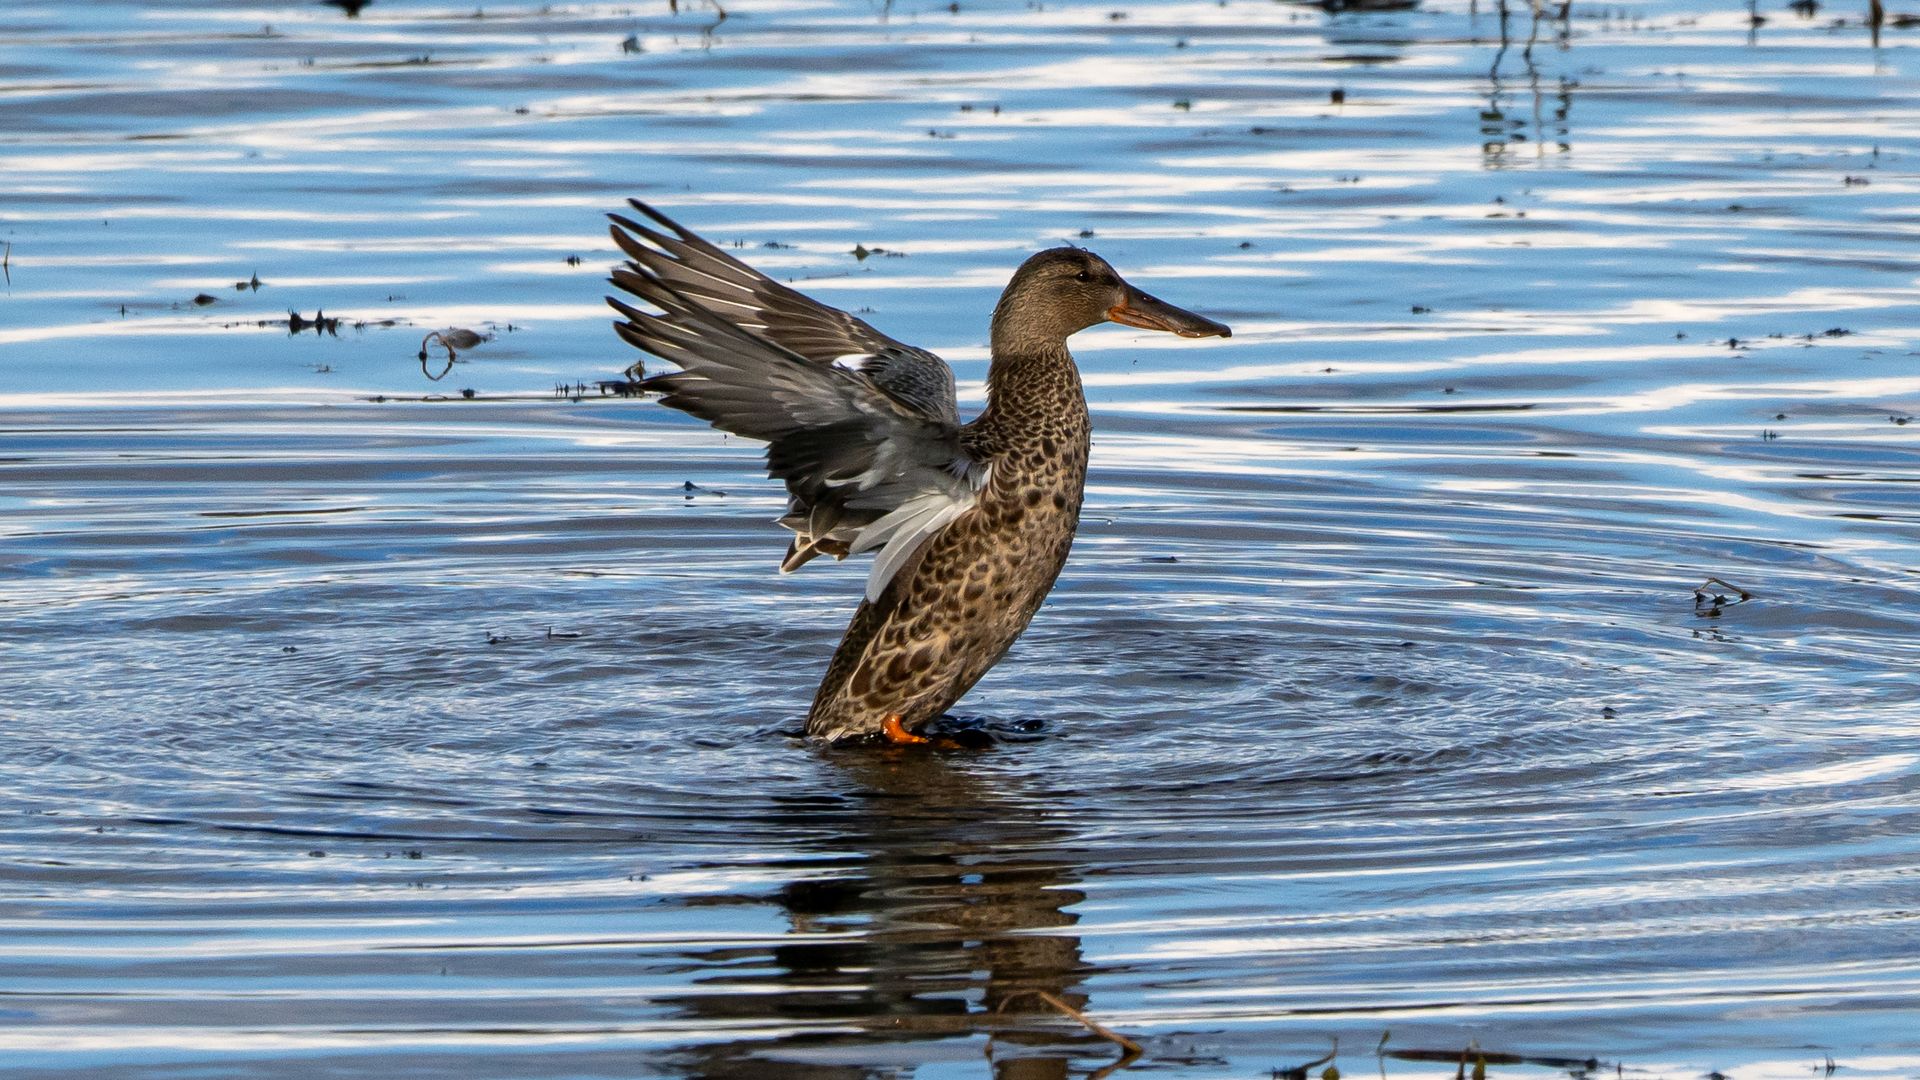
duck flapping its wings in water
Taken with the OM System OM-1 Mark IIKimberley Lane
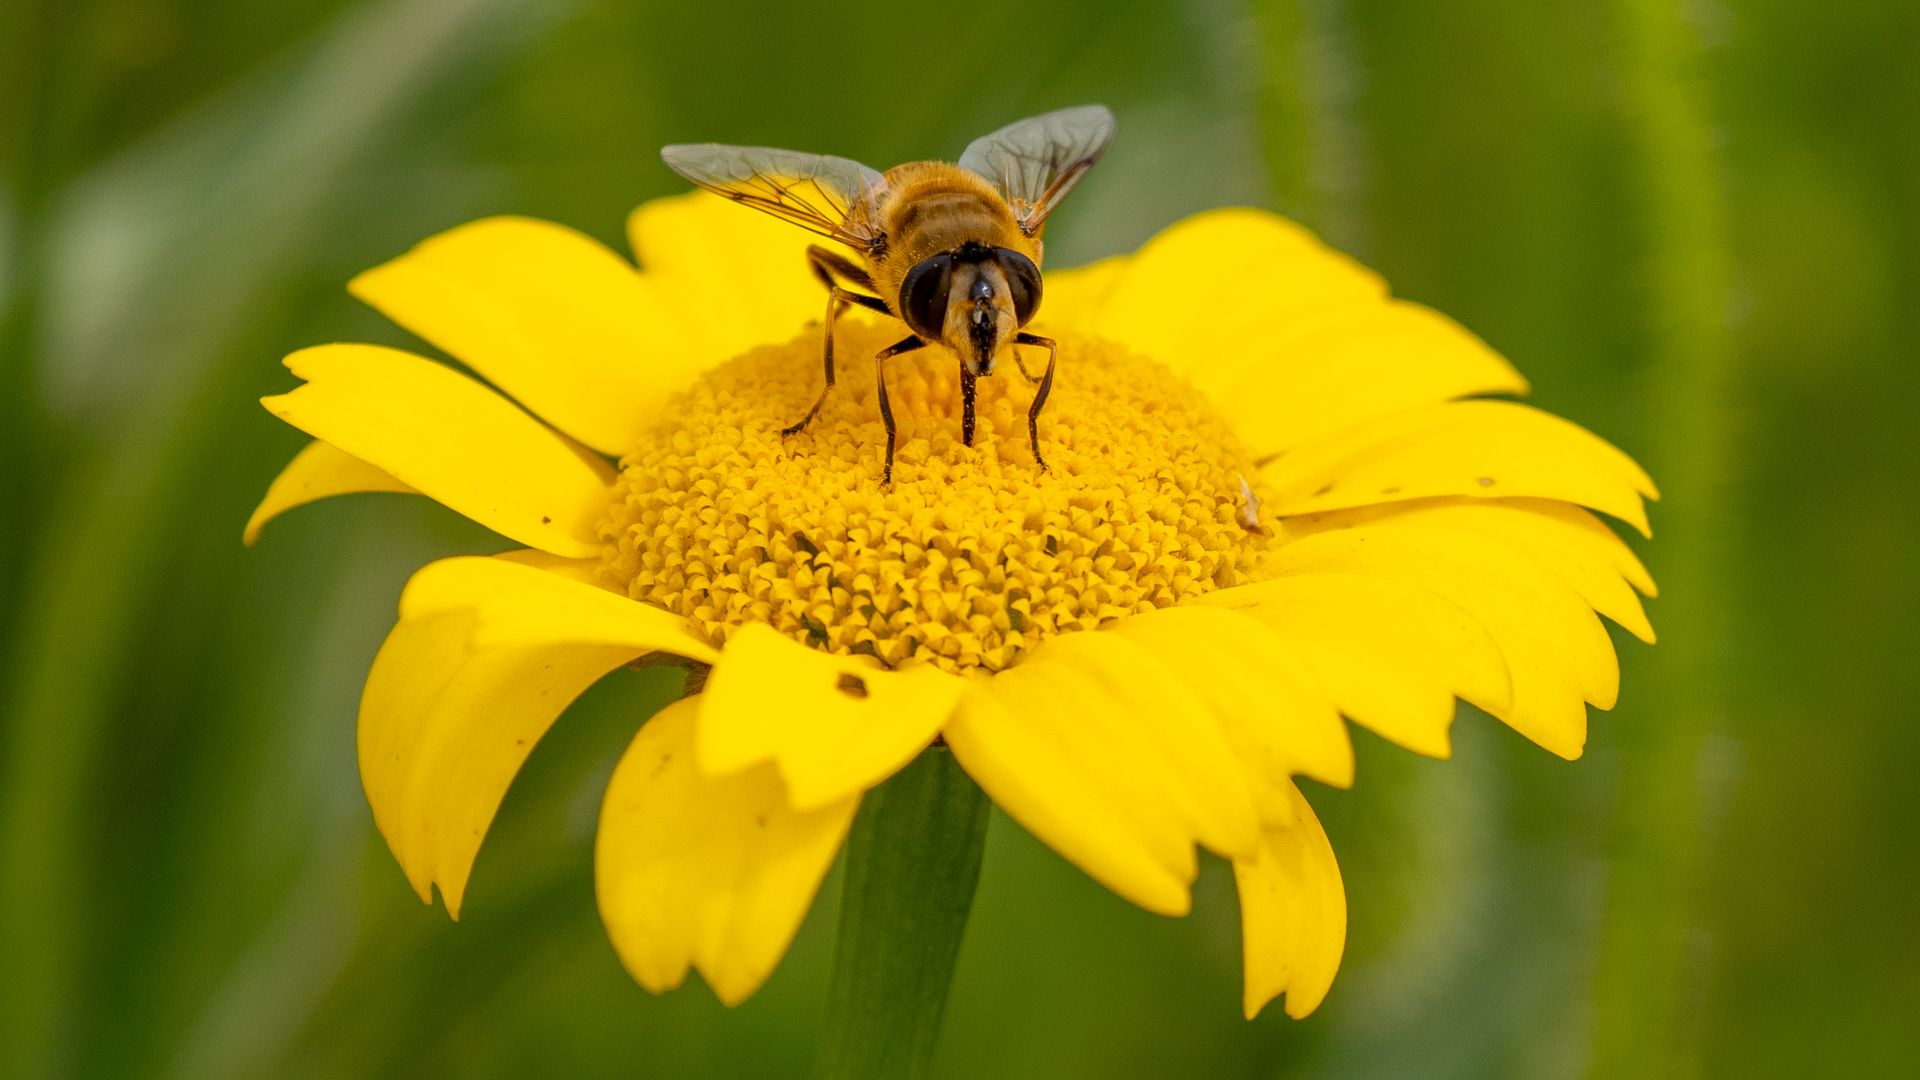
bee on a yellow flower in a field
Taken with the OM System OM-1 Mark IIKimberley Lane
ragdoll cat inside a house
Taken with the OM System OM-1 Mark IIKimberley Lane
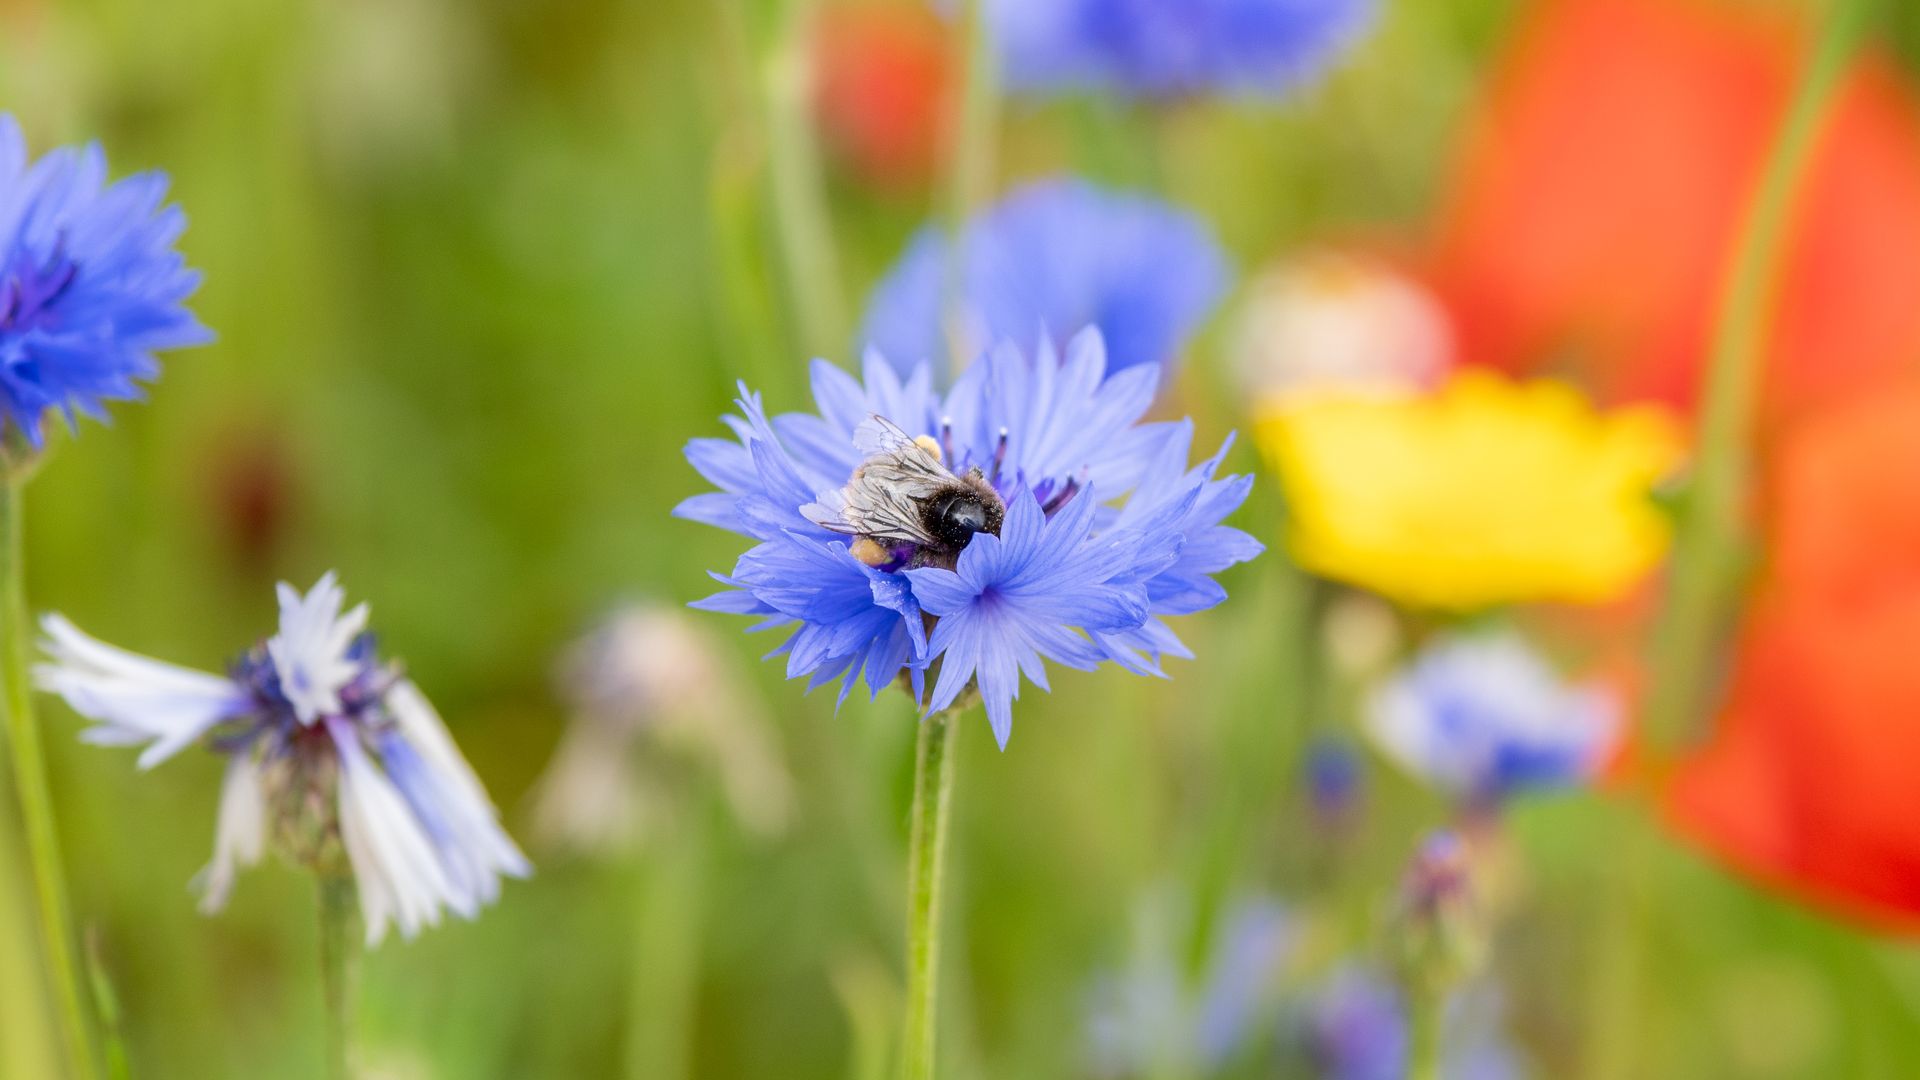
Bumblebee in a blue flower in a field
Taken with the OM System OM-1 Mark IIKimberley Lane
dragonfly on a fence
Taken with the OM System OM-1 Mark IIKimberley Lane
Olympus OM-D E-M1X
Shooting with the Olympus OM-D E-M1XJames Artaius
Olympus OM-D E-M1X
Taken with the Olympus OM-D E-M1XJames Artaius
Olympus OM-D E-M1X
Taken with the Olympus OM-D E-M1XJames Artaius
Olympus OM-D E-M1X
Taken with the Olympus OM-D E-M1XJames Artaius
Olympus OM-D E-M1X
Taken with the Olympus OM-D E-M1XJames Artaius
Olympus OM-D E-M1X
Taken with the Olympus OM-D E-M1XJames Artaius
Olympus OM-D E-M1X
Taken with the Olympus OM-D E-M1XJames Artaius
Olympus OM-D E-M1X
Taken with the Olympus OM-D E-M1XJames Artaius
Olympus OM-D E-M1X
Taken with the Olympus OM-D E-M1XJames Artaius
Honorable mentions

OM-5

If you want to save a few hundred bucks, get the original OM-5 instead of the OM-5 Mark II.

Olympus OM-D E-M10 Mark IV

It's not the fastest for wildlife photography with only 5FPS with tracking, but it's a great camera for casual shooters.

Best Fujifilm cameras for wildlife photography
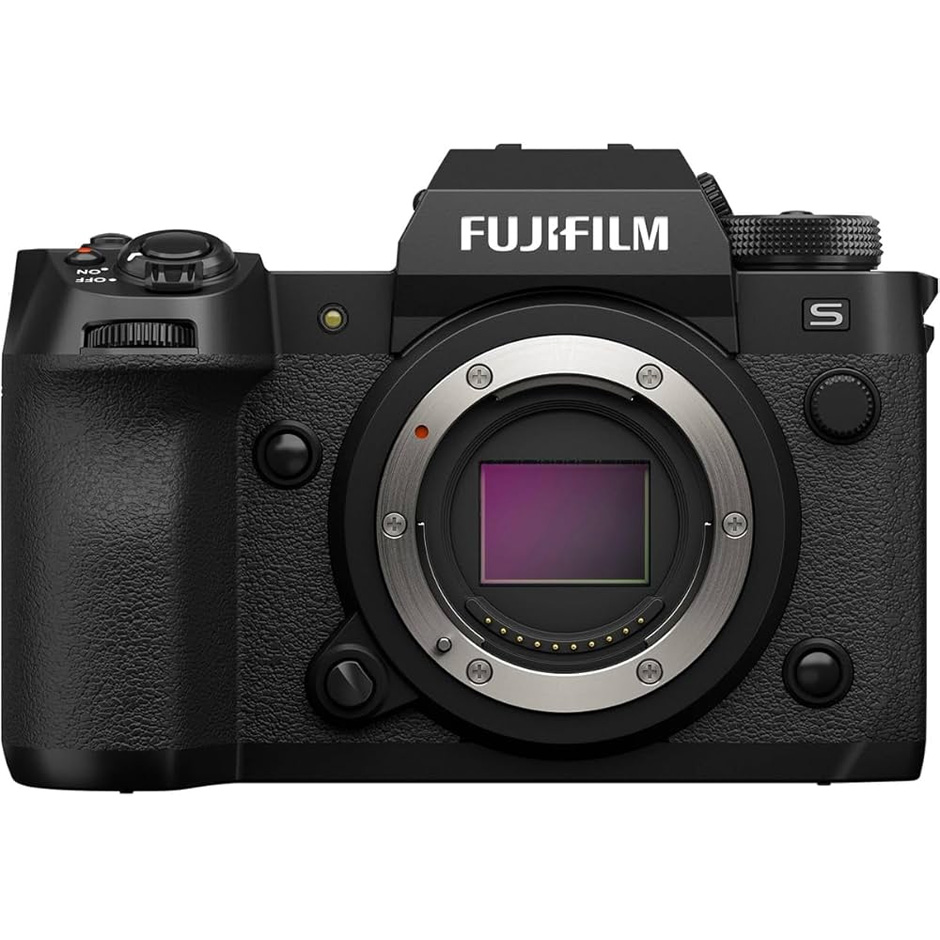
Fujifilm X-H2S on a white backgroundThe action specialist

Fujifilm X-H2S

With its speedy burst shooting, accurate autofocus and stacked sensor, the X-H2S is ideal for fast action shooting, birds in flight and hybrid photo/video shooters.

Read the full Fuji X-H2S review at our sister site, Digital Camera World

Pros

  • Stacked 26.1MP sensor offers fast readout speeds and fewer rolling shutter issues
  • Up to 40FPS blackout-free burst rate while maintaining full autofocus
  • Animal and bird autofocus subject detection
  • Compatible with both SD and CFexpress cards
  • Sturdy build and large grip to balance long lenses

Cons

  • Middle of the road 26.1MP resolution produces nice images, but doesn't leave room for heavy cropping
  • Expensive compared to other APS-C models
  • It's not a particularly small camera for an APS-C
  • Users report the autofocus is not as good as Sony, Canon and Nikon.
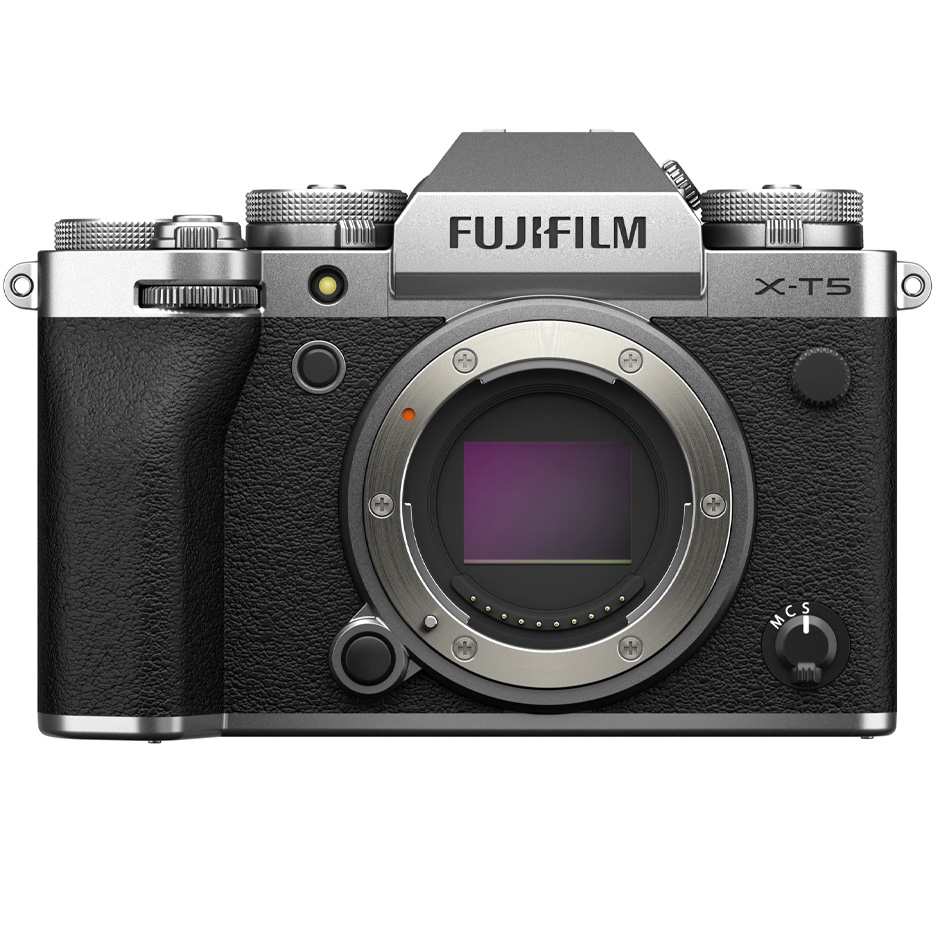
Fujifilm X-T5 on a white backgroundVersatile high-res

Fujifilm X-T5

The Fuji X-T5 is a compact APS-C camera to suit traveling photographers perfectly, but the small buffer and hit-and-miss autofocus are better suited to photographing slow-moving, larger mammals as opposed to fast action and birds. Still, it's a versatile option that can shoot multiple styles and produces beautiful 40.2MP images.

Read the full Fuji X-T5 review at our sister site, Digital Camera World

Pros

  • High resolution 40.2MP produces beautiful images and allows for cropping on distant subjects
  • Features an in-built 1.4x and 2x teleconverter in the shooting settings, extending your reach
  • Animal, bird and insect tracking modes
  • Compact and lightweight system compared to full-frame models
  • Electronic shutter shoots up to 20FPS with a 1.29x crop, which is advantageous if you need extra reach for wildlife

Cons

  • Autofocus occasionally misses β€” generally not as reliable as Sony, Canon or Nikon.
  • Doesn't have the biggest grip for larger lenses
  • Buffer fills up quite quickly, and users report that it takes a while to clear
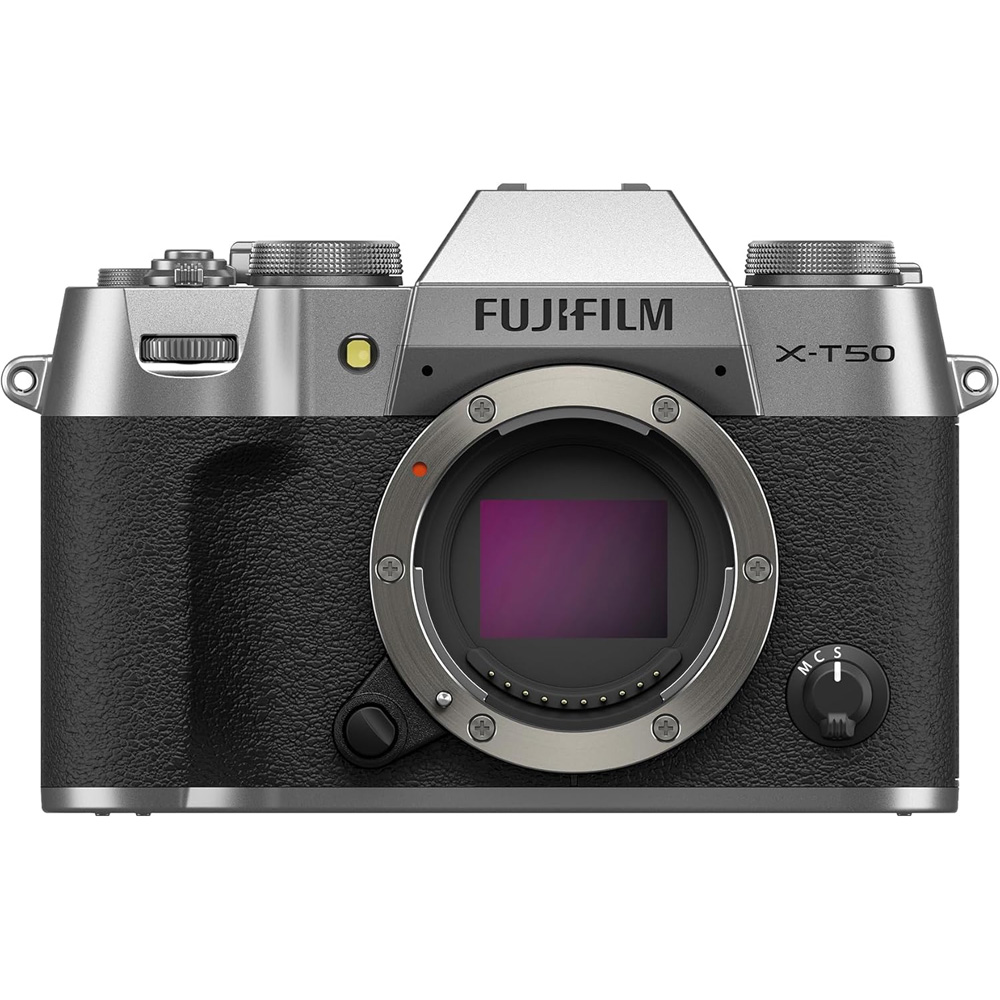
Fuji X-T50 on a white backgroundCompact wildlife shooter

Fujifilm X-T50

The Fuji X-T50 is an attractive, compact option for beginner wildlife photographers who don't yet need an expensive model with all the bells and whistles. Still, the 40.2MP resolution is beautiful, and it can shoot 20FPS bursts, which is great for wildlife action.

Read the full Fuji X-T50 review at our sister site, Digital Camera World

Pros

  • Beautiful 40.2MP resolution that allows for cropping
  • 20FPS burst rate comes with a 1.29x crop, which will give you extra reach on your wildlife lens
  • Like the X-T5, it features a built-in teleconverter (1.4x and 2x) to extend your wildlife reach
  • Very compact and portable β€” would suit travel photographers well
  • Animal and bird autofocus modes

Cons

  • No weather sealing
  • Only has a single card slot
  • Buffer fills up quickly and takes a while to clear, limiting your bursts
  • Battery life isn't the best
  • Autofocus isn't as good as Sony, Canon or Nikon
Honorable mentions

FujiFilm X-H2

Where the X-H2S offers speed, the X-H2 offers a higher 40.2MP resolution, which offers more room for cropping. However, the autofocus isn't as good as on the X-H2S, and there's more rolling-shutter due to the non-stacked sensor.

Avoid if:

If you're a serious wildlife shooter, we'd recommend upgrading to a full-frame system from Sony, Canon or Nikon in order to get the best autofocus systems for your money.

Best Panasonic cameras for wildlife photography
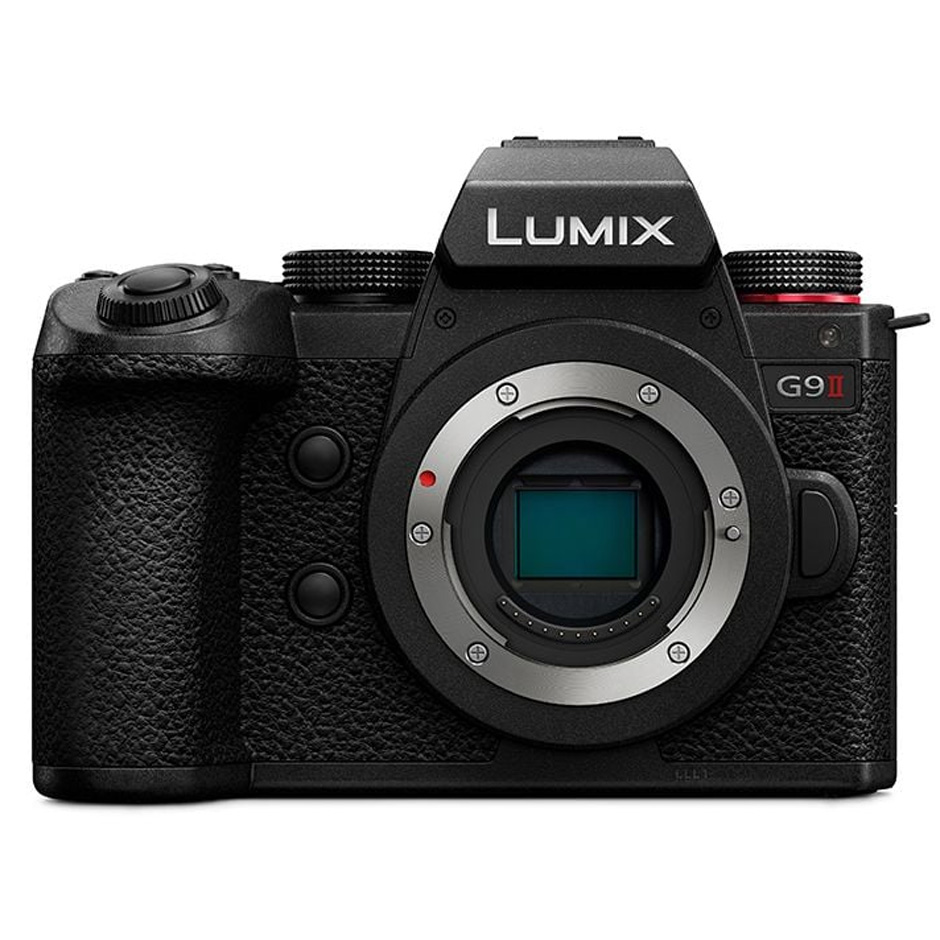
Panasonic Lumix G9 II on a white backgroundBest for fast-moving wildlife

Panasonic Lumix G9 II

The Lumix G9 II is particularly well suited to birds and fast-moving subjects thanks to its high-speed bursts, improved animal tracking and the extra reach advantage of Micro Four Thirds lenses. It sacrifices some low-light performance compared to full-frame models, but for wildlife, where reach and speed matter, it's the standout choice from Panasonic.

Read the full Panasonic Lumix G9 II review at our sister site, Digital Camera World

Pros

  • Up to 60FPS bursts with continuous autofocus
  • Micro Four Thirds sensor gives extra reach with 2x crop factor β€” and allows for more compact lenses
  • Pre-capture records up to 1.5 seconds before the shutter is fully released
  • Animal and bird eye detection locks onto subjects accurately and quickly

Cons

  • Smaller sensor produces more visible noise than a full-frame sensor
  • 25MP resolution doesn't provide much room for cropping
  • Electronic shutter can show rolling shutter
  • While the autofocus is good compared to previous Panasonic bodies, it's still not as good as Sony/Canon/Nikon
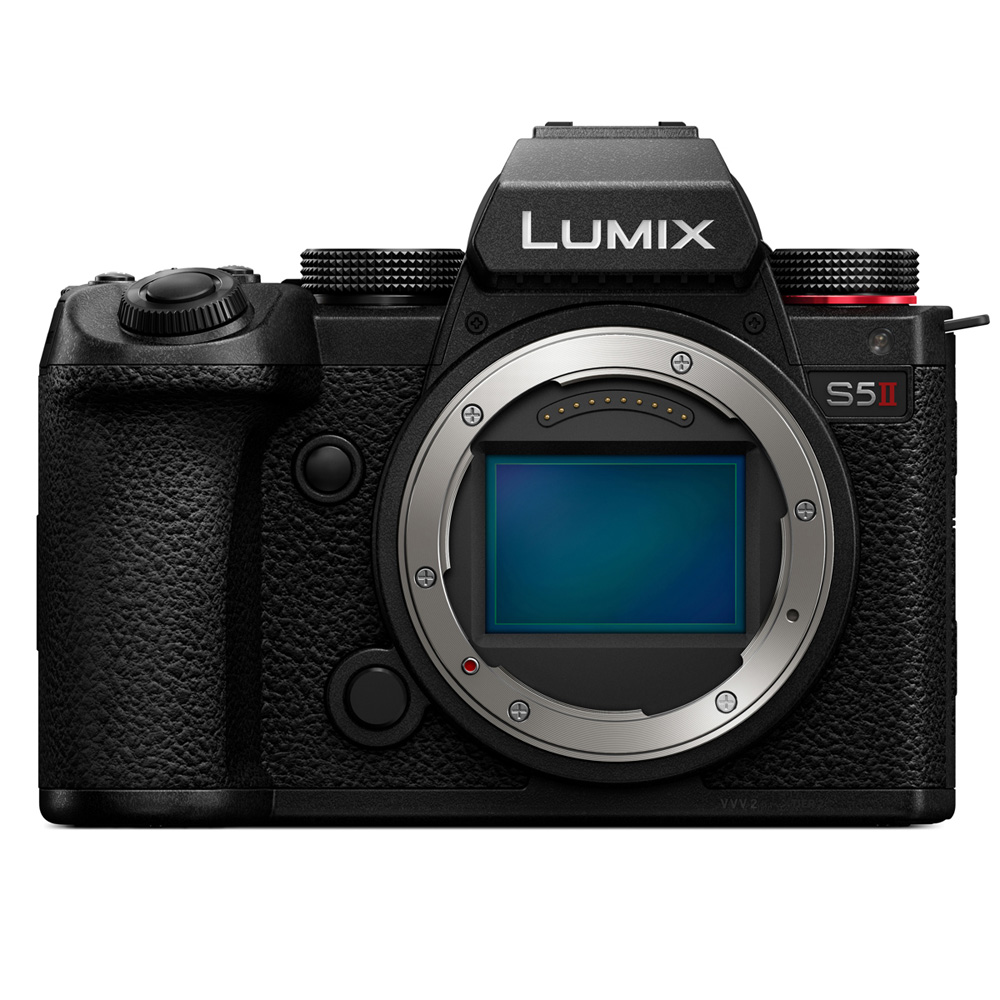
Panasonic LUMIX S5II on a white backgroundBest for low-light wildlife

Panasonic Lumix S5 II

The Lumix S5 II is for wildlife photographers who want full-frame image quality and strong modern autofocus, but don't want to pay Canon/Sony/Nikon flagship prices for their camera bodies and lenses.

Read the full Panasonic Lumix S5 II review at our sister site, Digital Camera World

Pros

  • Full-frame sensor delivers better high ISO performance for low-light wildlife at dawn or dusk
  • 30FPS electronic burst is great for fast action with continuous autofocus
  • Works well with Sigma L-mount lenses for cost-effective setups
  • Animal eye tracking to lock focus on stationary and moving animals.

Cons

  • 24.2MP gives less room to crop when shooting distant subjects
  • Less effective reach compared to Micro Four Thirds
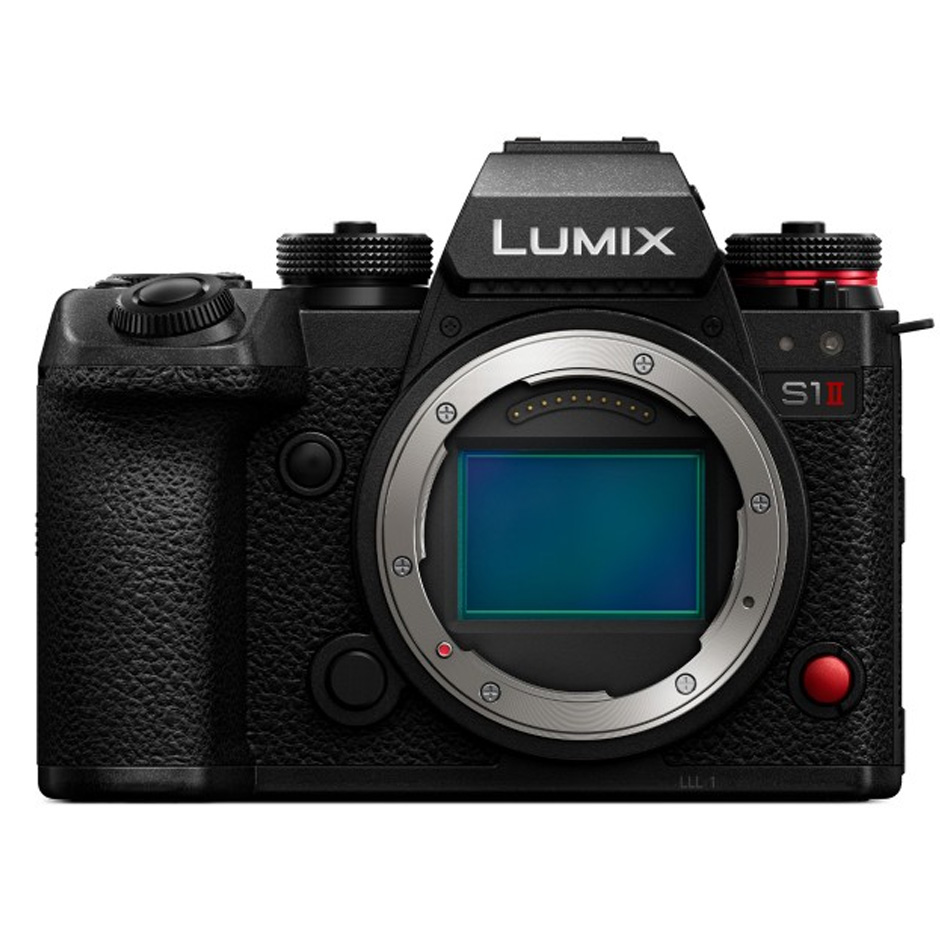
Panasonic Lumix S1 II on a white backgroundBest premium setup

Panasonic Lumix S1 II

This premium wildlife workhorse has a partially-stacked 24.1MP sensor and 70FPS blackout-free burst rate. It features animal and bird detection, but although the autofocus is generally very good, it still trails behind the best-in-class autofocus from the likes of Sony, Canon and Nikon.

Read the full Panasonic Lumix S1 II review at our sister site, Digital Camera World

Pros

  • Partially stacked sensor eliminates rolling shutter and allows for faster readout speeds
  • Blazing fast 70FPS blackout-free bursts with continuous autofocus
  • Pre-burst captures images up to 1.5 seconds before you fully release the shutter
  • Full frame sensor is better in low light than Micro Four Thirds

Cons

  • 24.1MP resolution limits heavy cropping
  • Users report occasional autofocus accuracy issues
Honorable mentions

Lumix S5 IIX

The video-centric sibling of the S5 II. They're very similar in terms of stills performance, so this might be the better option if you also focus on wildlife videography.

Lumix GH7

Primarily optimized for video workflows and other benefits that don't necessarily benefit stills shooters. It's a hybrid powerhouse, but stills-focused shooters should opt for the G9 II.

Lumix G9

The original G9 still performs well for general wildlife, with decent burst shooting and solid handling, but the contrast-based autofocus struggles to keep up with birds in flight and fast, unpredictable movement.

Best wildlife cameras: FAQs

What camera do most wildlife photographers use?

Dedicated wildlife photographers typically choose full-frame mirrorless cameras due to their larger sensor, better noise handling, accurate autofocus and rugged build. Many of these cameras also have fast burst rates, which is essential for capturing fast-moving wildlife or birds in flight.

Beginners and hobbyists can certainly get great shots with more portable models, but some compromises will have to be made in terms of speed and power.

What burst rate do I need for wildlife photography?

This depends on what kind of wildlife you're photographing, and how fast they move. Generally speaking, the best wildlife cameras have a burst rate of at least 20FPS (frames per second) β€” but the faster the better. If you photograph large, slow-moving mammals or stationary subjects, your burst rate doesn't need to be rattling off 40FPS at a time. If, however, you photograph birds in flight or fast moving animals, you will need a faster burst rate in order to capture that killer shot.

How many megapixels does a wildlife camera need?

There's no right or wrong answer here, but generally speaking, a higher resolution is preferred because it produces more detailed images, and you have more room to crop without losing image quality. However, more megapixels equals bigger file sizes, and you therefore need faster cards in order to keep up, especially when you're taking bursts.

That said, you can absolutely get some great shots with lower resolution cameras. We've been impressed by the quality of OM System cameras, and they typically only have around 20MP.

What is the best wildlife camera for beginners?

The most important aspect of a wildlife camera for beginners to prioritize is good autofocus. Provided your subject is in focus, you don't necessarily need the fastest burst rate, top of the line weather sealing or highest resolution.

For our money, Sony, Canon and Nikon offer the best autofocus on the market. We'd recommend the Sony A7C II, Canon EOS R7 or Nikon Zf for beginners.

How much should I spend on a wildlife camera?

You don't need to go overboard unless you're a professional wildlife photographer looking for the top of the range flagship models. You can get a really impressive wildlife camera for "most people" for anywhere between $2,000 and $3,000, but as many photographers will tell you, it's more beneficial to invest money in a better lens as opposed to splashing out on the very best camera.

Latest updates
  •  

Amazon Prime Day 2026: Best stargazing deals on telescopes and binoculars

Amazon Prime Day is underway, and we've found some tempting deals on our favorite stargazing equipment at Amazon. The sale ends at 23:59 tonight, Wednesday, October 7, 2026, and we'll keep an eye on the deals so you can keep an eye on the skies.

Fall is a fantastic time to stargaze, with meteor showers, full moons, constellations and planetary oppositions β€” some of which you can only see with binoculars or a telescope. Shop the best deals on telescopes and binoculars below.

Telescope deals

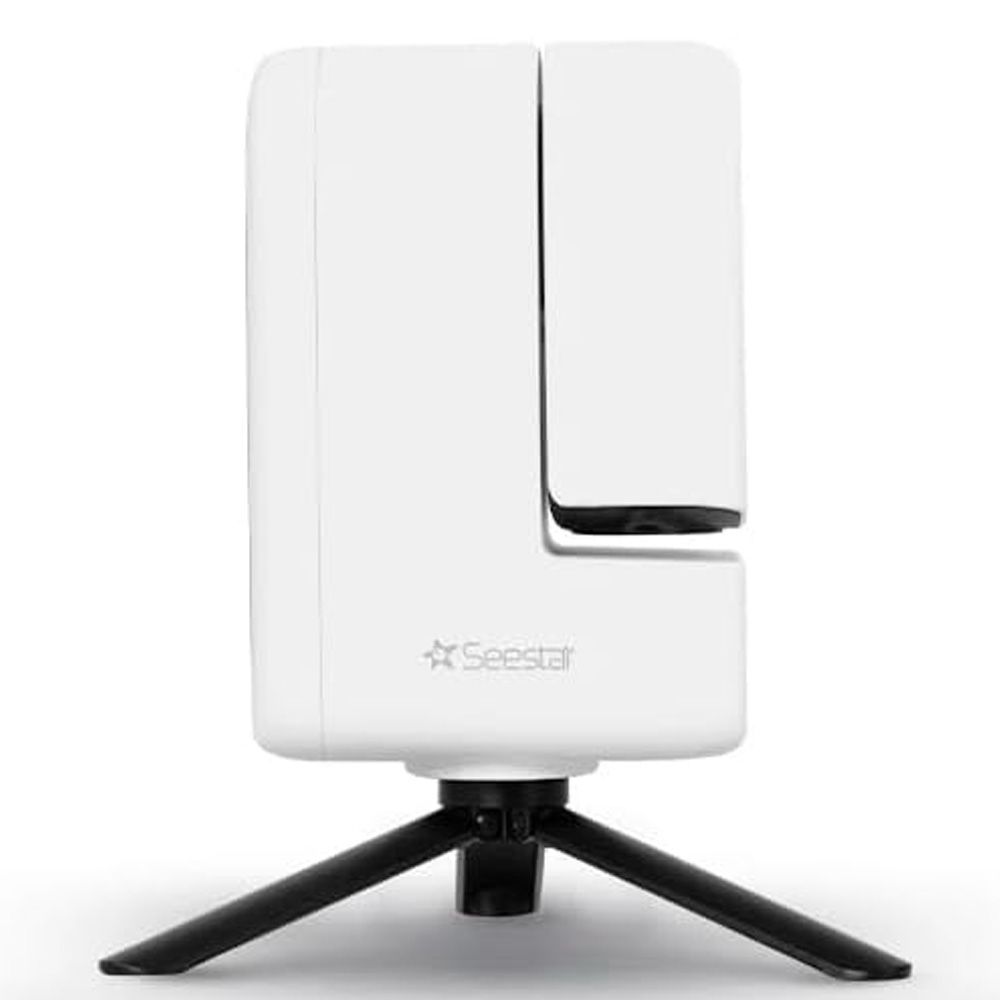
If you want a small, easy-to-use smart telescope with minimal investment, you can save $99 on the ZWO Seestar S30.

These small smart telescopes are ideal for deep-sky astrophotography, particularly for large nebulas and galaxies like the North America Nebula and the Andromeda Galaxy. They're an easy introduction to astrophotography, and you can also photograph the Moon and Sun, too.

Although we haven't reviewed this exact model, you can read our review of the S30 Pro, which we named the best portable smart telescope.View Deal

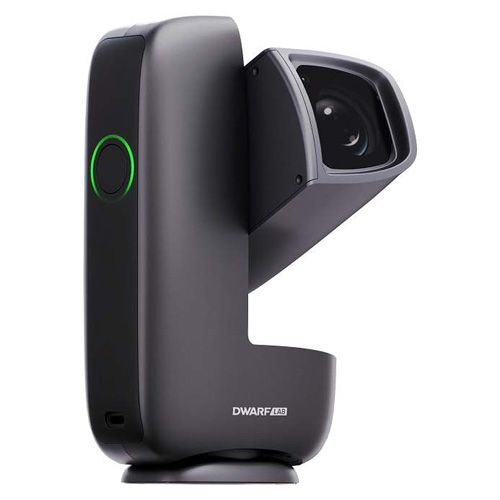
If you want a portable smart telescope that excels at wide-angle shooting, the Dwarf Mini is the ideal choice, and you can save $59 right now at Amazon.

Its portability is the killer feature here, as it's around half the weight of the Seestar S30 we mentioned above. Plus, the wide-angle camera is much wider, making it better for Milky Way landscapes, constellations and bigger portions of the sky.

Read our full Dwarflab Dwarf Mini reviewView Deal

While this isn't marked as a Big Deal Day price, it's the lowest we've seen it at Amazon since March.

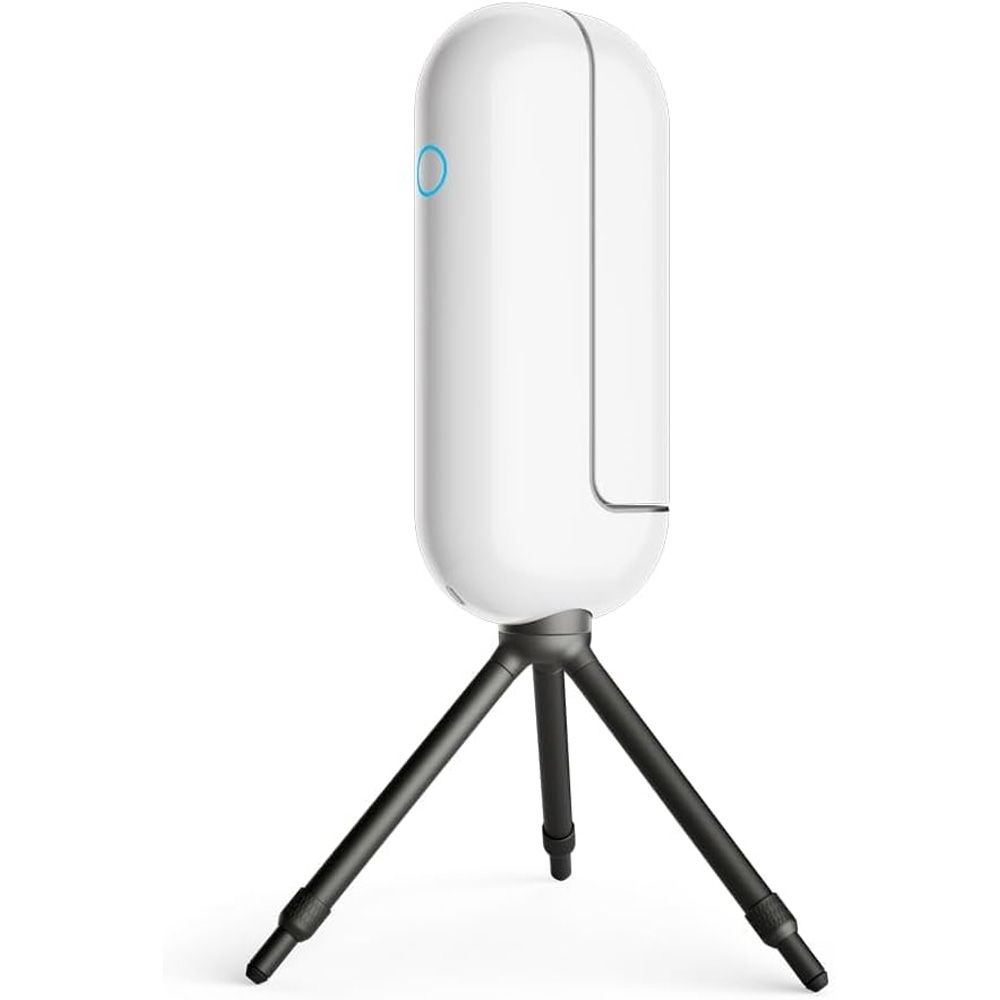
The Vaonis Vespera Pro is one of the best smart telescopes on the market, with the latest Sony Starvis 2 sensor, a massive 11-hour battery life and is ideal for deep-sky astrophotography.View Deal

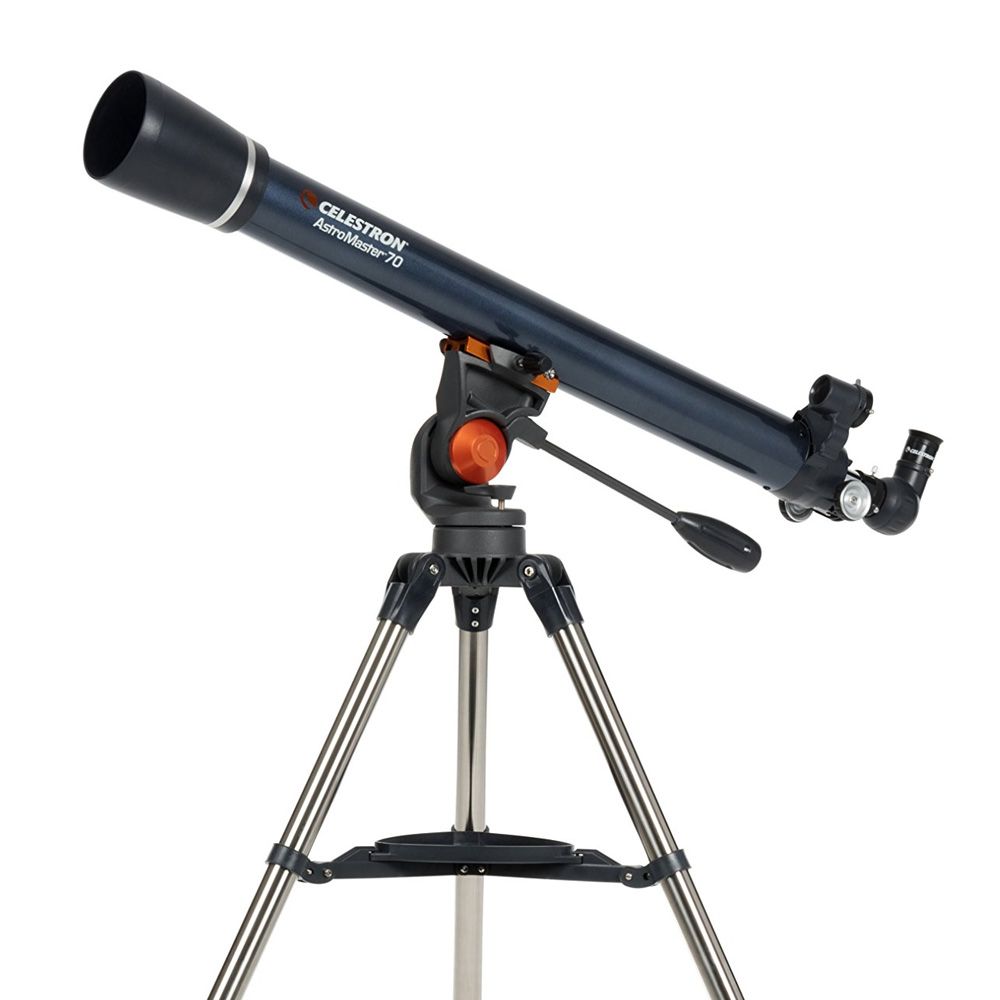
Celestron AstroMaster 70AZ: was $199.95 now $151.9
This small, portable Celestron telescope is ideal for beginners and younger users who want a closer look at the Moon and planets.

Not to be confused with the Celestron AstroMaster LT 70AZ, which is smaller and gives you a slightly wider view. The standard AstroMaster 70AZ, which is on offer here, has a longer focal length, which is better suited to spotting planets, particularly Jupiter and Saturn. This telescope usually sits around $179, and this is the cheapest we've seen it since June.View Deal

Celestron StarSense Explorer LT 80AZ: was $249.95 now $199.99
The Celestron StarSense range is really useful for total beginners, as the smartphone dock and accompanying app work out where the telescope is pointing, then show arrows on the screen to guide you towards certain objects.

So, rather than "Here's a telescope, good luck finding Jupiter", the StarSense is much more "Here's what's visible tonight. Pick something, and I'll show you where it is".

If you can afford to stretch your budget, this is a better option than the AstroMaster 70LT we listed above. It has better light-gathering capabilities thanks to the wider aperture; it's a lighter package overall and it includes a 2x Barlow lens.

We've not reviewed the 80mm aperture model, but we do have a full Celestron StarSense Explorer LT 70AZ review.View Deal

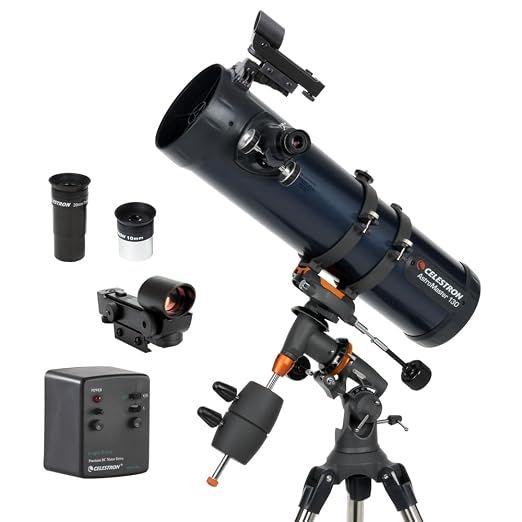
If you're looking for more of an intermediate-level telescope, the Celestron AstroMaster 130EQ-MD is a great option, and you can save $58 right now.

The EQ mount has a bit of a learning curve, but once you've got it set up, it's a much more accurate way of tracking objects across the night sky. Plus, this version comes with a motor drive, so there's no manual adjusting needed.

The 130mm aperture is great for viewing brighter deep-sky objects, and the moon looks beautiful, as do Jupiter and Saturn. View Deal

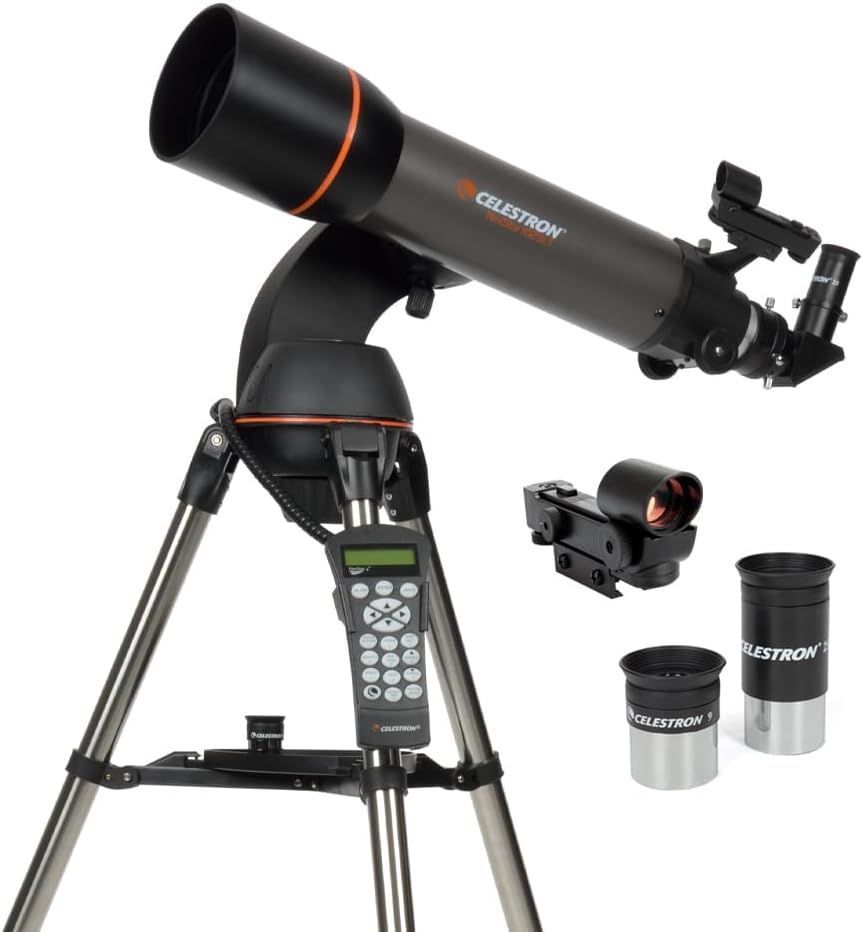
Celestron NexStar 102SLT: was $639.95 now $479.99
If you like the intelligence of a smart telescope but want an observational telescope, a GoTo is the perfect combination. Once the telescope is aligned, you use the handset to select a celestial object from the list, and the telescope automatically orients itself toward your chosen object.

This telescope has a 102mm aperture, which is excellent for observing larger deep-sky objects, the moon, and planets. It's user-friendly without feeling too much like a beginner telescope, and it's an excellent price.View Deal

Binocular deals

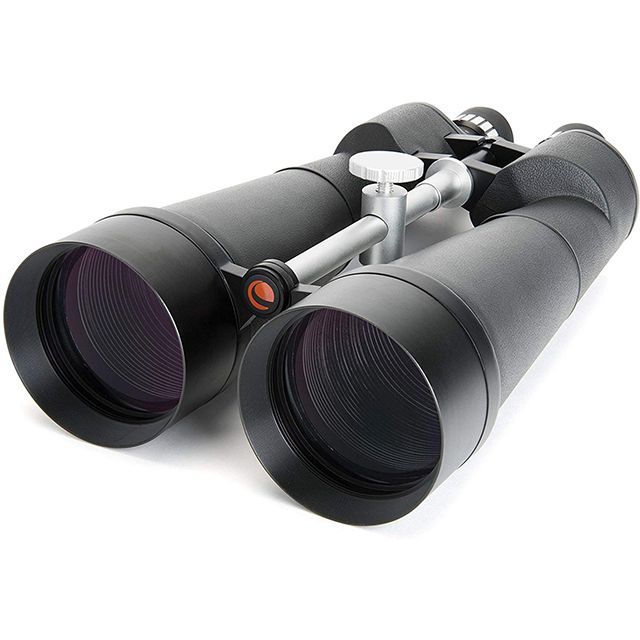
These massive, powerful astronomy binoculars are the closest thing to a telescope that isn't actually a telescope. With 25x magnification and 100mm objective lens diameter, they're perfect for getting detailed views of the moon and night sky.

Be warned, they're very big and very heavy, so you'll need to mount them on a tripod. They're for dedicated astronomy users, so if you want something lightweight and portable, check out some of the other options in this guide.

Read our full Celestron SkyMaster 25x100 reviewView Deal

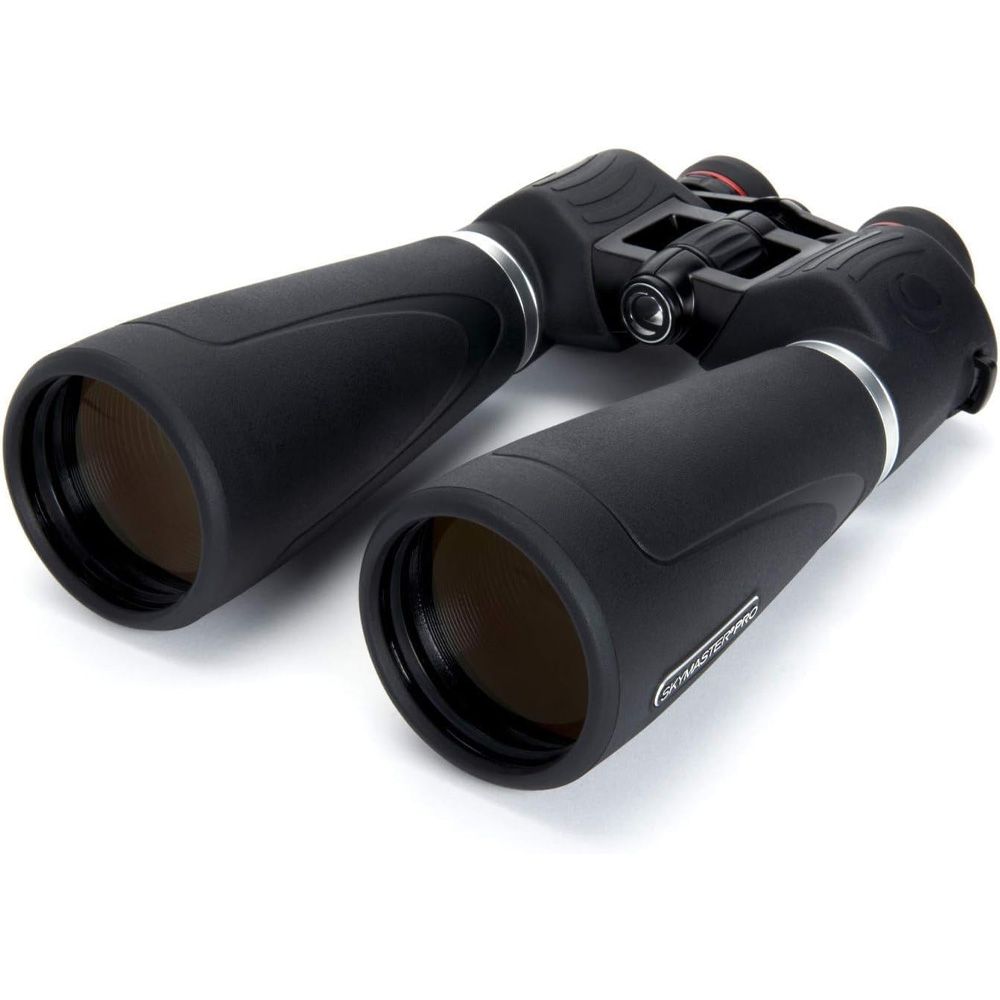
For serious stargazing, the Celestron SkyMaster Pro 15x70 is ideal for getting detailed views of the moon, constellations and spotting Jupiter's moons. They have excellent optical quality, and the solid build makes them as rugged as they come. That said, you'll need to mount them on a tripod due to their size and weight.

This price is the cheapest we've seen them since April.View Deal

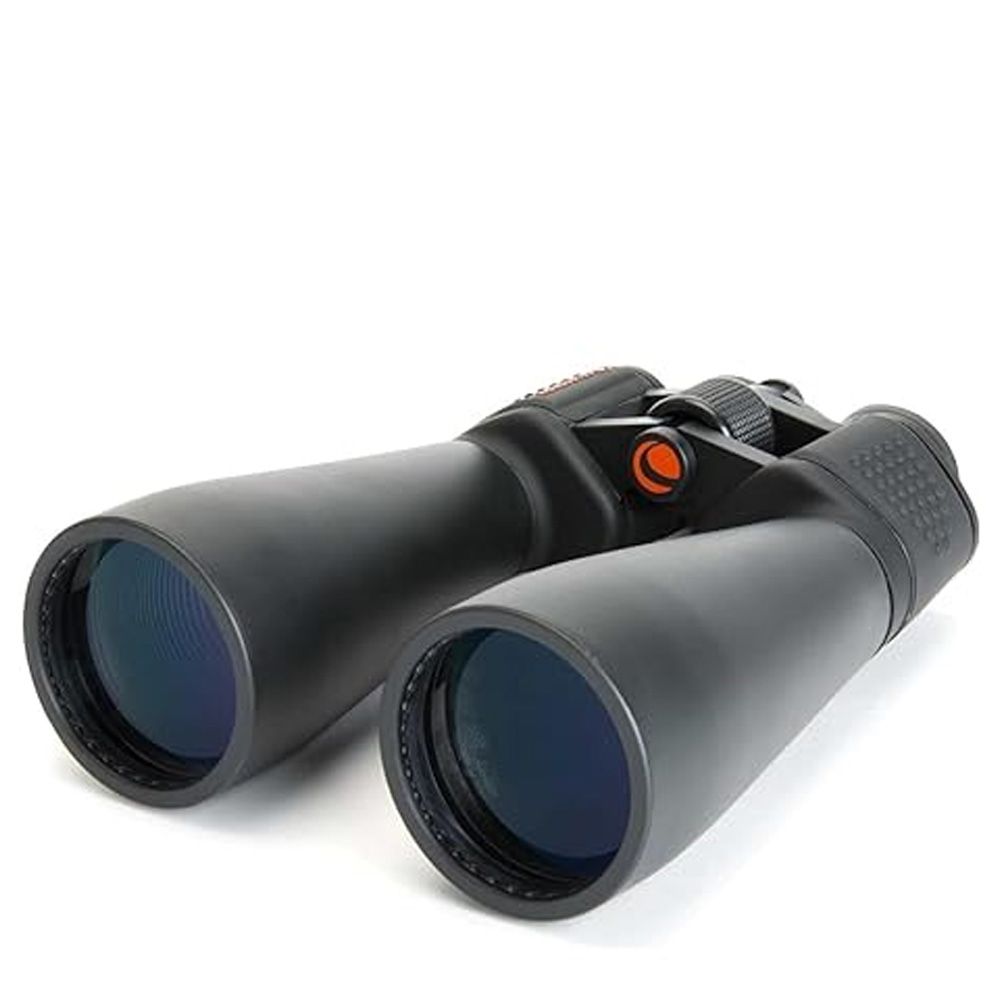
If you're looking for astronomy binoculars on a budget, these 12x60s from Celestron are ideal. They're a little big to use handheld, but they'll give you great views of the moon and stars, and you'll be able to spot Jupiter's moons.

Read our full Celestron SkyMaster 12x60 reviewView Deal

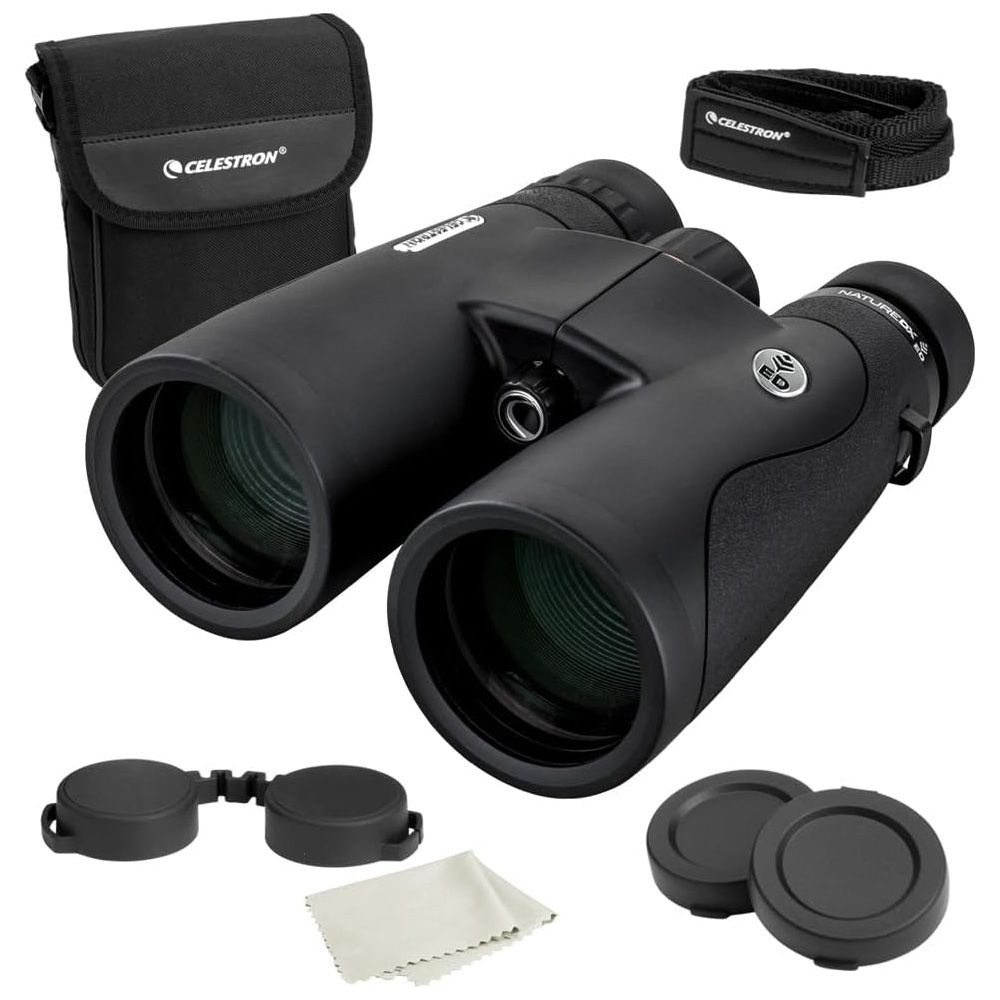
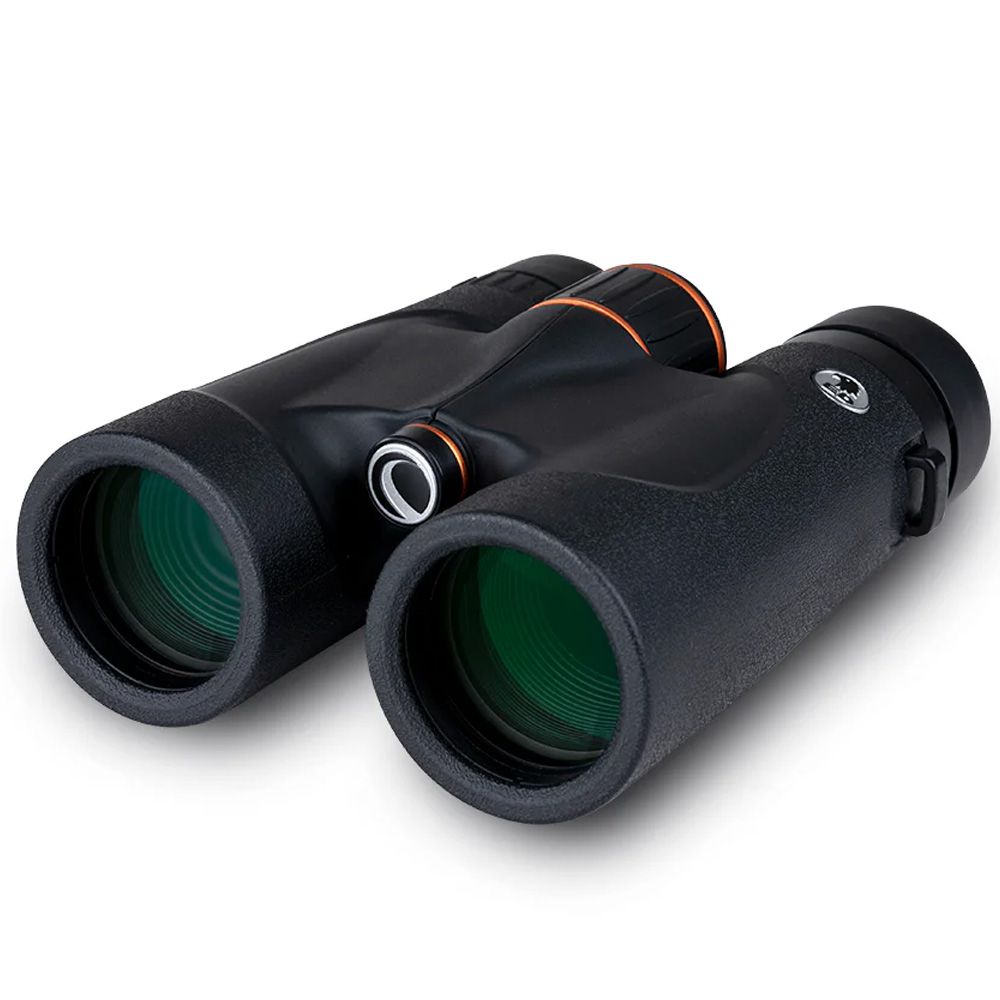
Celestron Nature DX ED 12x50: was $279.95 now $234.99
Binoculars with viewing power and excellent optical quality. These binoculars have ED glass to eliminate chromatic aberration, which is particularly useful when viewing the moon. They're more of an investment than non-ED glass, but they're worth every cent and will last a long time.

We've not reviewed this exact variant, but we have a full review of the smaller Celestron Nature DX ED 10x42.View Deal

The Celestron Regal ED 10x42 is one of the best multi-use binoculars we've tested. The ED glass and field-flattening technology produce clear, sharp views across the entire frame, and the 10x42 spec is good for spotting wildlife and sweeping across the sky to get a closer look at the moon and stars.

Read our full Celestron Regal ED 10x42 reviewView Deal

  •  

Fall stargazing 2026: The best skywatching sights in autumn (and how to see them)

With fall now upon us, many of us will be dusting off our binoculars and telescopes ready for the longer nights this season brings. Earlier sunsets mean more stargazing hours, and we'll start to see the return of some favorite celestial sights and deep-sky objects that we haven’t seen since before spring.

Fall is also an excellent time for casual stargazers, with the earlier evenings and cooler temperatures offering a comfortable compromise before we head into those freezing winter nights when we can't feel our toes. Don't worry if you're just starting out and don't have any gear yet, as many of this season's celestial objects are visible with the naked eye β€” and some are actually best viewed that way.

This September, October and November are great times to view the distant planets at opposition, catch several meteor showers and photograph far-flung galaxies and nebulas with your smart telescope. Plus, November brings the first full supermoon of the year. So, grab your telescope, your headlamp and a cozy sweater, and let's see what lies ahead.

Lunar & Planetary events

Neptune at opposition

An artist's illustration of Neptune, with faint streaks of wispy white clouds.

(Image credit: Getty Images)

Neptune reaches opposition on September 26 at 02:00 UTC, which is the best time to view it at its brightest, magnitude +7.8. Unfortunately, the full moon will somewhat ruin the party, and Neptune isn't particularly easy to spot at the best of times. That said, the opposition window lasts for several weeks, so waiting a couple of weeks to observe during the new moon week won't make any noticeable difference.

You'll need a good telescope to spot the big blue planet β€” at least a 6-inch aperture, although an 8-inch or bigger will give you the best chance. Make sure you have a good quality, high-powered eyepiece (something like a 6mm or 9mm) or a good Barlow lens to boost the magnification of your existing eyepieces.

But even with high magnification, Neptune will only appear as a small disc with a bluish hue β€” you won't see any cloud bands or surface features, because it’s just too far away. Still, it's worth trying to get a glimpse anyway.

Saturn at opposition

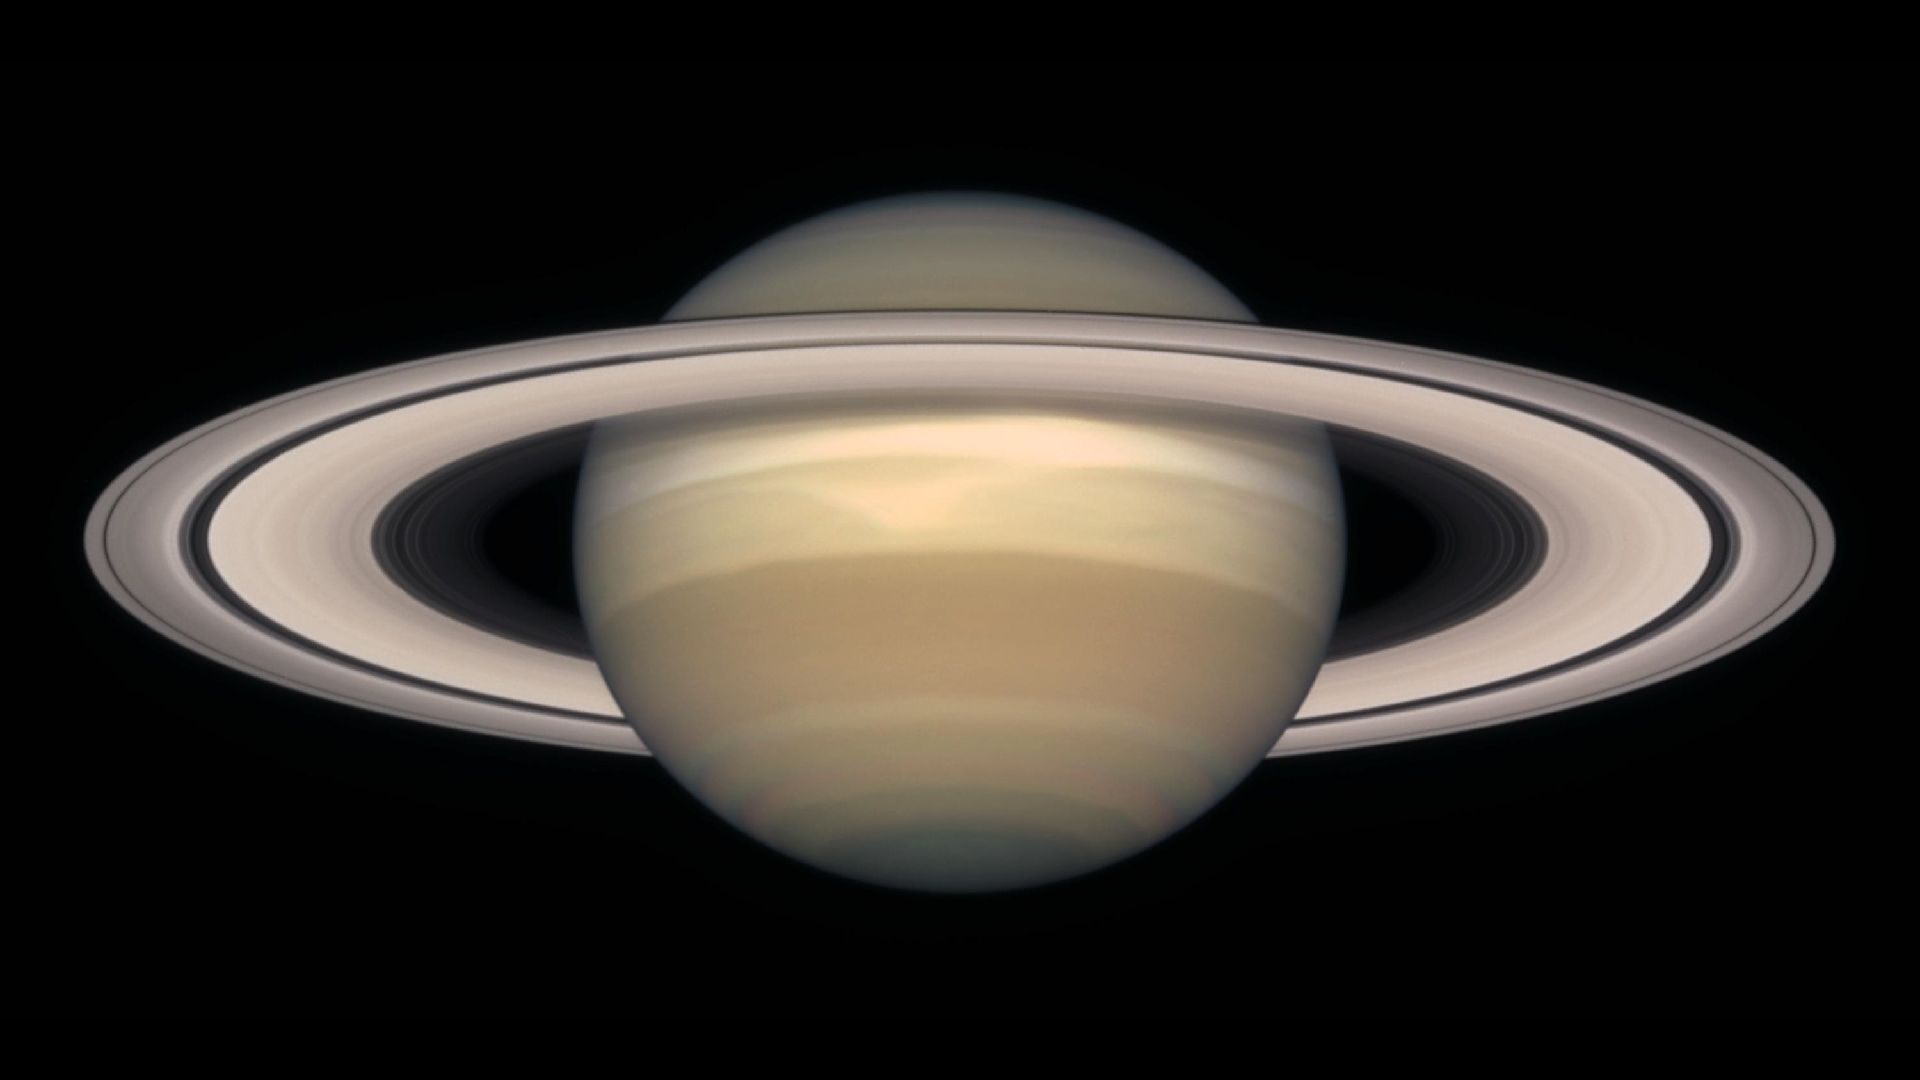
An image of Saturn

(Image credit: NASA / Hubble)

A week later, on October 4 at 12:00 UTC, Saturn reaches opposition, shining at magnitude +0.3. It will be easily visible to the naked eye, although to see Saturn's rings or any of its largest moons, you'll need a telescope.

The moon will be just below 50% illuminated and doesn't rise until past midnight, so you'll have a good portion of the late evening to observe Saturn while it's high in the sky before the moonlight affects visibility. Even though the rings are only partially tilted, you can still make out a lovely golden oval around the planet, and in larger telescopes you'll be able to spot the Cassini division. We recommend a telescope with at least 4 or 5 inches of aperture, and a good quality, high-powered eyepiece to observe the finer details.

Full supermoon

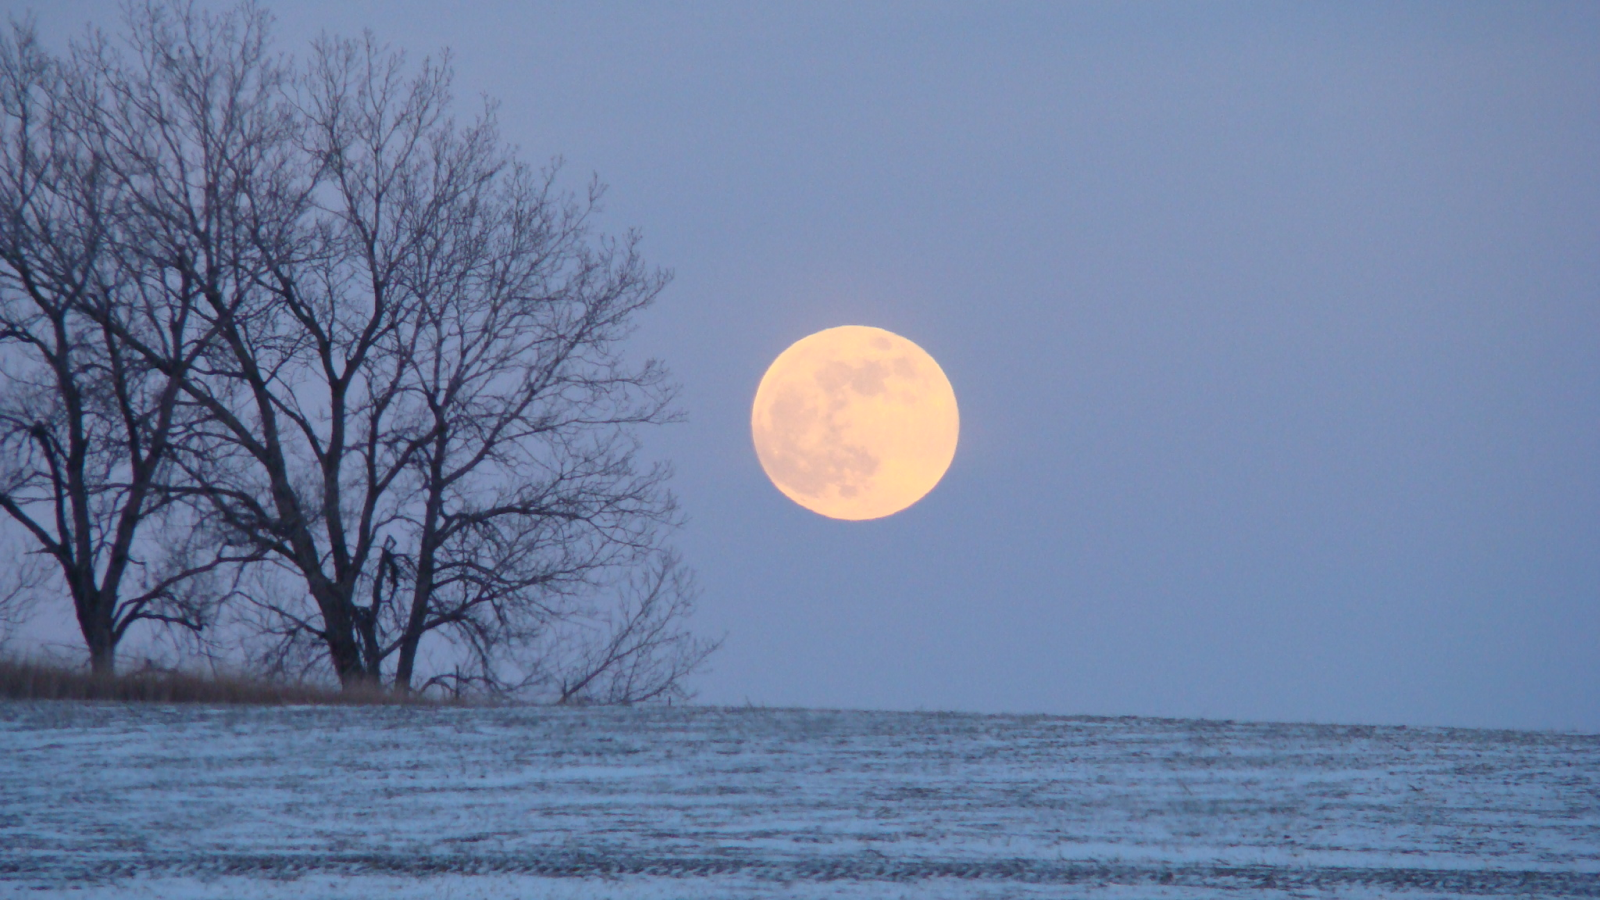
Photograph of a full moon.

(Image credit: Dawn Villwok-Joerg/Getty Images)

November 24 brings the first full supermoon of fall/winter, when the bright Beaver Moon will light up the skies, shining around 15% brighter than a normal full moon.

You can enjoy this moon without any gear whatsoever, but observing with binoculars or a telescope, or capturing its magnificence with a camera, makes the experience much more enjoyable.

Until then, you can catch the other full moons of the season on September 26 and October 26.

Uranus at opposition

an illustration of Uranus

(Image credit: ARTUR PLAWGO / SCIENCE PHOTO LIBRARY via Getty Images)

The third planetary opposition of the fall belongs to Uranus on November 25 at 23:00 UTC. But like Neptune in September, the almost full moon will dampen its visibility, so we'd recommend waiting until the new moon week.

Like the other outer planets, you'll need a larger telescope with an aperture of at least 6 or 8 inches to view Uranus, alongside a good quality, high-powered eyepiece for the best views. These larger scopes gather enough light to distinguish Uranus's turquoise color, although you'll need to go even bigger if you want to see its brightest moons.

Meteor showers

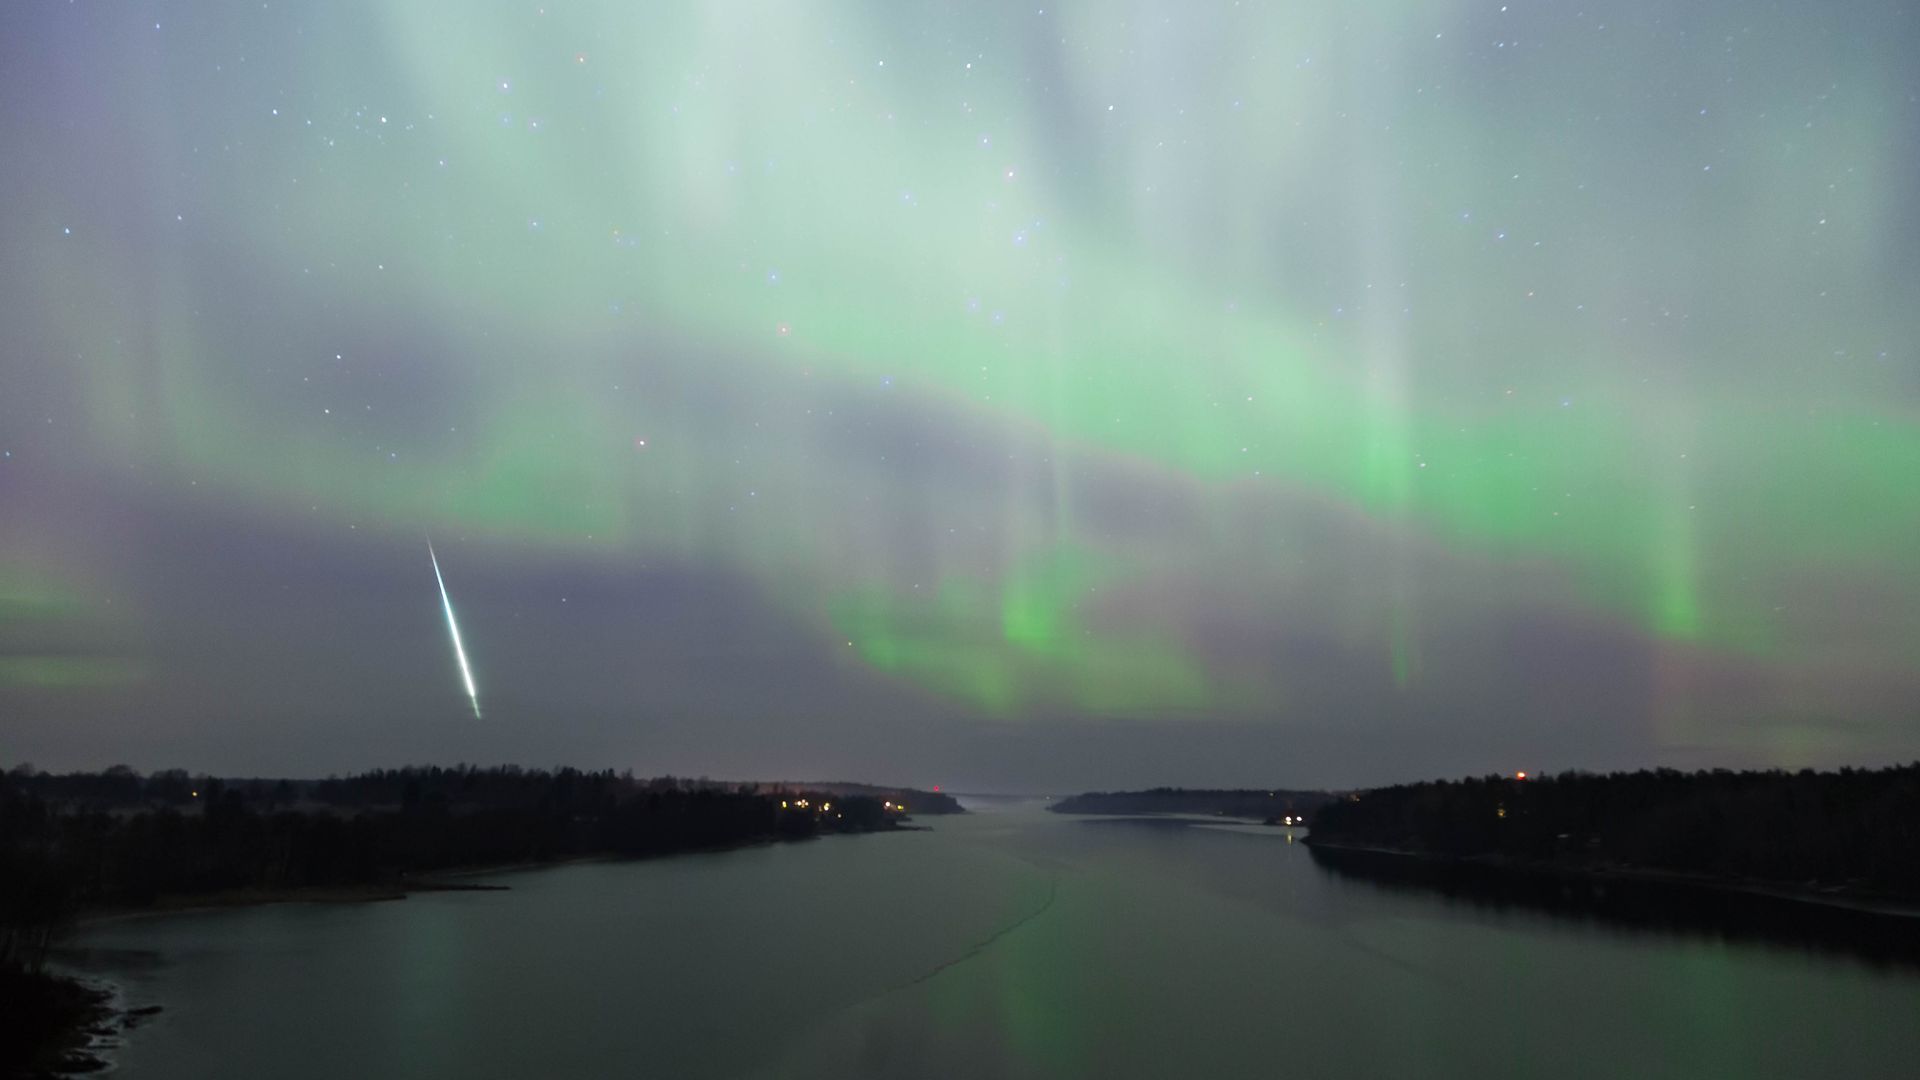
Draconids

A meteor falls to Earth with a green aurora in the background

(Image credit: Getty Images)

The first meteor shower of the season β€” and unlike most showers, which involve a lot of caffeine and an all-nighter, the Draconids are best seen in the late evening instead of the dead of night.

This meteor shower is active between October 6-10, peaking on the night of October 8-9. With the radiant point in Draco being highest at nightfall and the thin crescent moon not causing any interference, the best viewing hours are in the late evening before midnight.

These meteors are leftover debris from comet 21P/Giacobini-Zinner, and you can expect to see around 6-10 meteors per hour under ideal conditions.

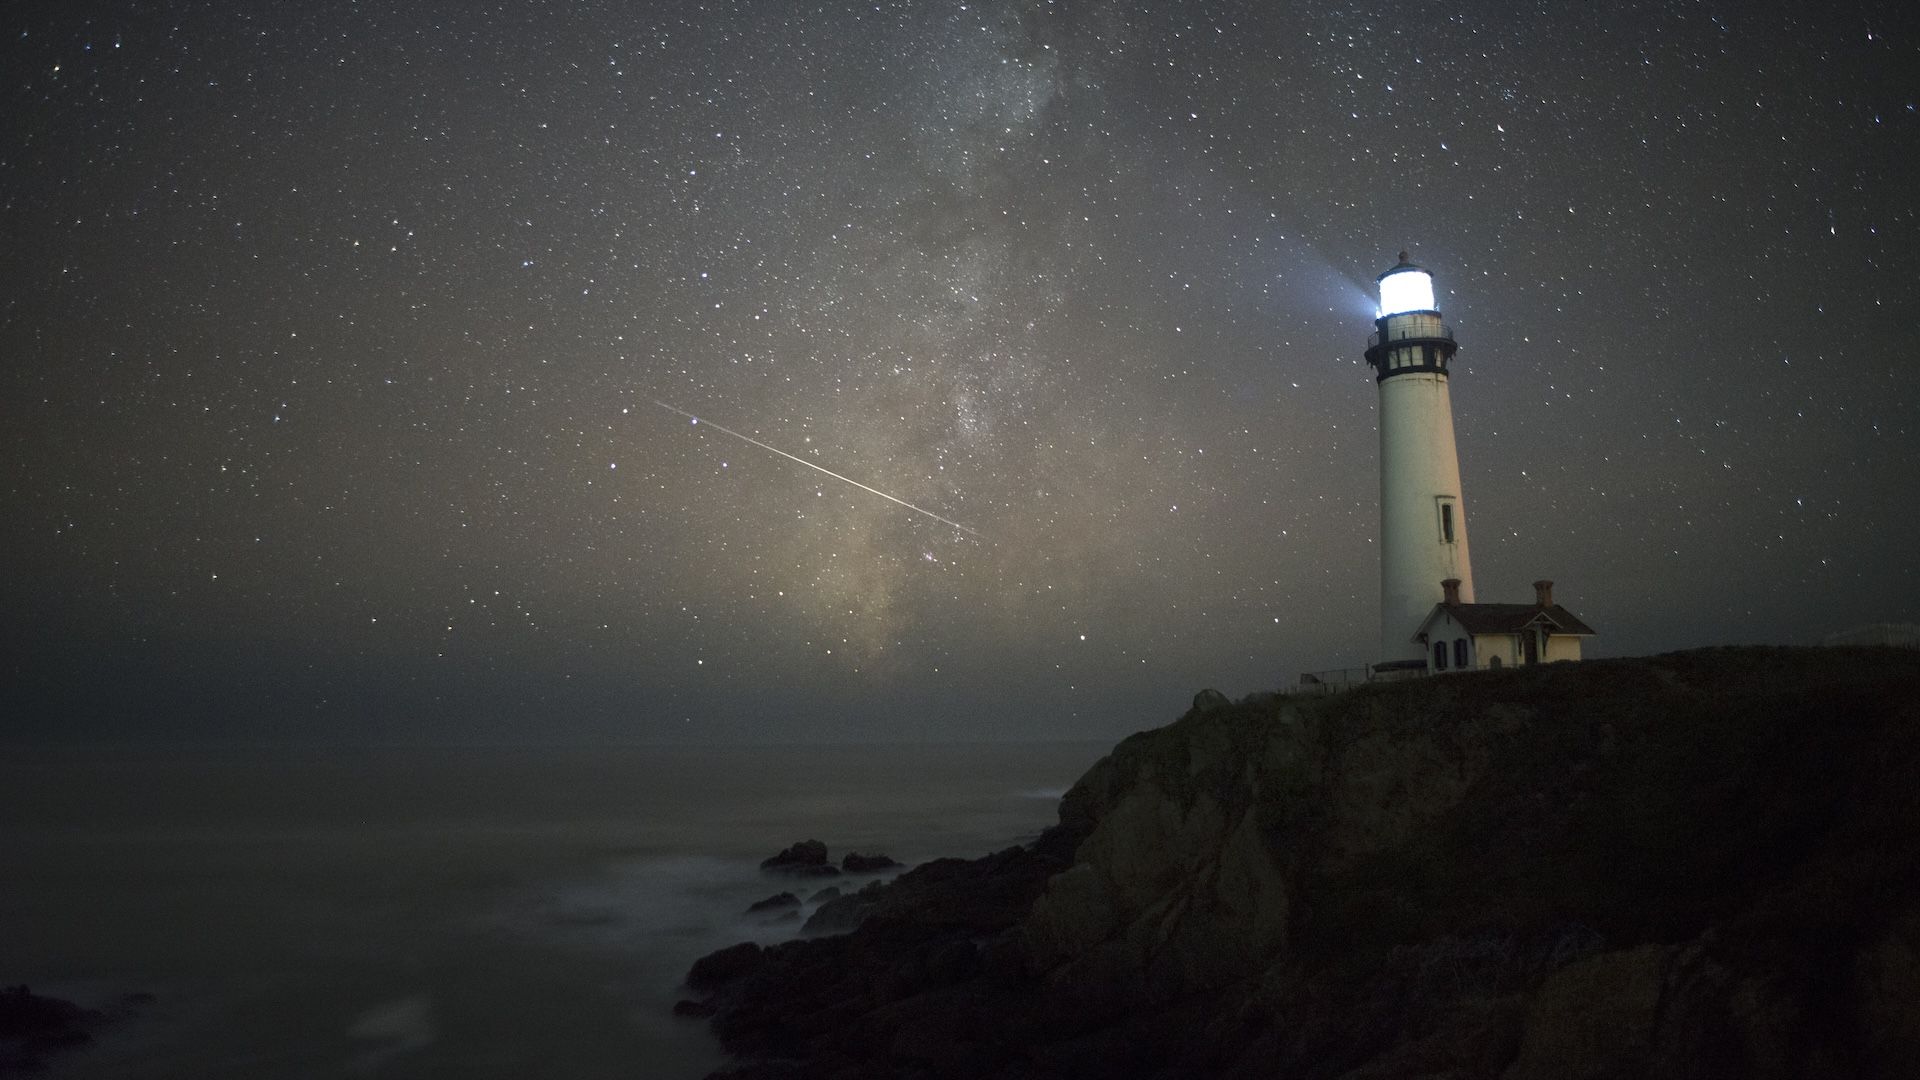
Orionids

A shooting star streaks behind a lighthouse on a starry night

(Image credit: Mountain Light Photography Inc via Getty Images)

The Orionid meteor shower happens every October, when Earth passes through the trail of debris from Halley's Comet. In 2026, it's active between October 2 and November 7, with the peak occurring on the night of October 21-22. This shower brings between 10 and 20 meteors per hour under dark skies, radiating from the Orion constellation.

The waxing gibbous moon during the peak will add a fair bit of light pollution, but the moon will set between 03:12 am and 04:15 am depending on where in the States you're watching from, so you'll have a few hours before dawn to catch the darkest skies. You just need your eyes and clear, dark skies to see them, and a good astrophotography camera equipped with a wide-angle lens is perfect for capturing photos.
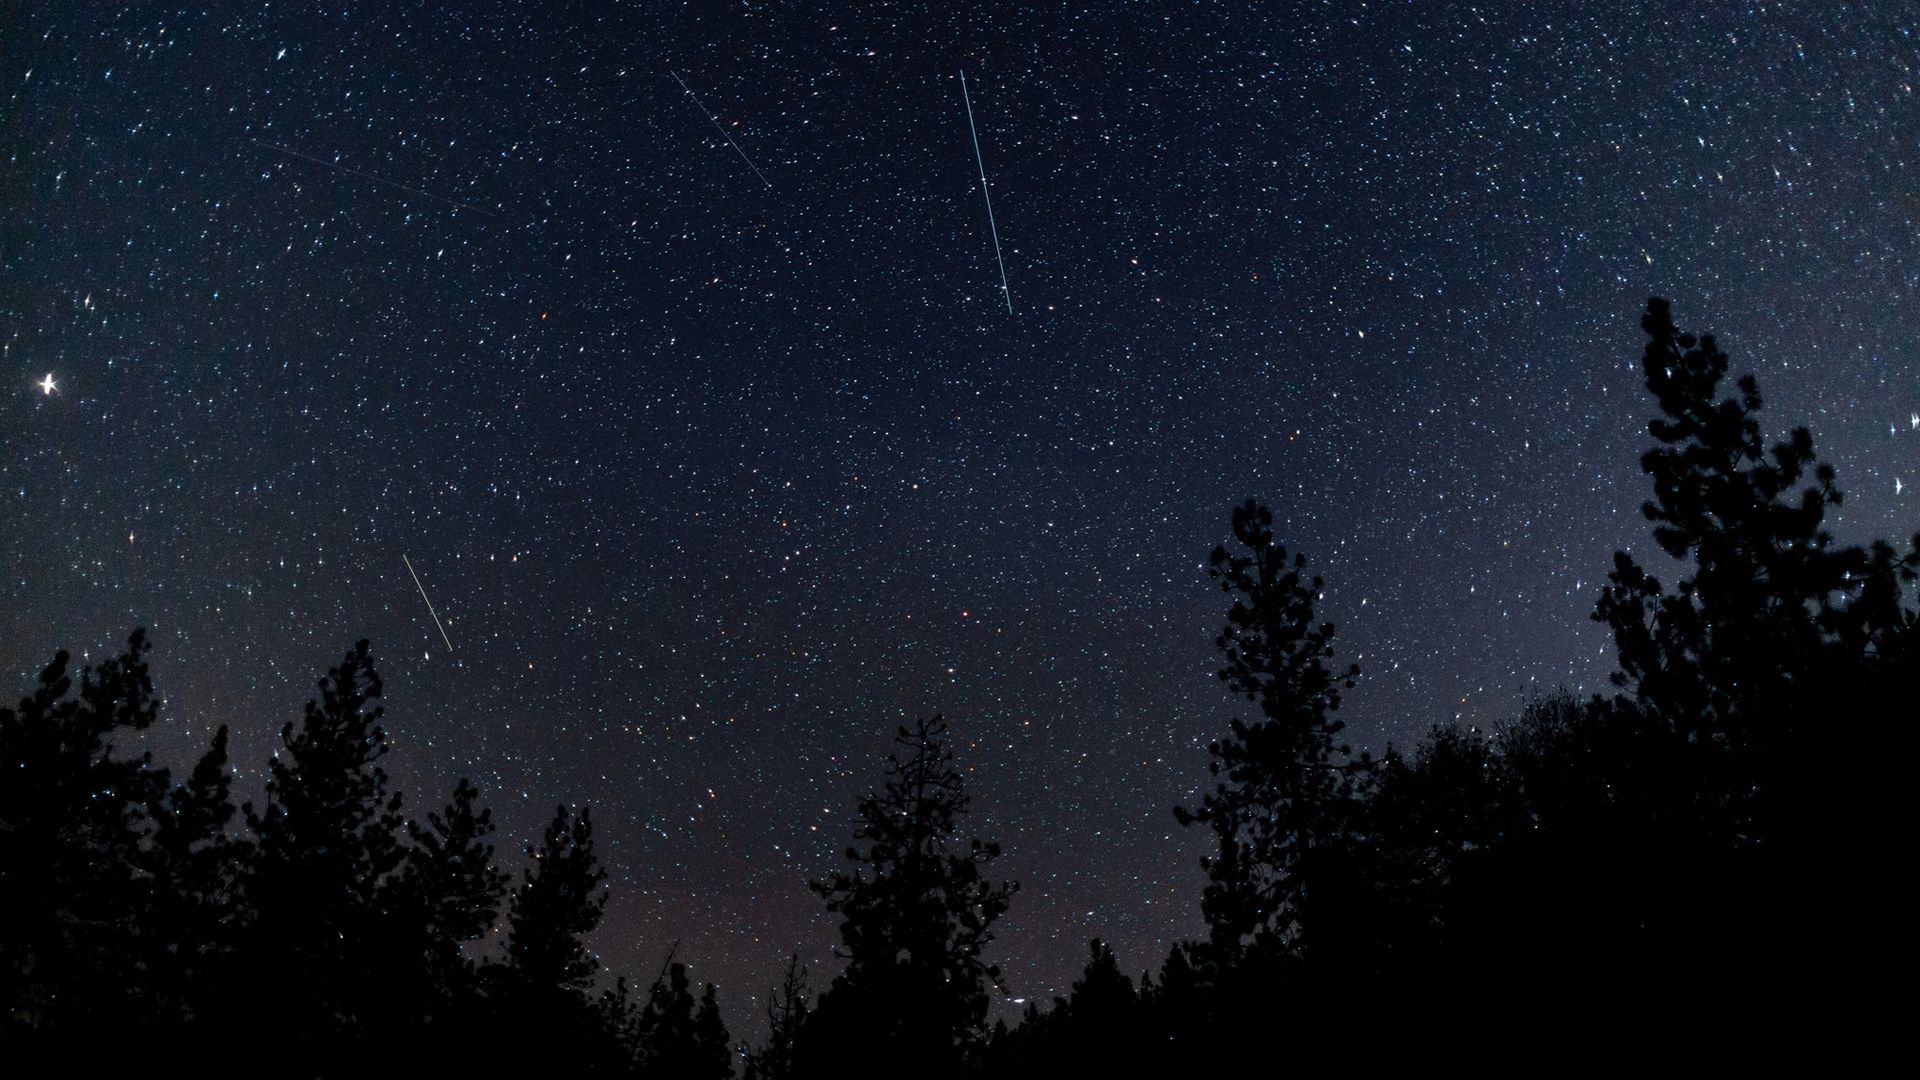
Taurids

Northern Taurids meteor shower above a row of trees

(Image credit: Getty Images)

The Taurids meteor shower comes in two parts. The first is the Southern Taurids, active between September 10 and November 20, peaking on the night of November 4-5 (during a thin waning crescent moon). The Northern Taurids come slightly later and are active between October 20 and December 10, peaking on November 12 (during an even smaller waxing crescent moon).

The hit rate is one of the lowest of all the meteor showers, with only around 5 meteors per hour. However, the Taurids are known for producing bright, slower-moving fireballs that linger in the sky β€” making them a particularly appealing astrophotography target.

Peak viewing time will be around midnight, when the Taurus constellation reaches its highest point in the sky.

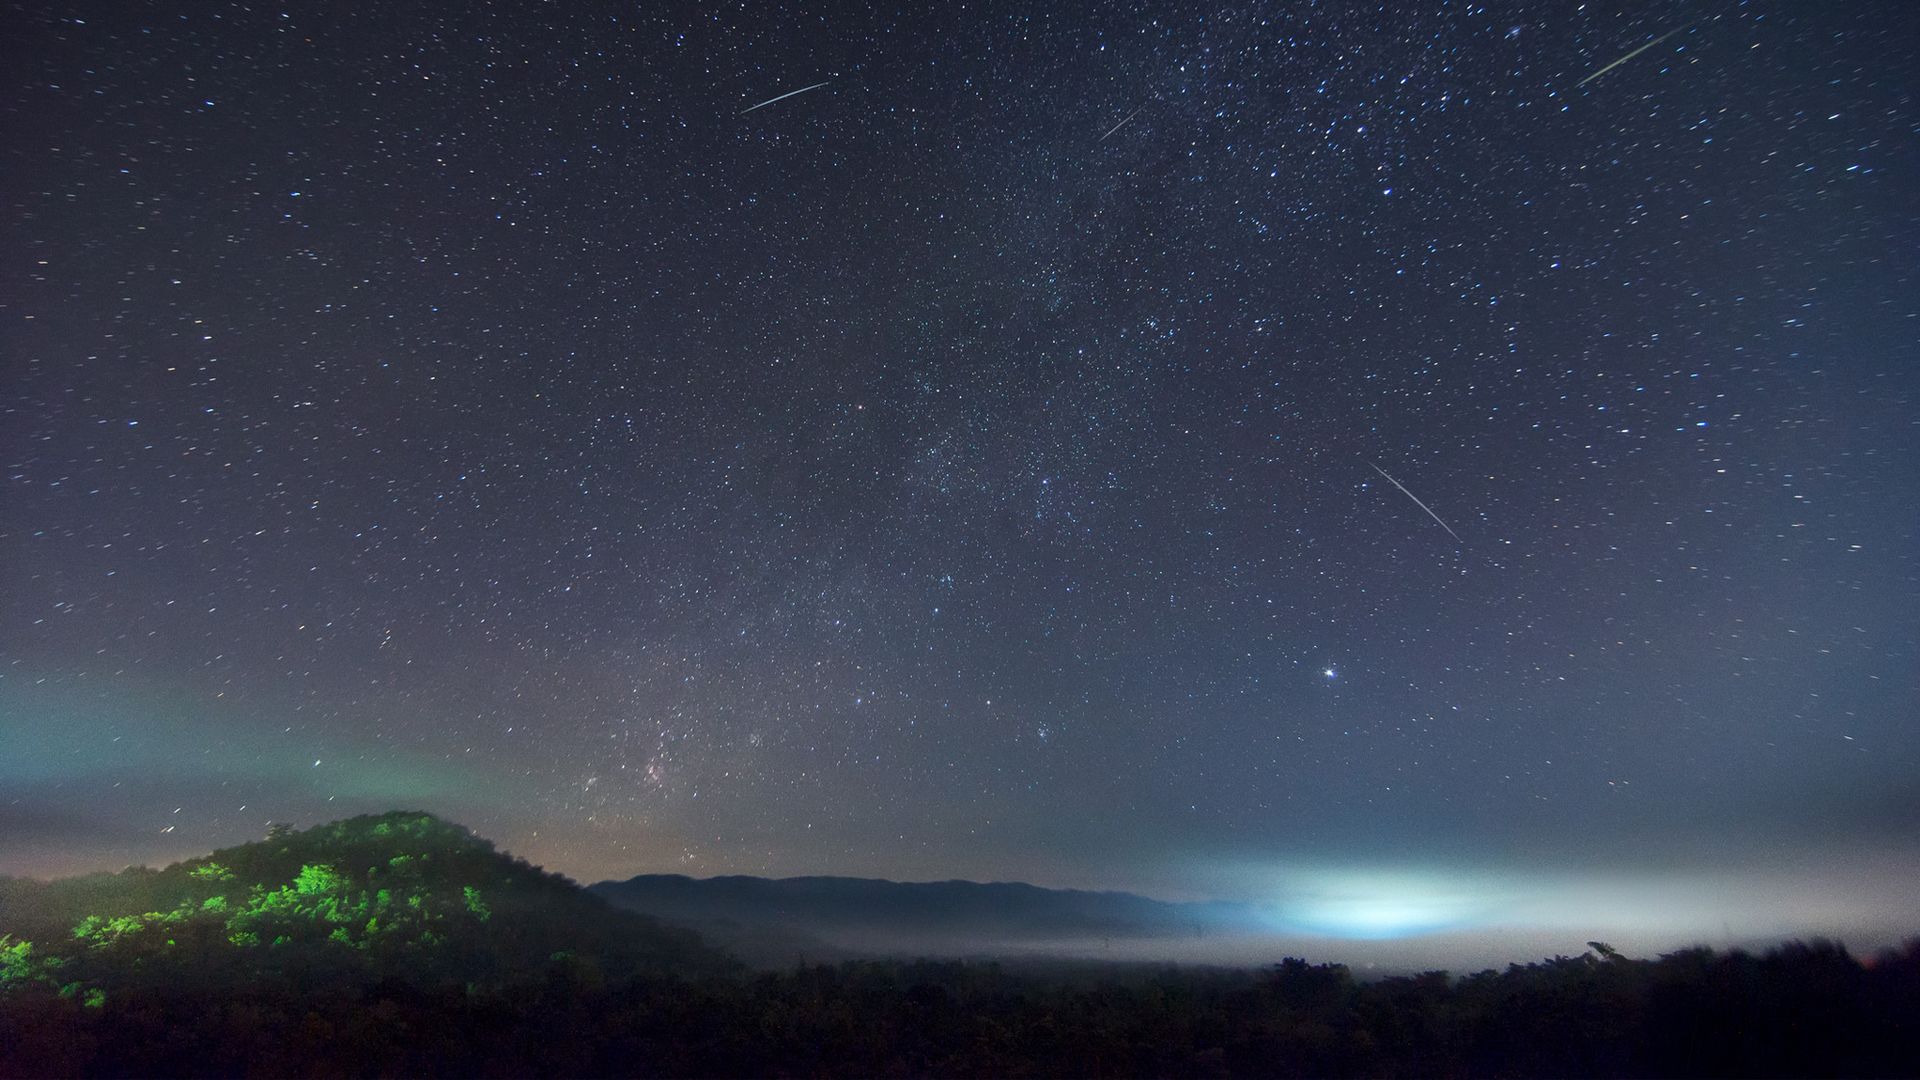
Leonids

Leonid meteor shower above Lampang Thailand

(Image credit: Getty Images)

Radiating from the Leo constellation, the Leonids come from the dust and debris left behind by comet 55P/Tempel–Tuttle, which orbits the Sun every 33 years. They produce between 10 and 15 meteors per hour, and the shower period runs from November 6 to November 30, with the peak falling on the night of November 17-18.

The first quarter moon will set around midnight, making way for the best of the shower between midnight and 4 am in totally dark skies.

Star clusters and constellations

Pleiades (and Hyades)

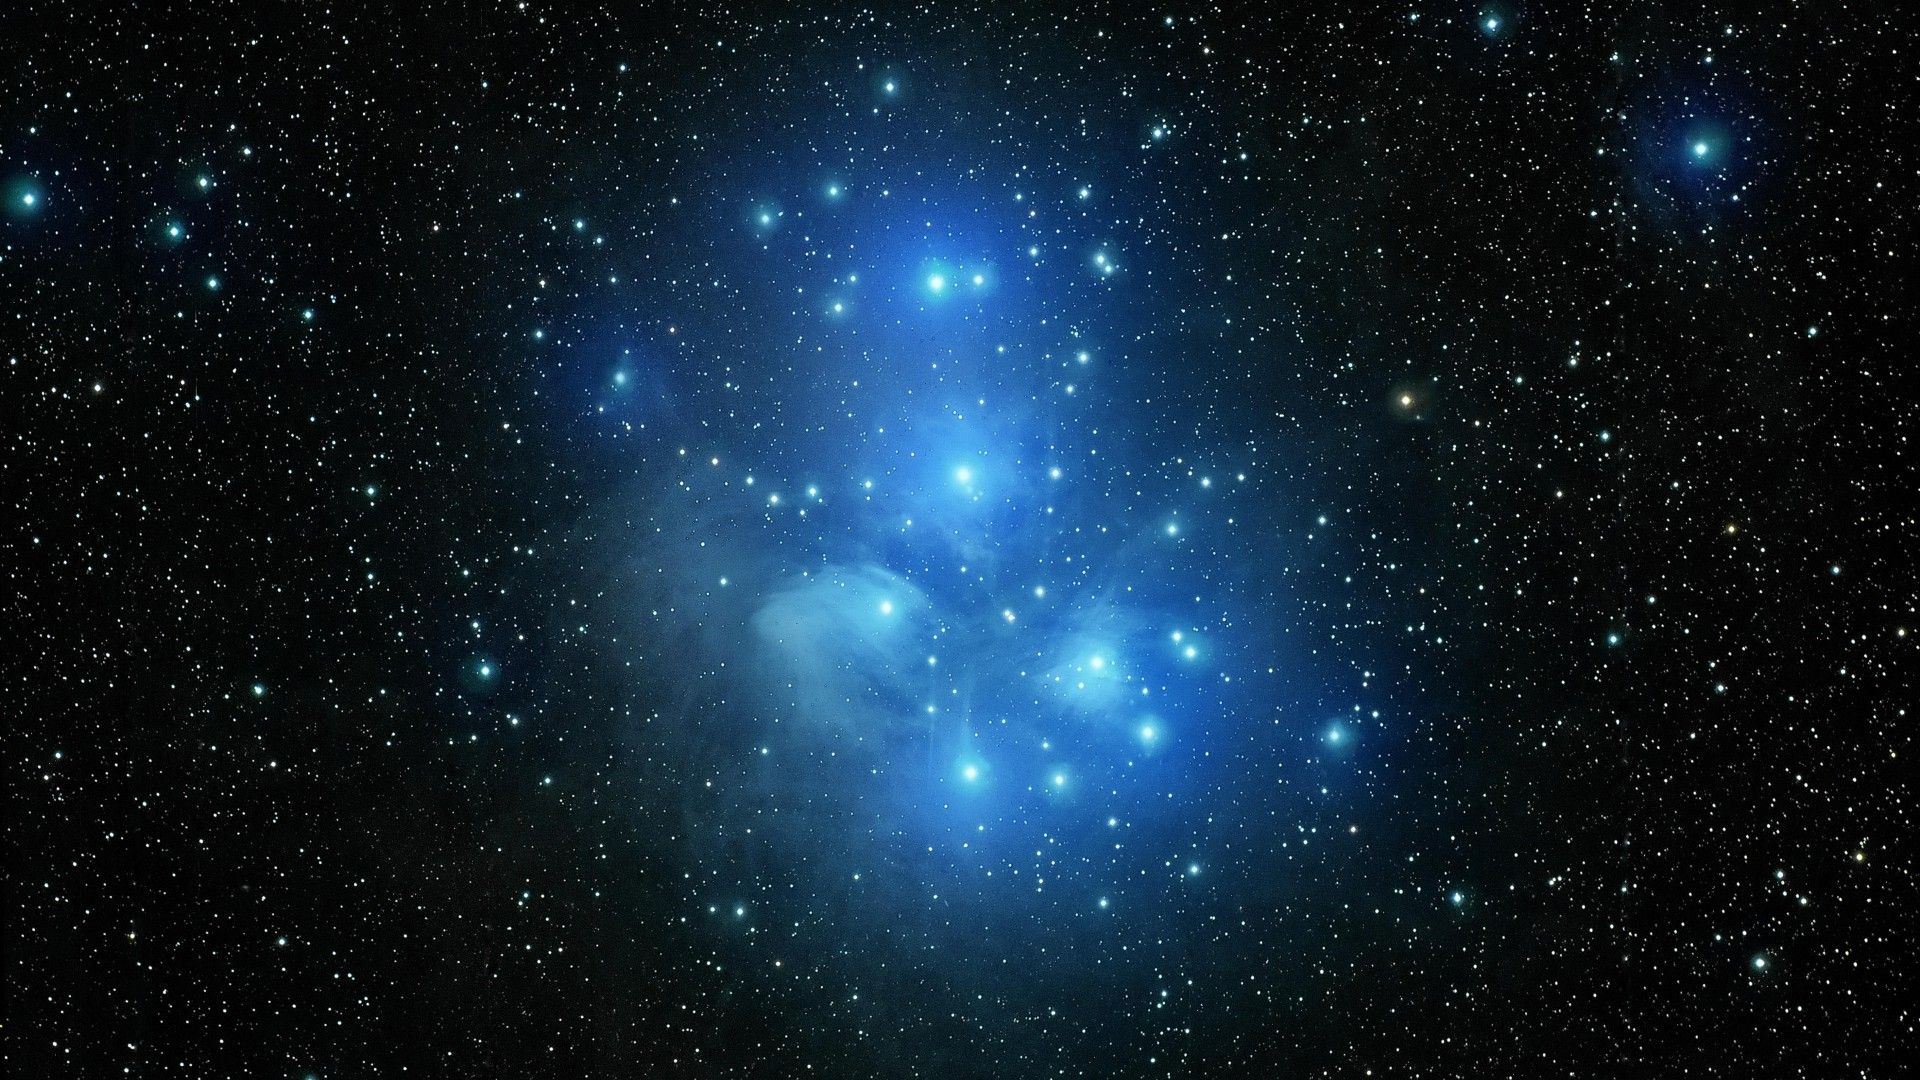
Image of Pleiades, an open star cluster (also known as the Seven Sisters and Messier 45). There are a number of bright stars that stand out amongst the rest, surround by a faint dust cloud.

(Image credit: Giulio Ercolani / Alamy)

A favorite among many stargazers, the Pleiades (M45), an open cluster known as the "seven sisters" in the constellation of Taurus, slowly returns to the night sky this fall. By October, it rises in the east a couple of hours after sunset and is visible from dusk to dawn from November. Although it's about 440 light-years from Earth, you can see it with the naked eye under dark conditions β€” even though it's usually just a faint, fuzzy patch β€” but binoculars or a telescope provide a much more impressive view.

As Greek mythology has it, the sisters β€” named Maia, Alcyone, Asterope, Celaeno, Taygete, Electra and Merope β€” were the daughters of the Titan Atlas and Pleione. The story is that Zeus transformed them into a cluster of stars to escape the relentless pursuit of the giant hunter Orion, who fell in love with the sisters and chased them for seven years. It seems he couldn't take the hint.

Look below the Pleiades, and you'll find their five half-sisters, the Hyades β€” an open cluster which makes up the V-shaped face of Taurus, the Bull.

The Pleiades are a fantastic target to capture with a smart telescope. If you want to stack multiple sessions across fall and winter, start in late November when they're high in the sky. You want an altitude of 50 degrees or higher, and ideally 60 degrees or more. The cluster itself is easy to capture, but the less atmosphere you're looking through, the more you can pull out that delicate blue nebulosity, which is what takes an image of the Pleiades from good to spectacular.

Another enemy of that lovely blue glow is the moon, so make sure you're imaging under completely dark skies with no more than around 25% moonlight. If you get a clear, moonless night, aim for 2-3 hours minimum to capture the faint nebulosity, and go for 3-5 hours for a really impressive image.

Pegasus

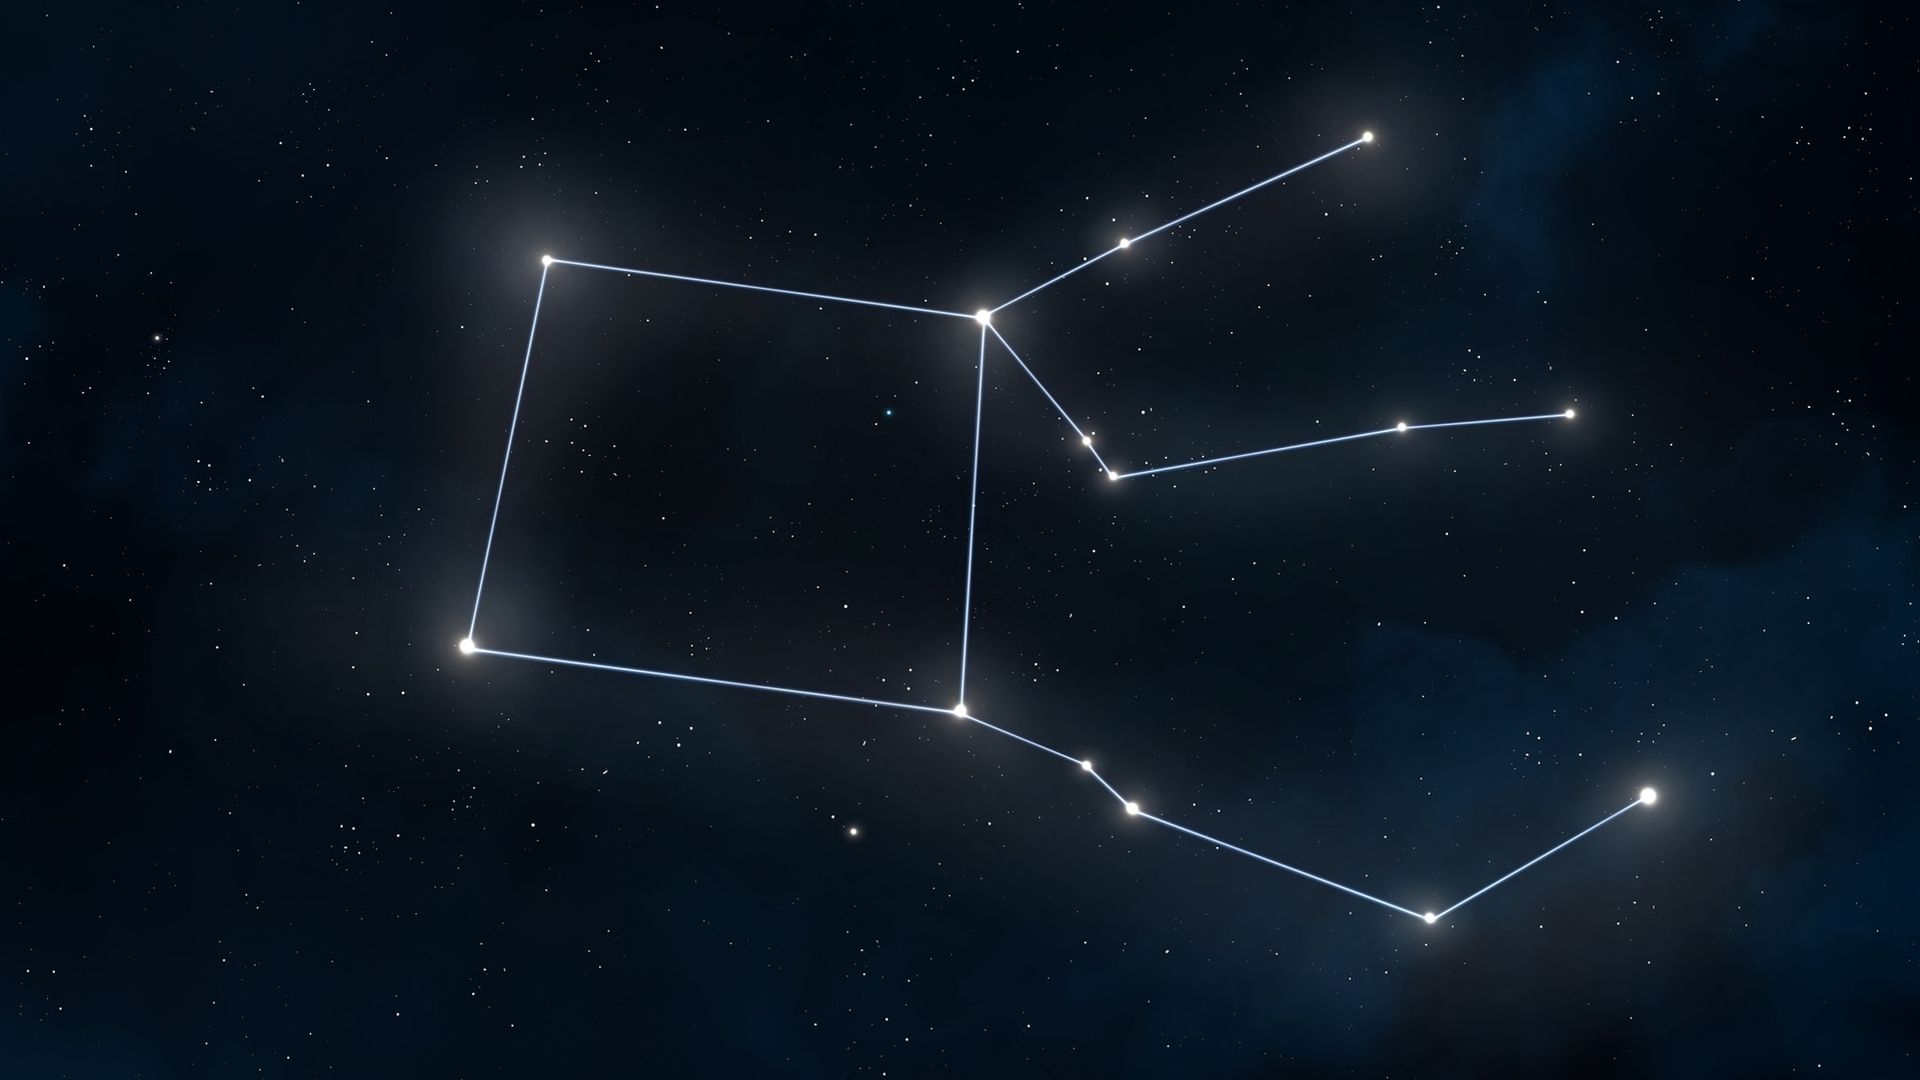
Pegasus constellation

(Image credit: Getty Images)

The best time to see the Great Square of Pegasus is during the fall evenings between September and January, with October offering the clearest and highest views in the night sky.

This asterism is a large, prominent square shape made up of four bright stars in the eastern sky β€” Markab, Scheat, Algenib and Alpheratz β€” with the latter belonging to the neighboring constellation of Andromeda. The square is said to make up the body of the winged horse, and the four stars range from about 133 to 670 light-years away from Earth. Point a pair of binoculars at them, and they'll reveal many more stars that are not visible to the naked eye.

Cassiopeia

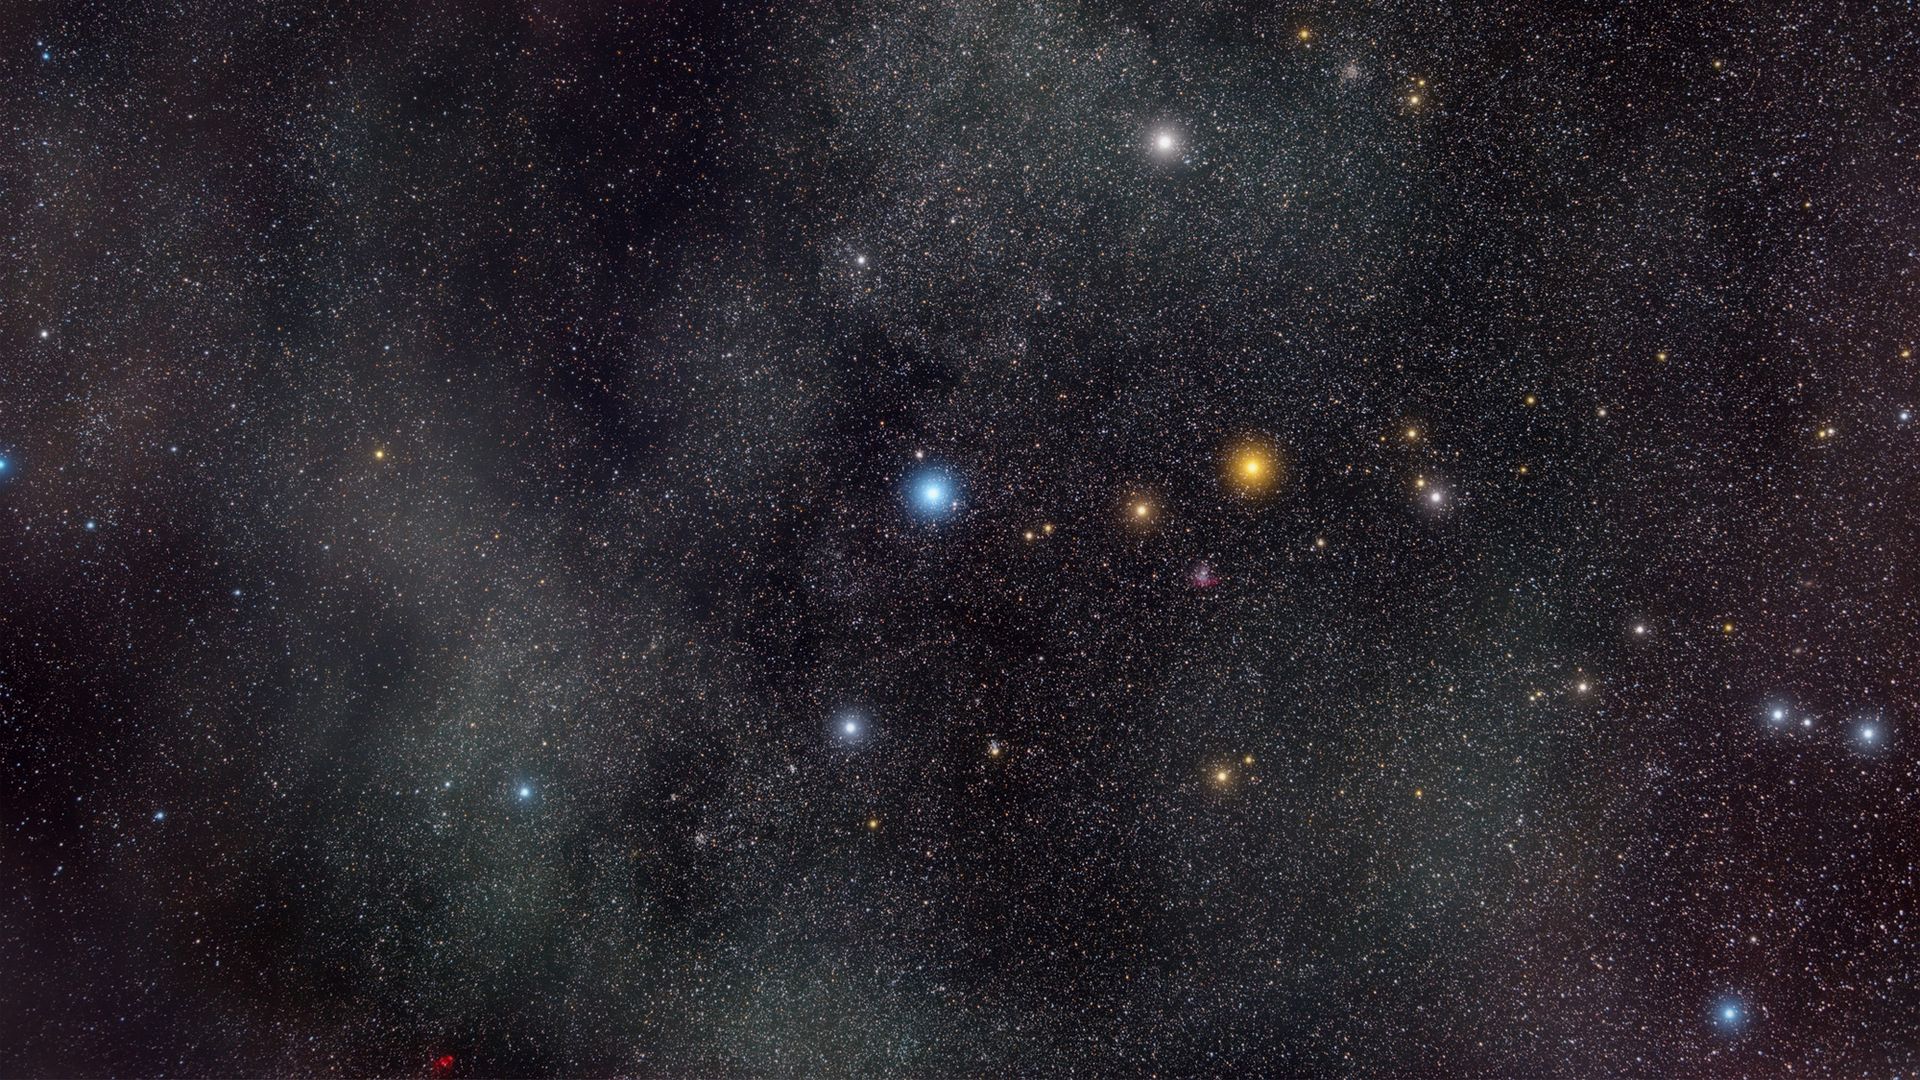
Cassiopeia constellation

(Image credit: Getty Images)

Cassiopeia is one of the Northern Hemisphere's circumpolar constellations, so although it's technically visible all year, it's best seen during the autumn and winter months. Throughout the fall, it climbs higher and higher in the sky, reaching its upper culmination in mid-November, when it is best viewed between 9 pm and midnight.

Depending on its rotation in the sky, Cassiopeia appears as a "W" or "M" shape made up of five bright stars ranging from 19 to 425 light-years away and visible with the naked eye.

Cassiopeia was a vain, arrogant queen in Greek mythology, and after boasting that she and her daughter, Andromeda, were more beautiful than the Nereids, the gods placed her in the sky tied to her throne, where she spends half of the year upside down as punishment for her vanity.

The Owl Cluster

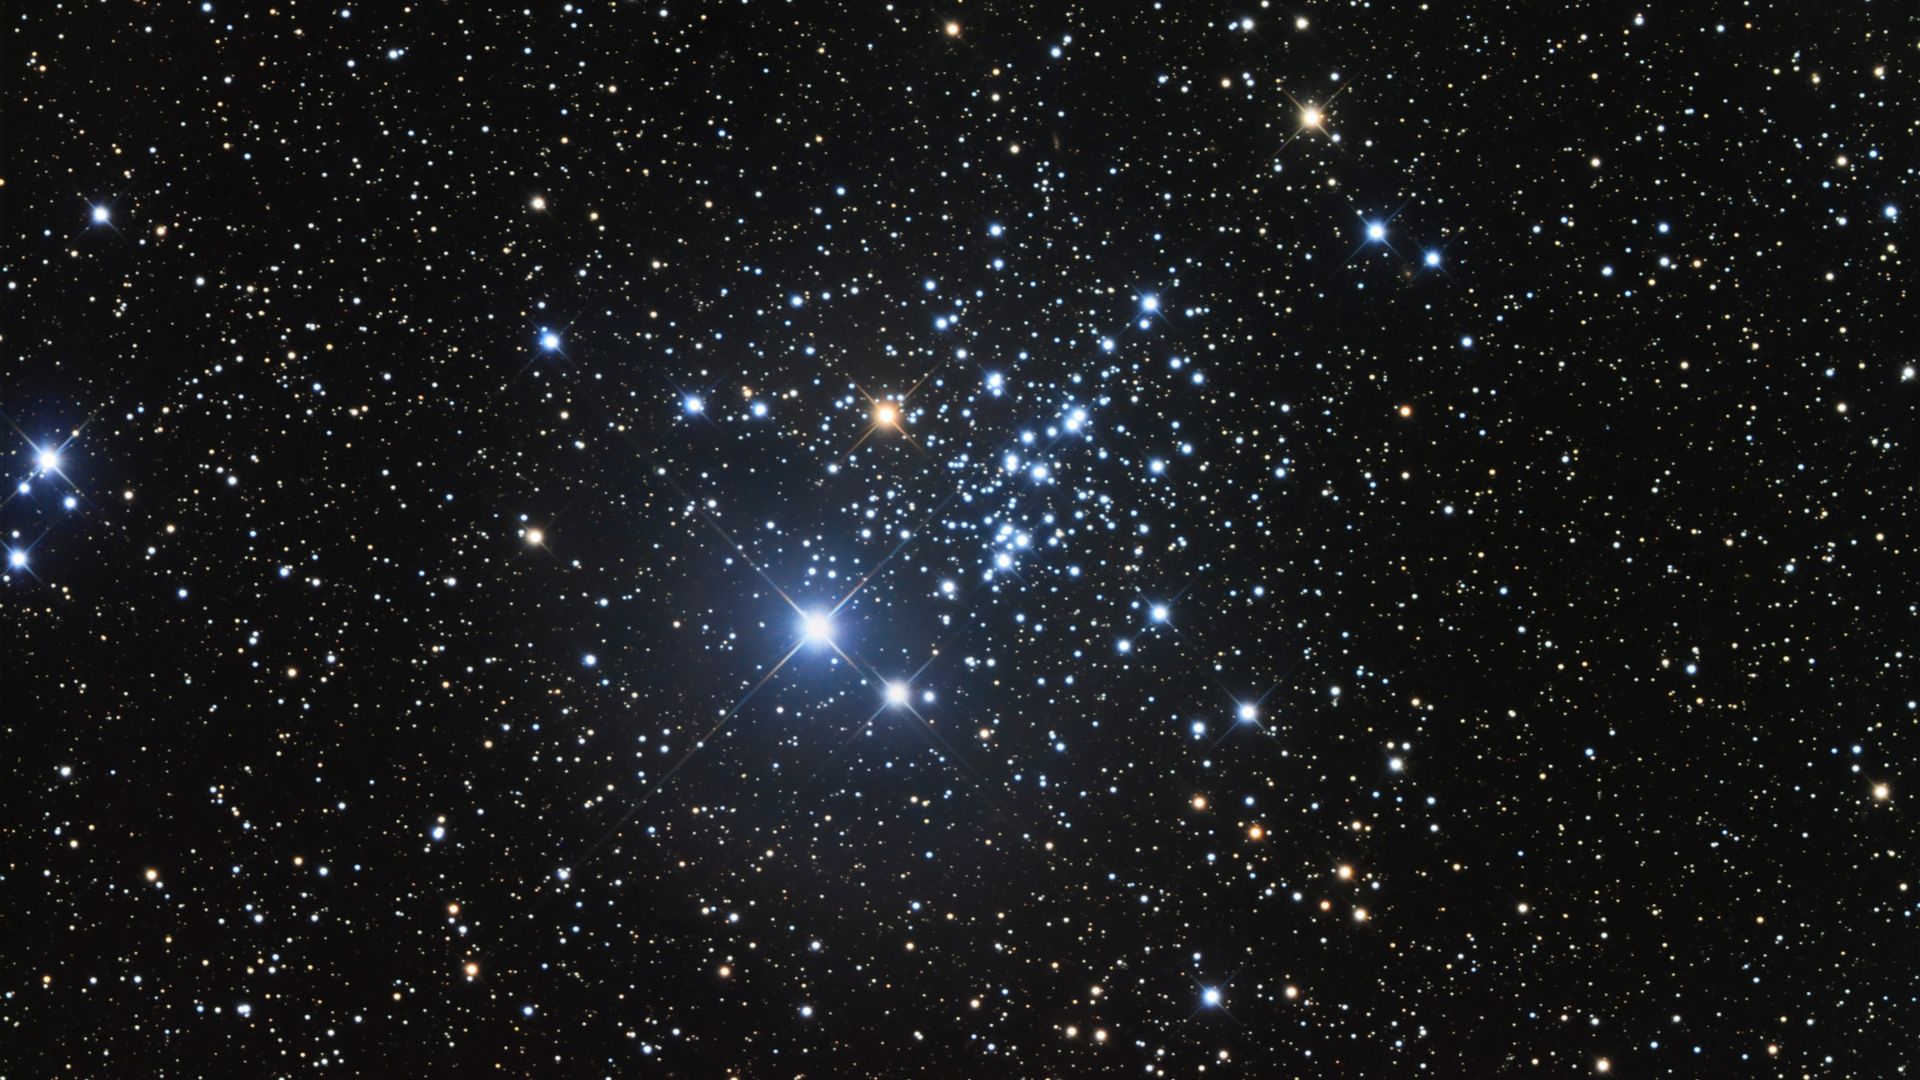
owl cluster in the night sky

(Image credit: Stocktrek Images via Getty Images)

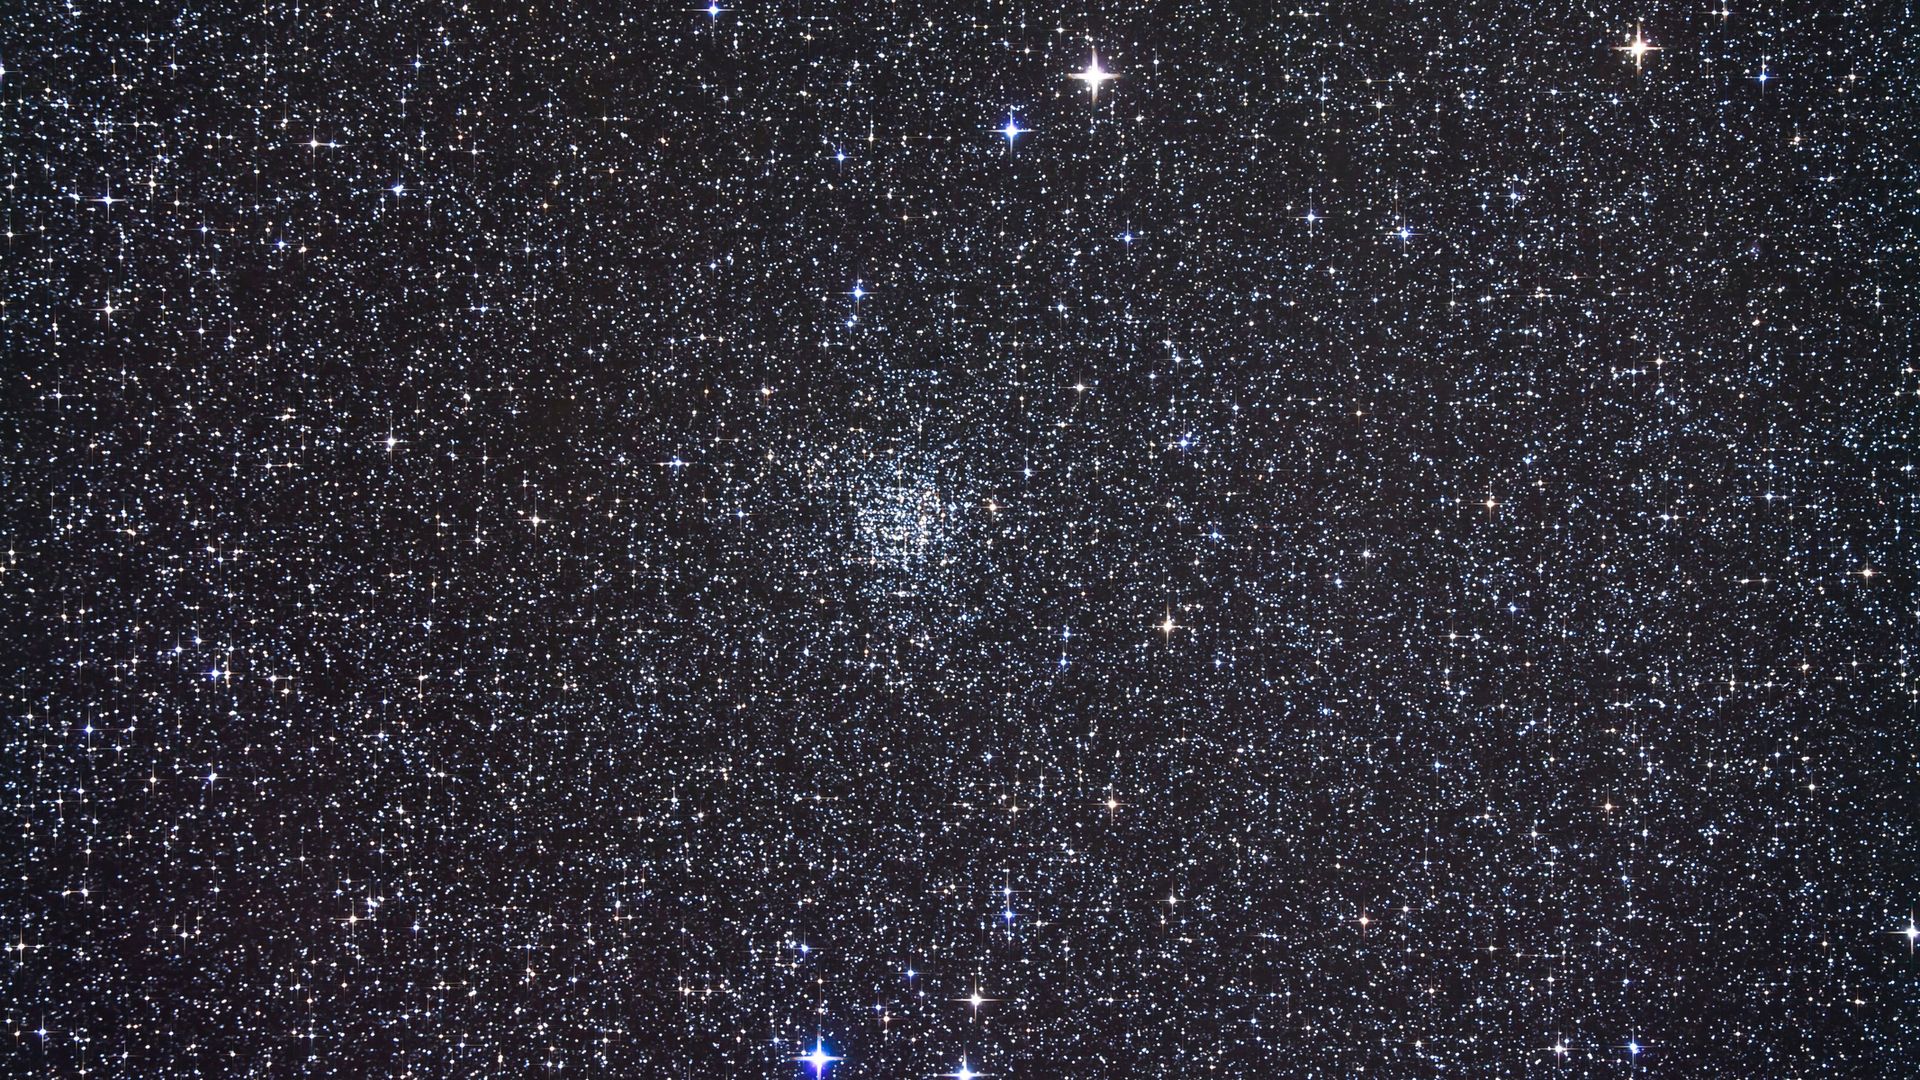
In addition to the constellation itself, there are some fun hidden objects within Cassiopeia that require binoculars or a telescope. The Owl Cluster (NGC 457) is a bright, open star cluster near the bottom-left star of the W shape, containing around 150 stars (although only 60 are identified as true cluster members), and is roughly 8,000 light-years from Earth. The blue and yellow "eyes" consist of the stars Phi Cassiopeiae (magnitude +5.0) and HD 7902 (magnitude +7.0).

You'll need a pair of astronomy binoculars to see it β€” go for 15x70 for a decent view, or 20x80 for an even better observation.

Caroline's Rose

NGC 7789 in a starry sky

(Image credit: Alan Dyer/StockTrek Via Getty Images)

Caroline's Rose (NGC 7789) is another open cluster in Cassiopeia, situated close to the last of the five bright stars in the "W" shape. Astronomer Caroline Herschel discovered the cluster in 1783 and it contains over 1,000 confirmed member stars, with estimates suggesting up to 3,000 potential stars.
It was named "Caroline's Rose" or the "White Rose" because its winding loops of stars and dark empty lanes resemble the petals of a cosmic rose, and it is estimated to be around 1.4 to 1.7 billion years old.
You can see it with a pair of binoculars under reasonably dark skies, but the best views will come from a telescope.

Deep-sky nebulas & galaxies

Andromeda galaxy

Andromeda Galaxy

(Image credit: Getty Images)

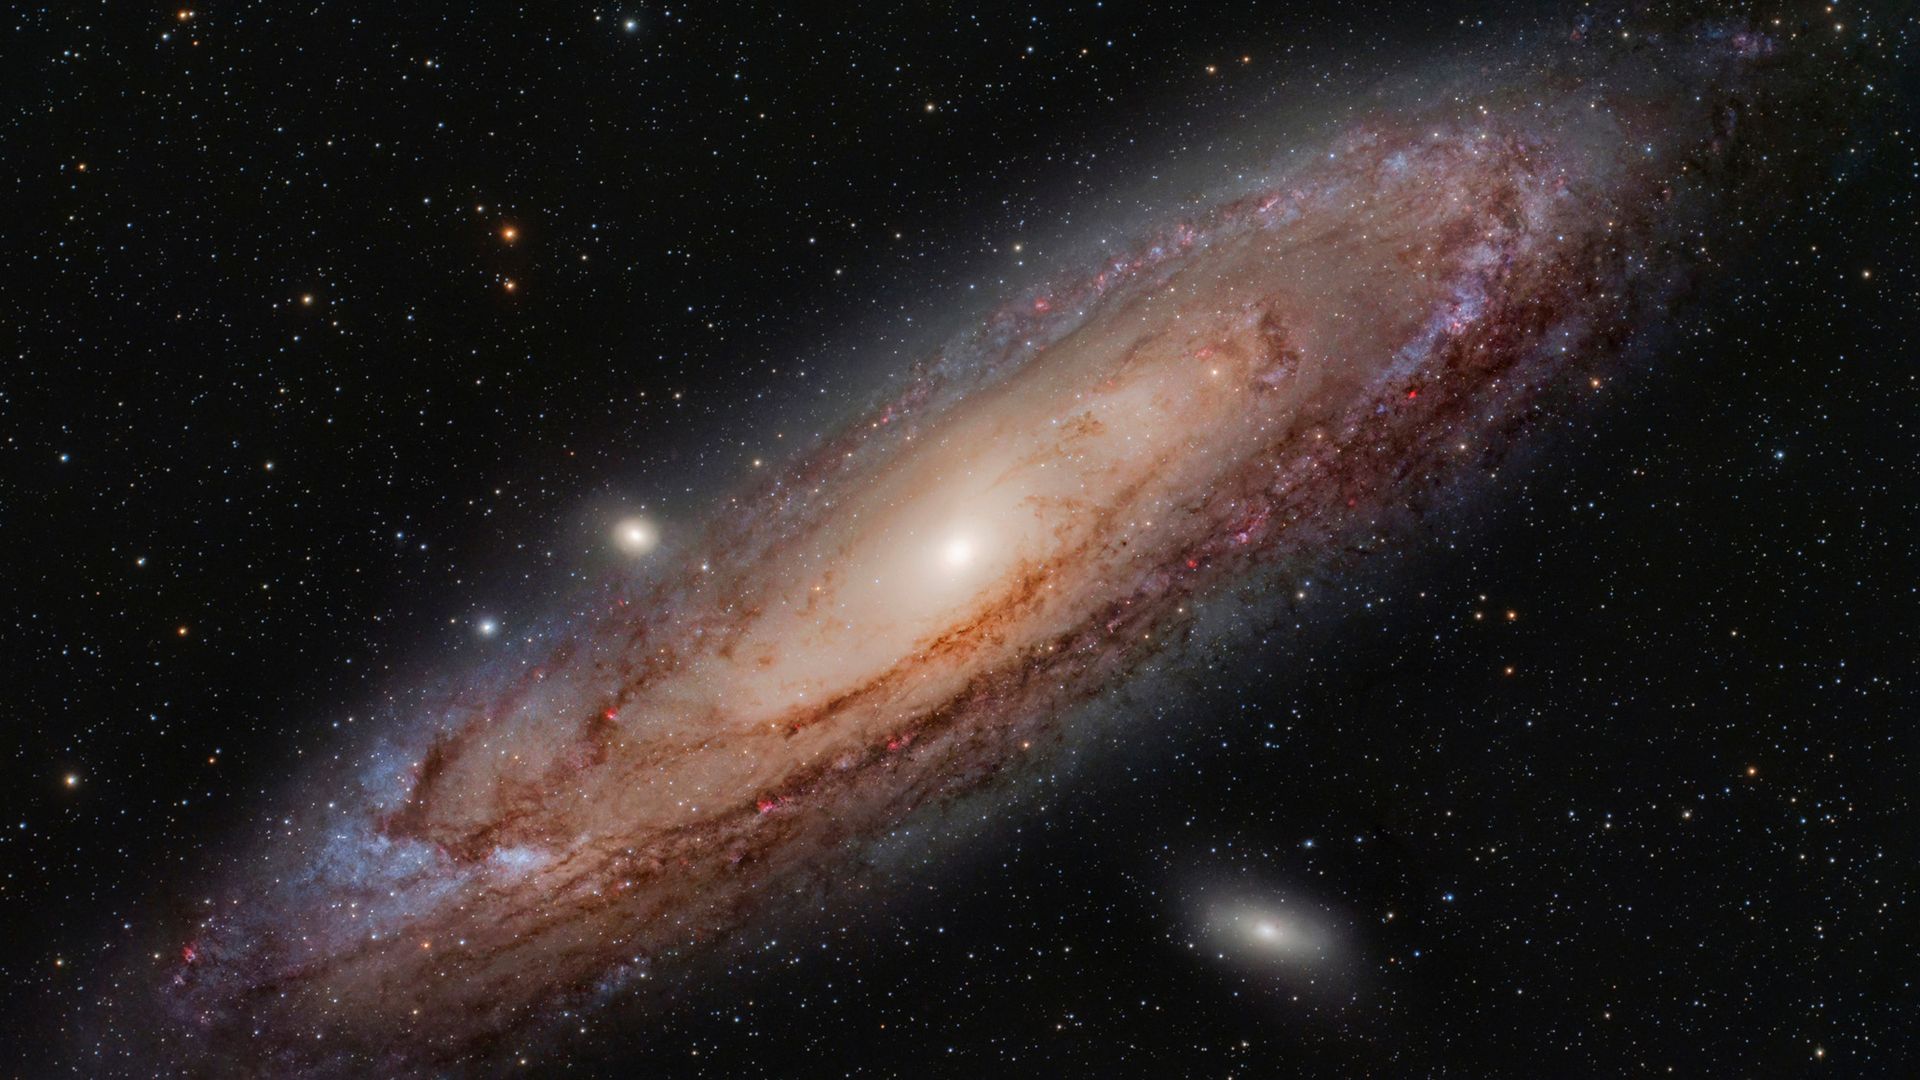
Our closest neighboring galaxy, Andromeda (M31), is about 2.5 million light-years from Earth and may one day collide with the Milky Way ("one day" being a 50/50 chance around 10 billion years from now, according to new research). But until then, we can easily make do with observing from afar with binoculars and telescopes.

October and November are prime evening viewing time, with the galaxy reaching its highest point between 7 pm and 11 pm. Under clear, dark skies, it's the most distant object visible to the naked eye, appearing as a very faint smudge β€” provided you know where to look. Binoculars provide a marginally better view of a somewhat larger, slightly brighter faint smudge β€” we've managed to see it with a pair of 8x25s under dark skies β€” but for the best views, you want a telescope.

It's a great first target for beginners using a smart telescope, with the prominent dust lanes revealing themselves after 30-60 minutes. If you want more detailed images of the faint outer arms, leave it for 3-4 hours. Moonlight can wash out the faint galactic arms and dust lanes, so if possible, choose a dark night with minimal light pollution.

In Greek mythology, Andromeda was the daughter of the aforementioned Cassiopeia. After angering the sea god Poseidon, Cassiopeia (who was not exactly Mother of the Year) chained Andromeda to a rock as a human sacrifice to the sea monster, Cetus, that Poseidon had sent to ravage their kingdom's coast. Andromeda was saved by Perseus, who she then married, and after her death, Athena placed her in the stars as a constellation.

Helix Nebula

An image of a rainbow-colored round nebula

(Image credit: NASA/CXC/SAO/Univ Mexico/S. Estrada-Dorado et al.; Ultraviolet: NASA/JPL; Optical: NASA/ESA/STScI (M. Meixner)/NRAO (T.A. Rector); Infrared: ESO/VISTA/J. Emerson; Image Processing: NASA/CXC/SAO/K. Arcand)

The Helix Nebula (NGC 7293) is a large planetary nebula around 650 light-years away in the constellation Aquarius. Often called the "Eye of God", it has a striking eye-like appearance, and it features thousands of comet-like radial filaments and complex gas rings.

It stays relatively low in the southern sky, with September being the best time to view or photograph before it gradually sinks over the coming months. Moonlight will completely wash out its faint outer gaseous ring, so it's best to shoot during a new moon (or when the moon hasn't yet risen) to get the best image possible.

The best hours to capture it are between about 10:30 am and 2 am, when it's either rising or at its highest. This should get you a pretty decent standard image, but if you want more detail, try to capture it over several nights to pull in the faint outer nebulosity and stack the images.

Triangulum Galaxy

Triangulum Galaxy

(Image credit: Getty Images)

The Triangulum Galaxy (M33) is the third-largest in our local group of galaxies, behind the Milky Way and Andromeda. This stunning spiral galaxy β€” not to be confused with the Pinwheel Galaxy (M101), which is best seen in the spring β€” sits in the small Triangulum constellation about 2.7 million light-years from Earth and is a great astrophotography target.

Its peak viewing time is October to December, when its highest and clearest position is after dark in the late evening. Because it's so faint, you need a moonless night away from light pollution. The sweet spot for smart telescopes is around 90 minutes, but if you can shoot for longer or want to split your shoot across multiple nights, 2.5 to 4+ hours can bring out more detail in the core and spiral arm.

Heart and Soul Nebula

heart and soul nebula

(Image credit: Getty Images)

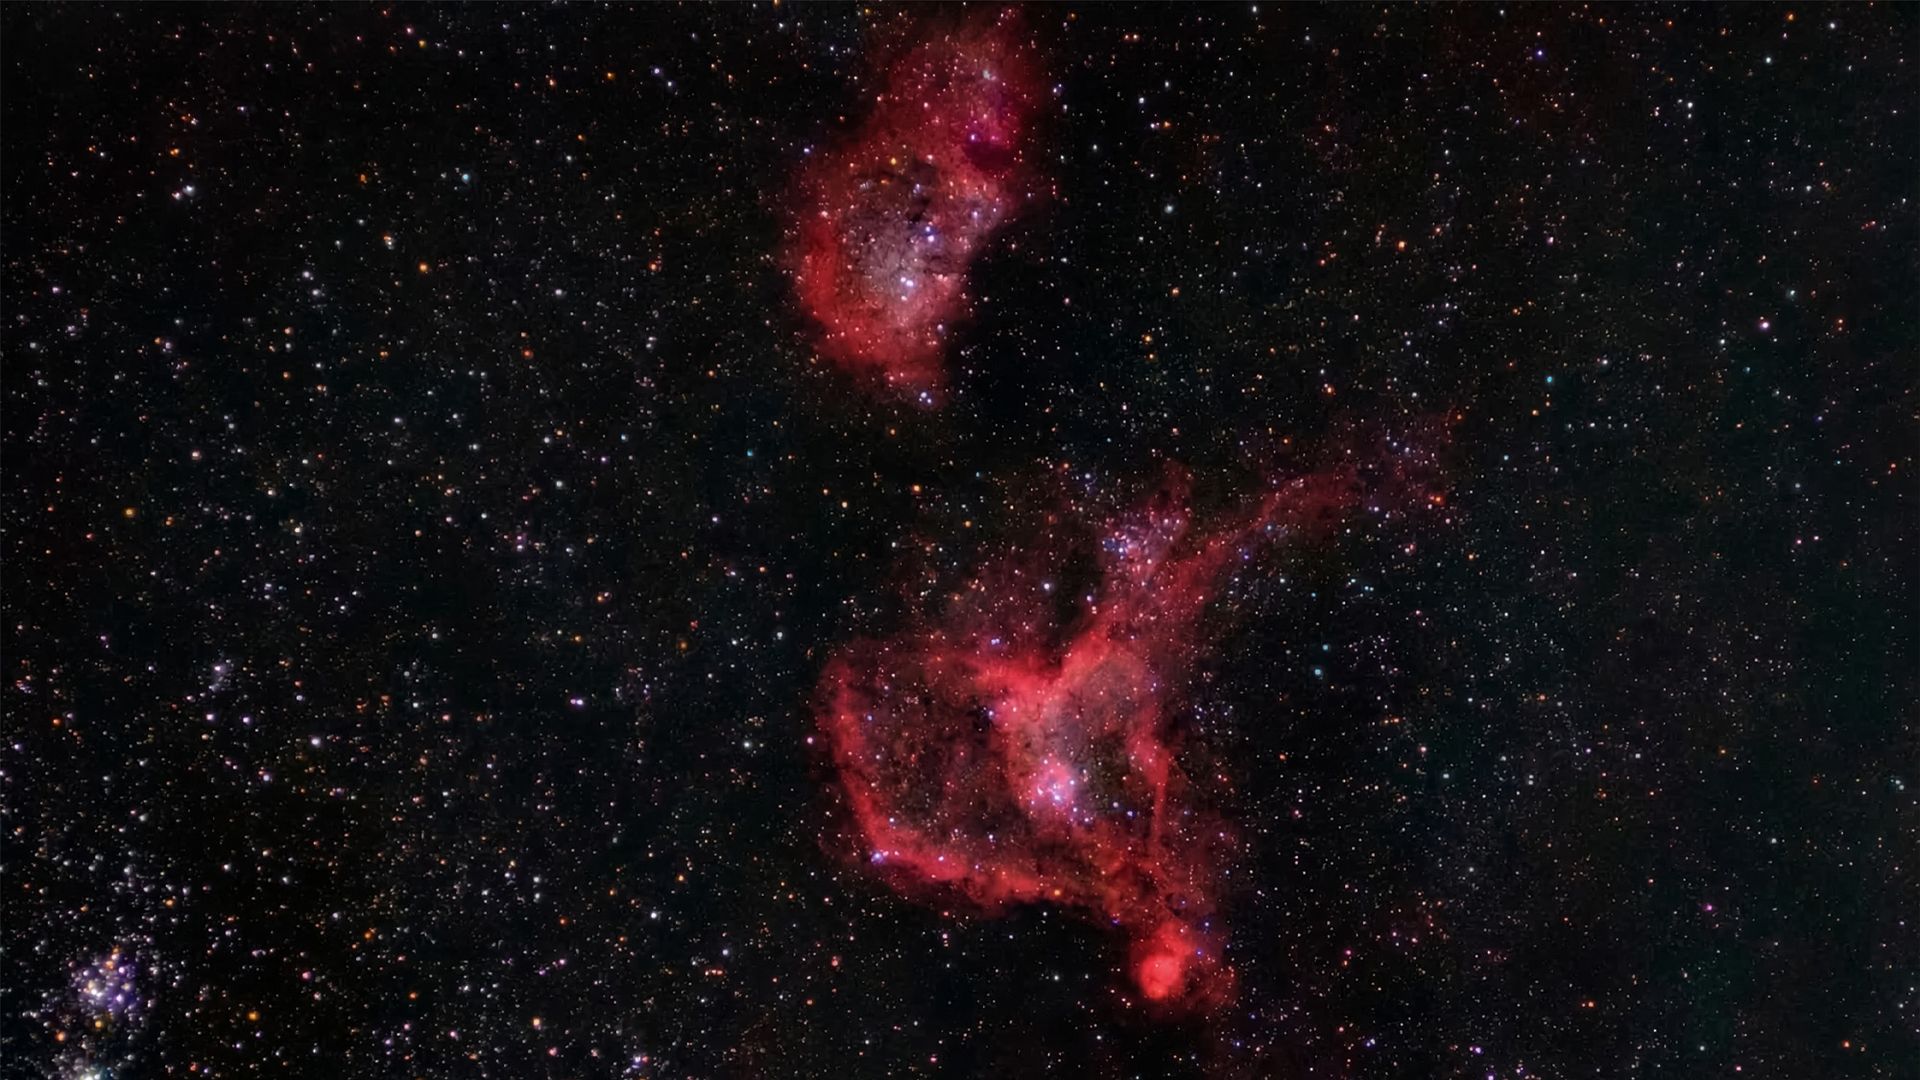
The Heart and Soul Nebula is a nebula complex consisting of two massive emission nebulas located about 6,000 to 7,500 light-years from Earth in the constellation Cassiopeia. They are primarily made of glowing ionized hydrogen gas, darker cosmic dust lanes and trace amounts of ionized oxygen and sulfur.

Like most other nebulas, they aren't visible to the naked eye, so you'll need a telescope or a long-exposure astrophotography setup to see them. The Heart Nebula (IC 1805) is, unsurprisingly, named after its heart-like shape, while its neighbor, the Soul Nebula (IC 1848), has a more irregular shape with large cavities made by stellar winds.

If you're imaging the Heart and Soul with a camera or smart telescope, a total integration time of 6 to 12 hours will provide you with the cleanest details and most contrast in the faint gas structures. That said, 2 to 4 hours will give you a good basic stacked image.

As Cassiopeia is at its highest in the fall, this is the best time to see and photograph it with the least amount of atmospheric interference.

Ghost of Cassiopeia

ghost nebula

(Image credit: Getty Images)

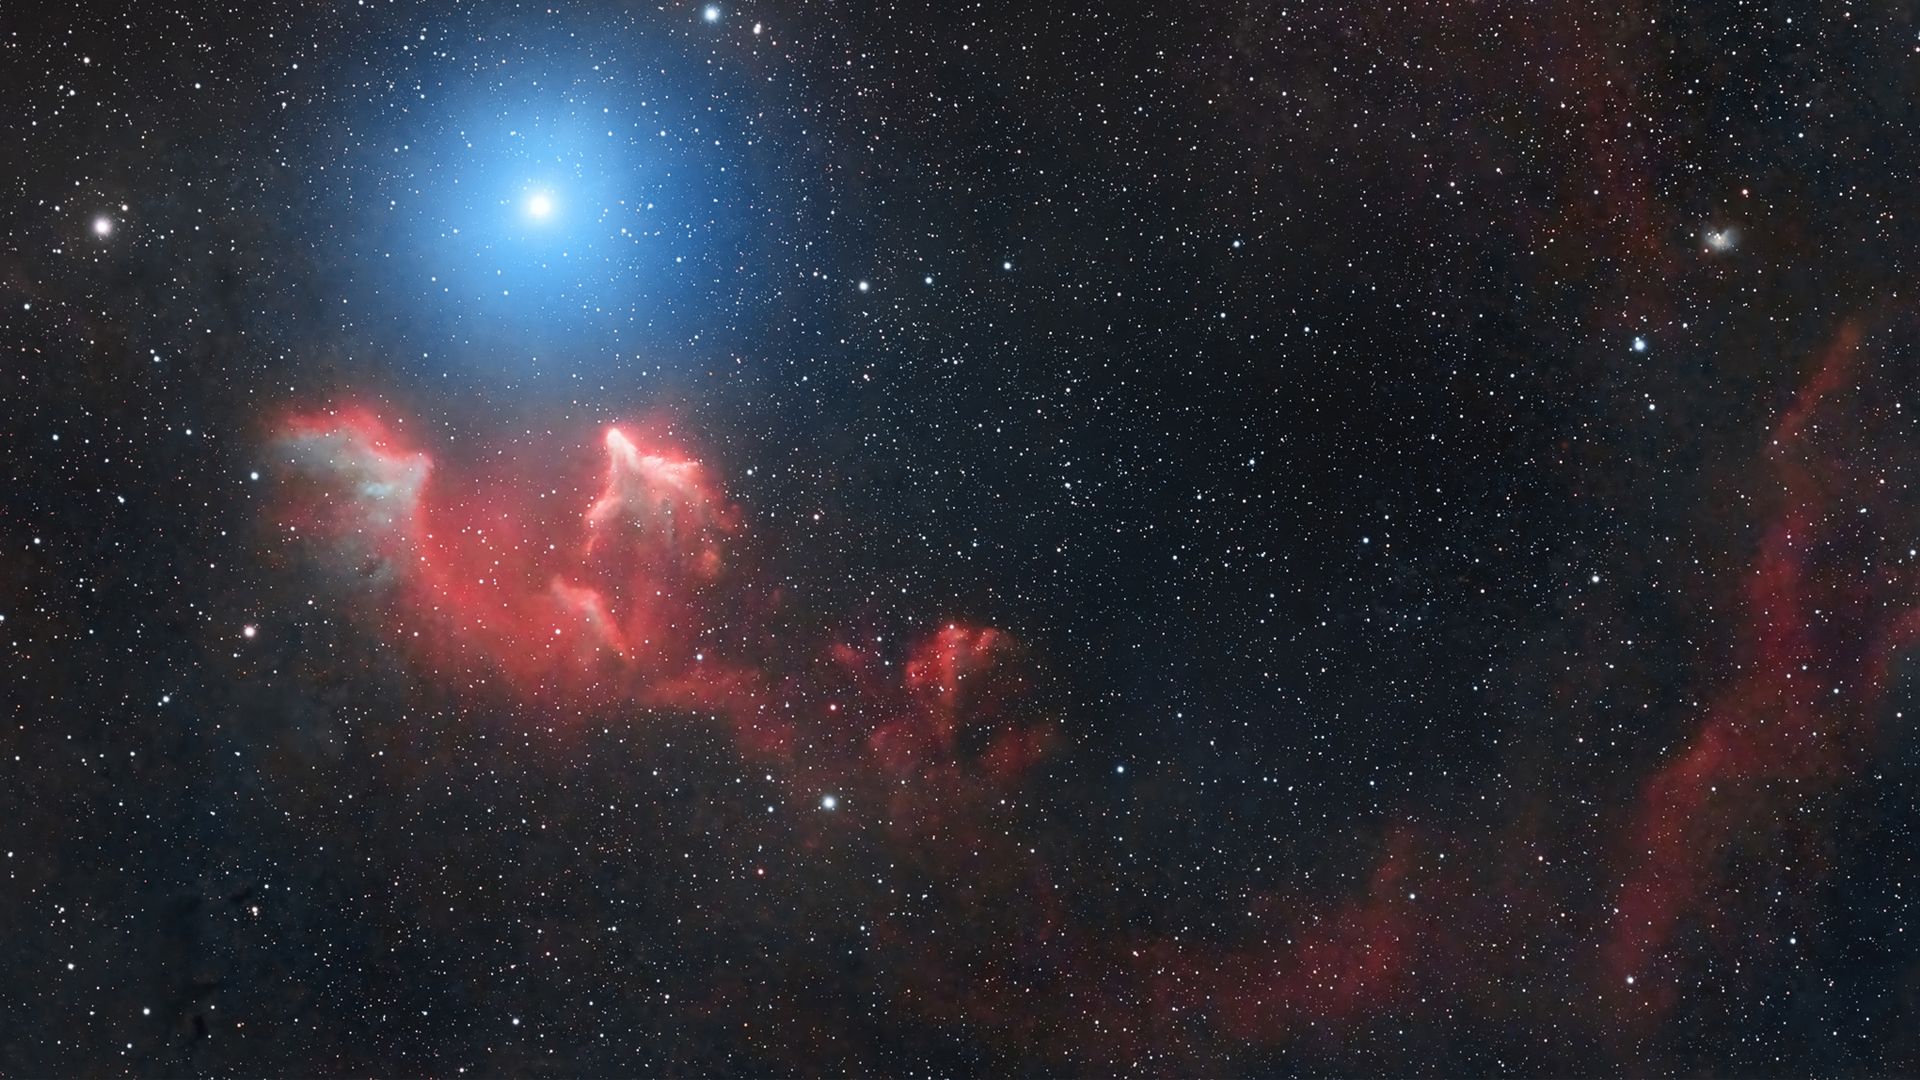
The Ghost of Cassiopeia, often referred to as the Ghost Nebula (IC 63), is a mixed reflection and emission nebula around 550 light-years away in Cassiopeia. Its eerie red glow is caused by its proximity to the nearby blue giant star, Gamma Cassiopeiae, which sits right in the middle of the constellation's distinctive 'W' shape. The star’s powerful ultraviolet radiation causes the hydrogen to emit a soft red glow, while the surrounding dust reflects the star's light in fainter blue hues.

Like the other celestial sights in Cassiopeia, autumn and winter evenings are the best times to see and photograph it due to its high altitude in the sky. As the nebula is so faint and elusive to capture, you can only see it with a smart telescope or a long-exposure astrophotography setup.

When it comes to integration time, the longer the better. Aim for 3-5 hours minimum, ideally 6+ hours if the skies allow, and avoid shooting during moonlight if you can.

  •  

Swarovski CL Companion compact binocular review

The CL Companion is Swarovski's dedicated compact binocular, originally introduced 15 years ago, but has now been redesigned in 2026 to appeal to a wider, younger audience. RSPB research found an increase of around 1,000% in birdwatching among Gen Z in the UK since 2018, with a similar boom now happening in the US.

The CL Companion sits between the pocket-size CL Pocket and full-size EL and NL ranges, making it the perfect mid-range model that combines portability with excellent optical prowess.

The Companion is a grab-and-go, "take it anywhere and everywhere" binocular that is perfect for many different activities, whether that's spotting birds, scoping out your hiking trail or sweeping across the starry sky at night.

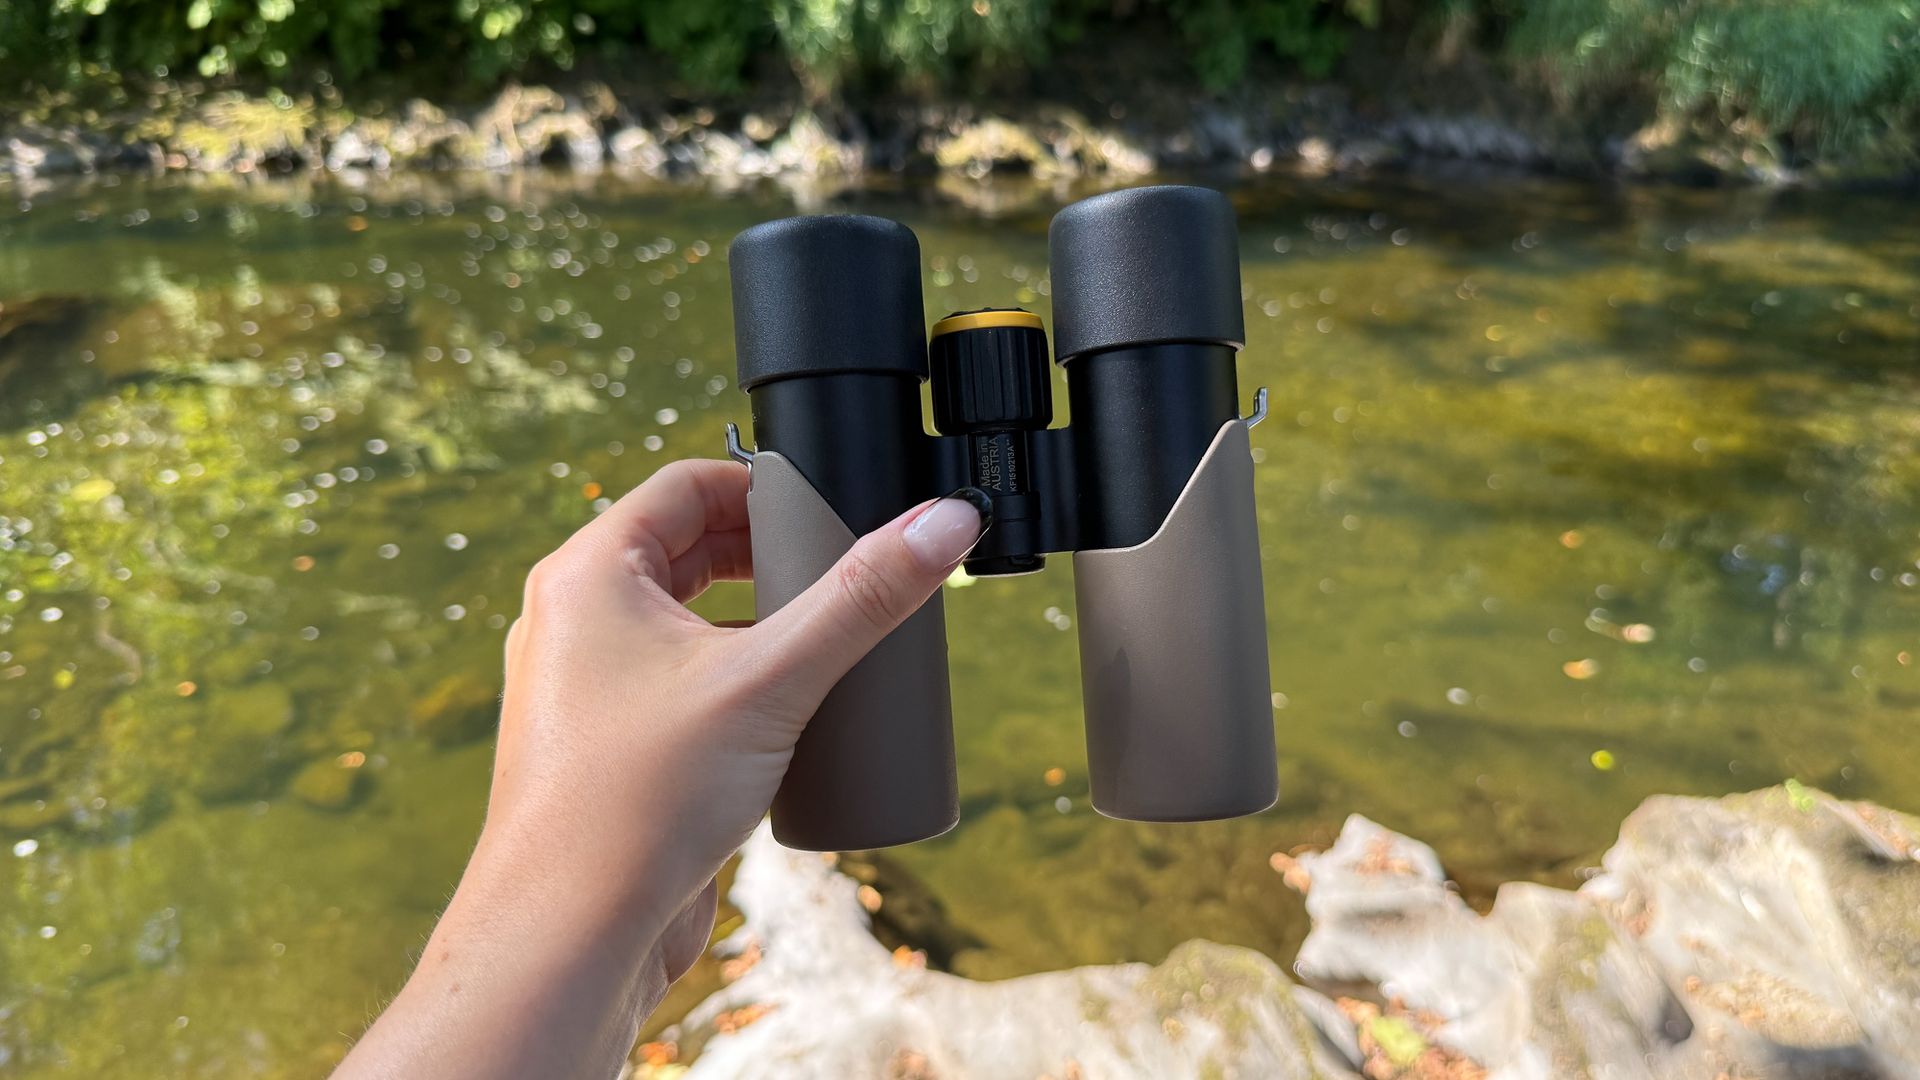
We spent a week with both the 8x30 and 10x30 CL Companions to test them out, with the former being ideal for tracking movement with a wider field of view, while the latter brings you closer to the details.

Swarovski CL Companion: Design

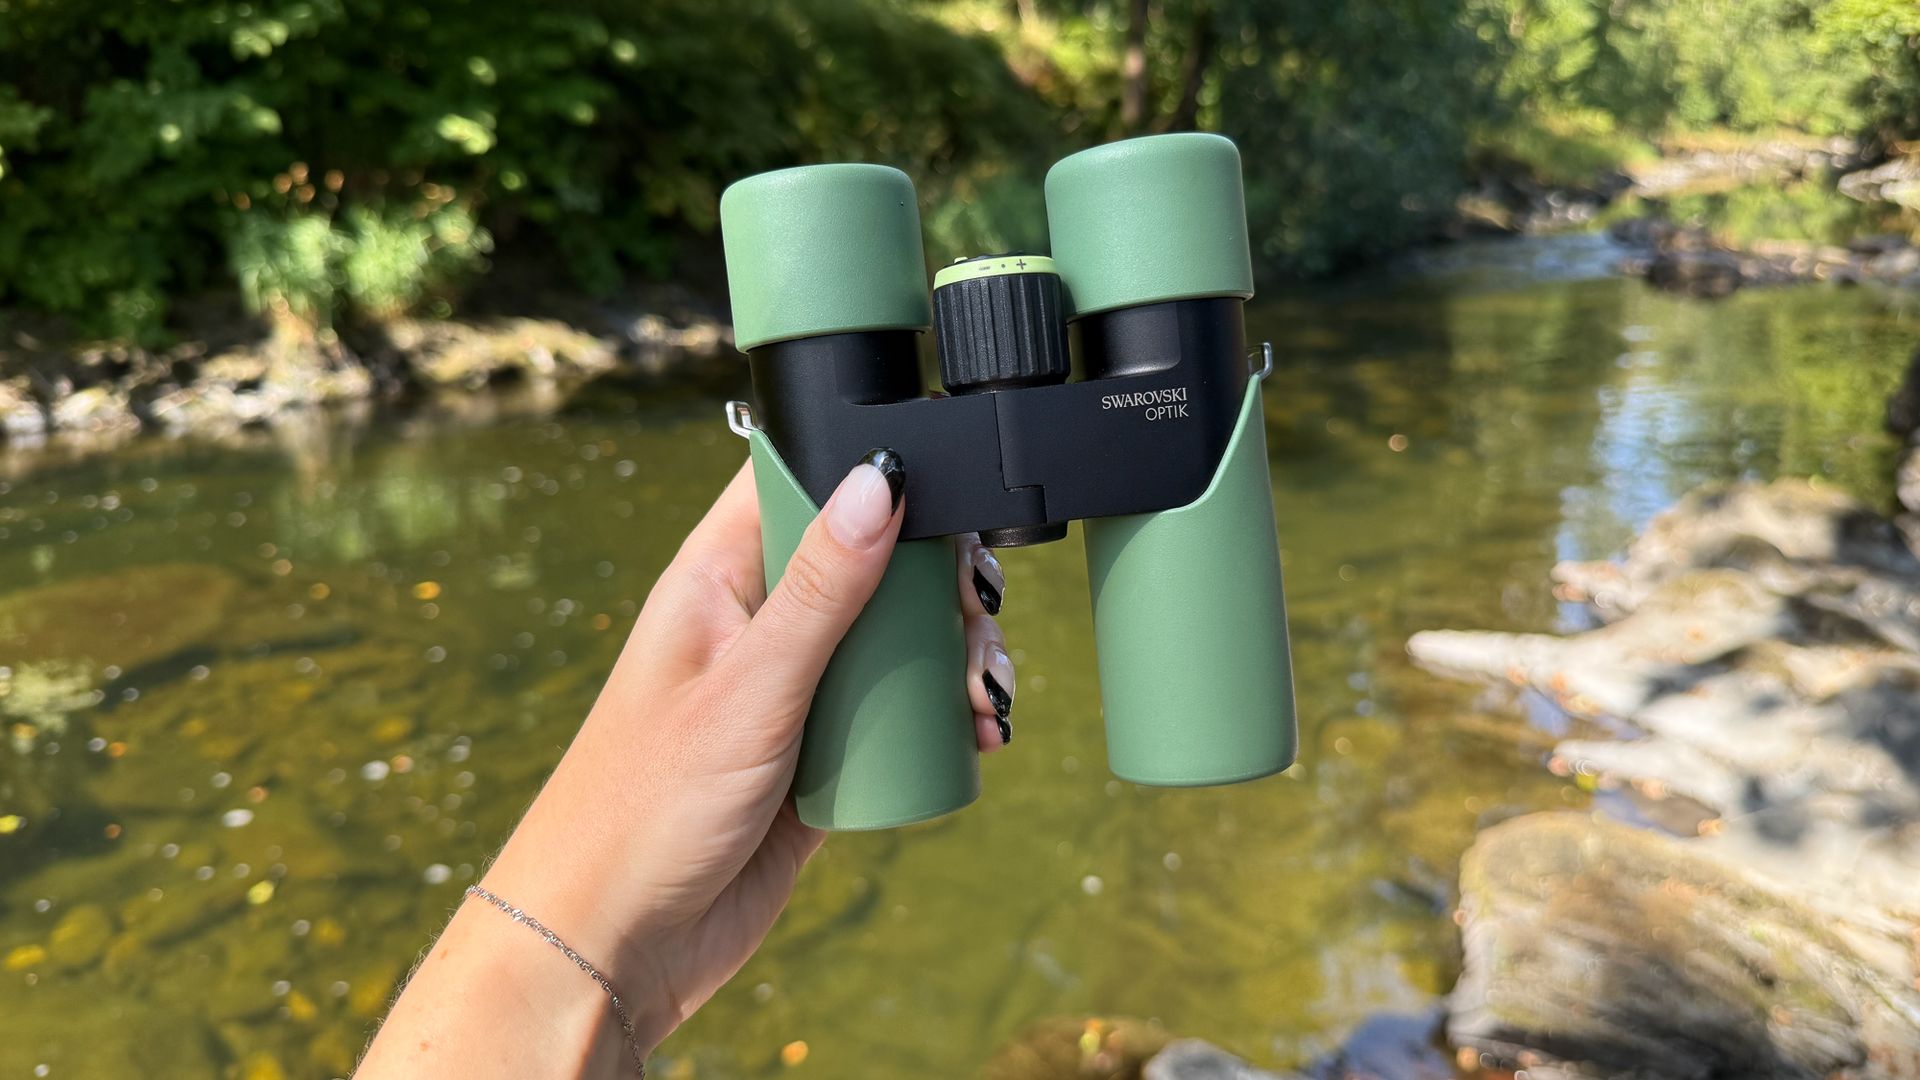
Swarovski CL Companion 8x30 in the hand
Swarovski CL Companion 8x30Kimberley Lane
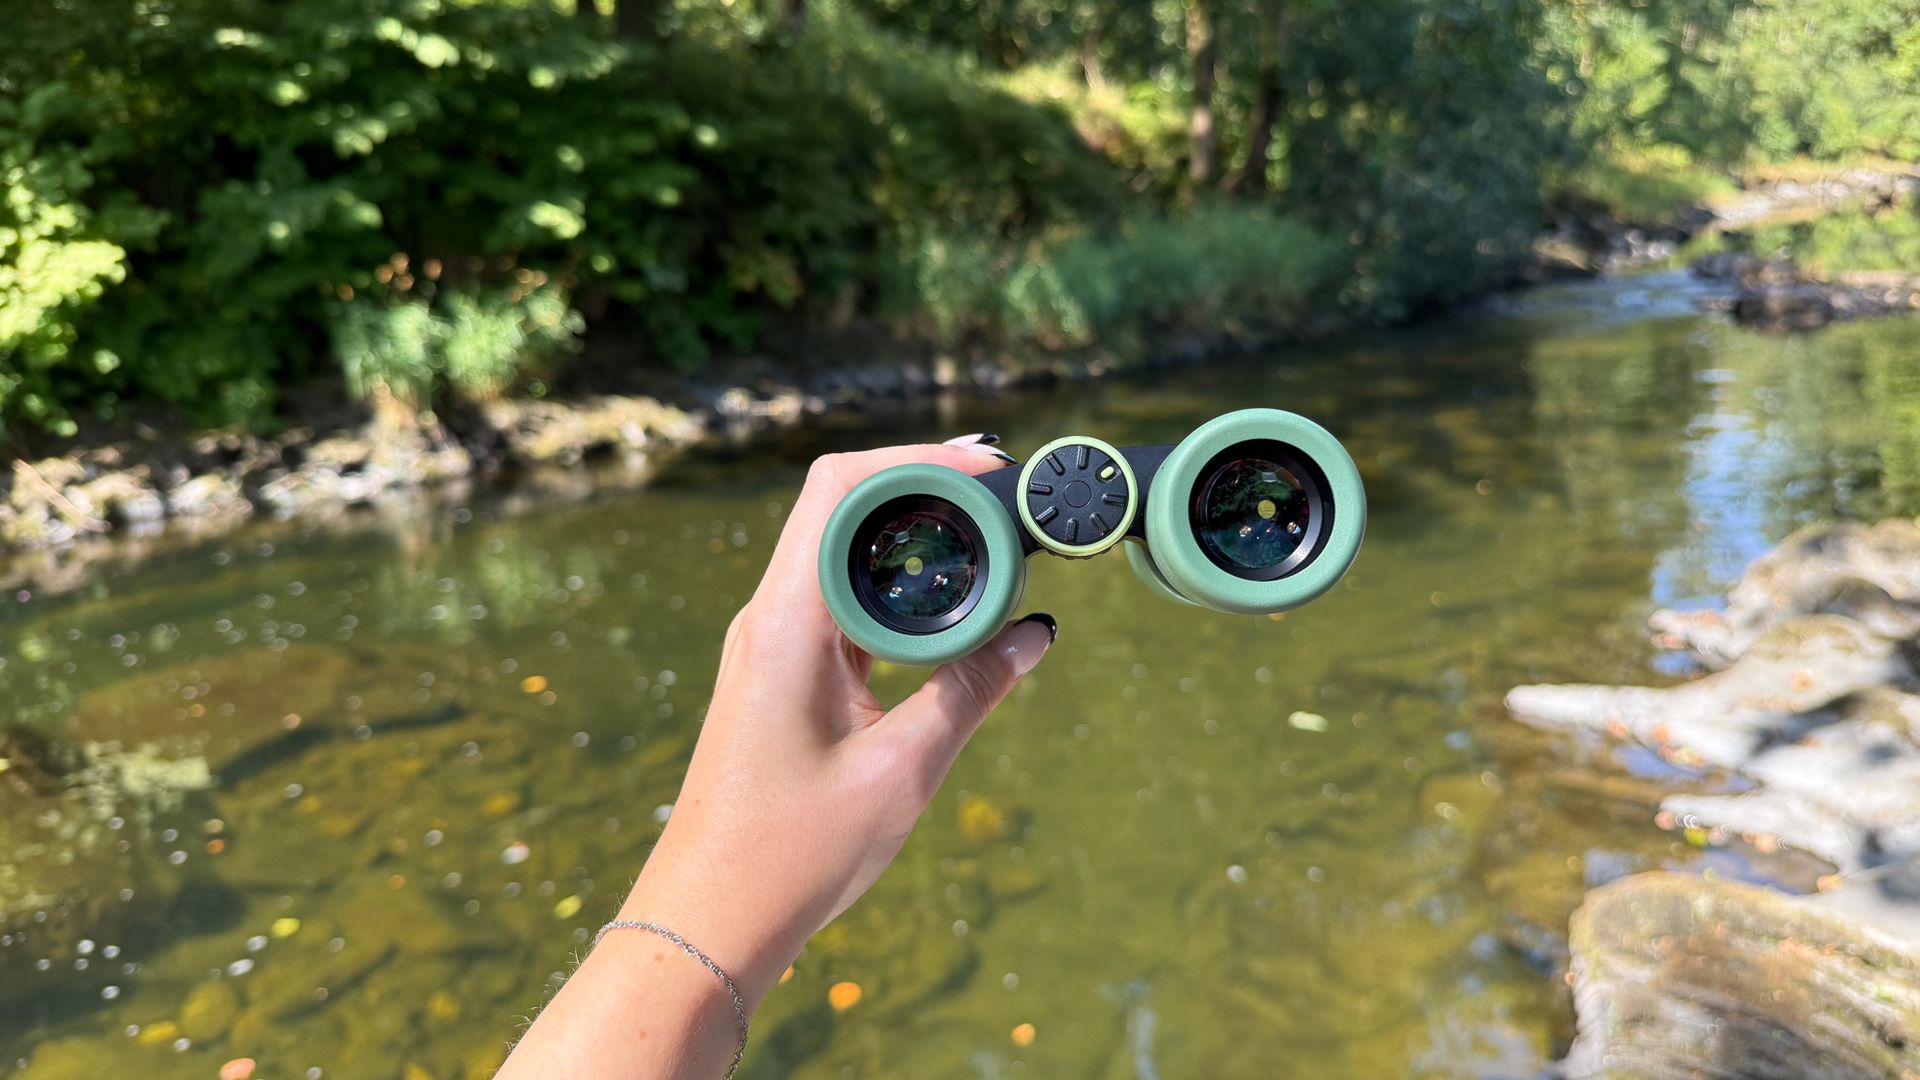
Swarovski CL Companion 8x30 in the hand
Swarovski CL Companion 8x30Kimberley Lane
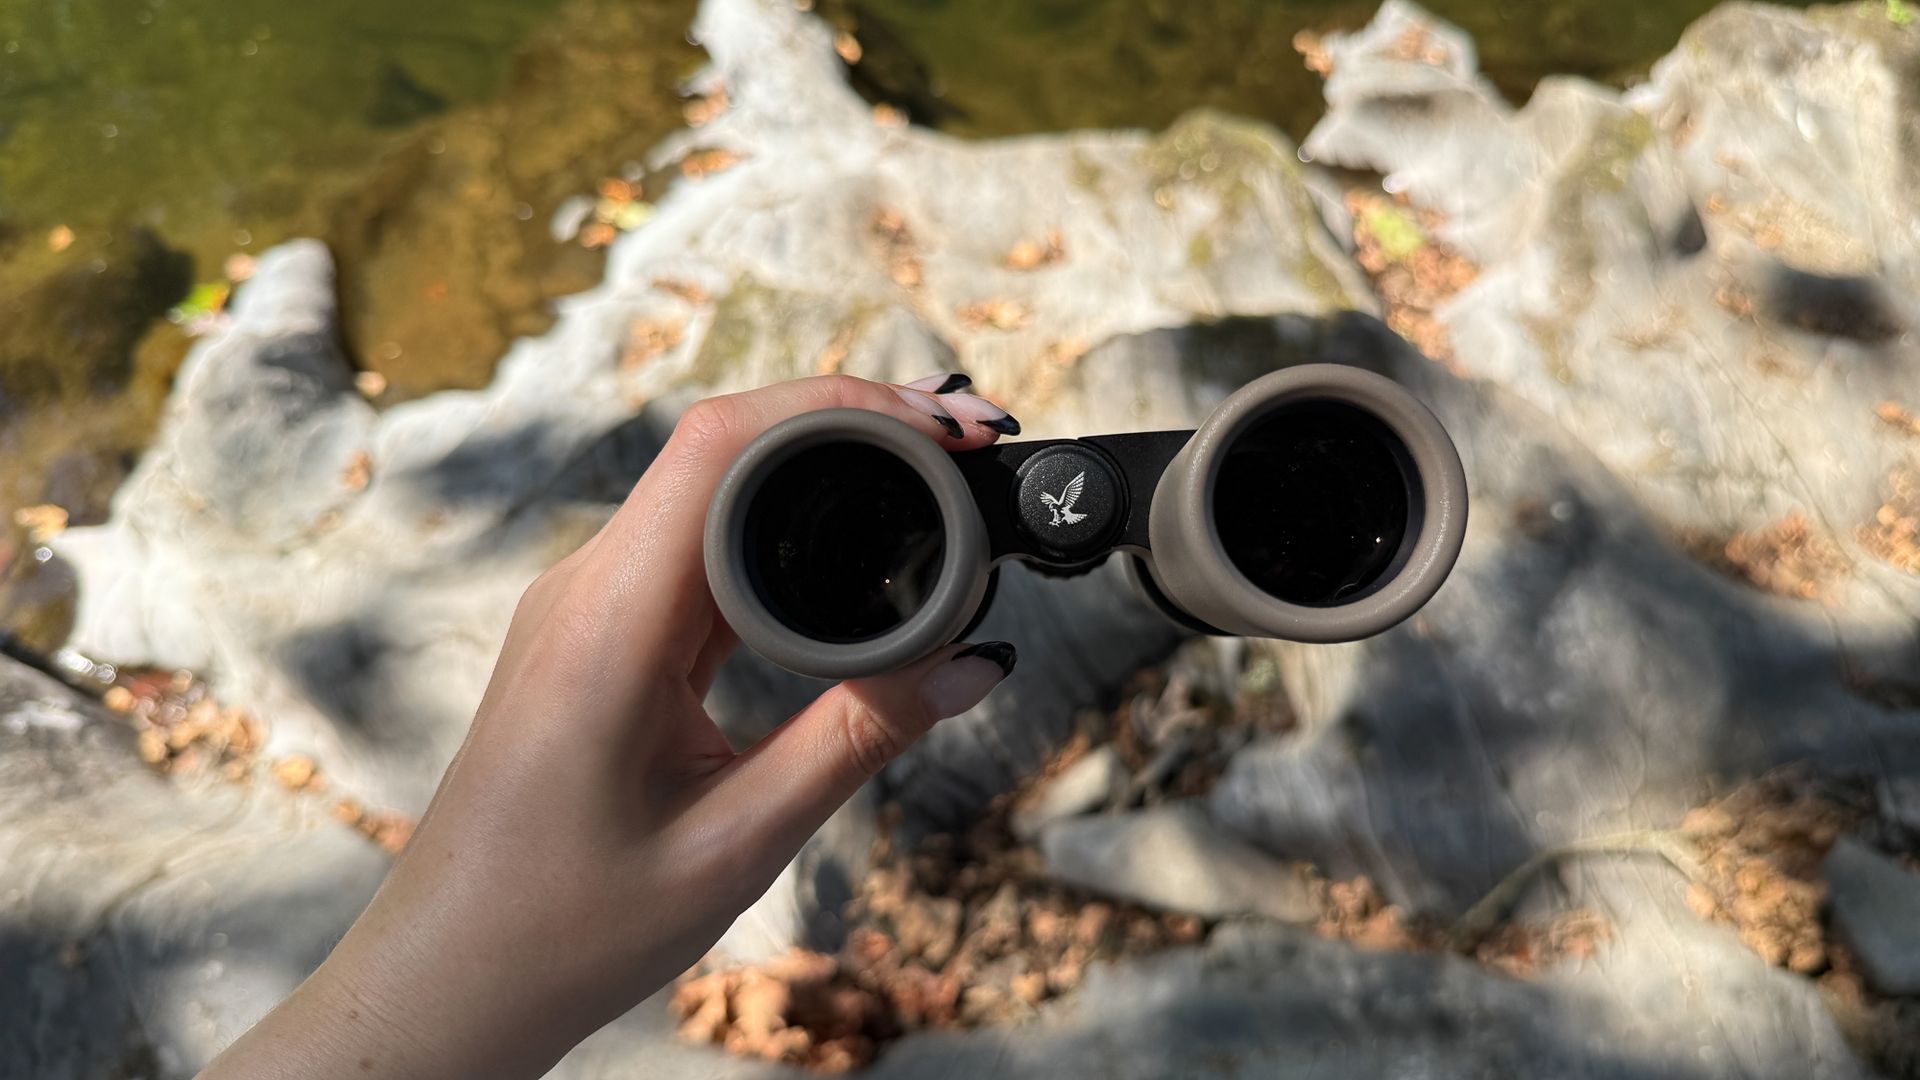
Swarovski CL Companion 8x30 in the hand
Swarovski CL Companion 8x30Kimberley Lane
Swarovski CL Companion 10x30 in the hand
Swarovski CL Companion 10x30Kimberley Lane
Swarovski CL Companion 10x30 in the hand
Swarovski CL Companion 10x30Kimberley Lane
Swarovski CL Companion 10x30 in the hand
Swarovski CL Companion 10x30Kimberley Lane
Swarovski CL Companion 10x30 in the hand
Swarovski CL Companion 10x30Kimberley Lane
  • Simple, fuss-free design
  • Rubber grip ensures a secure hold
  • Choice of three earth-tone colors

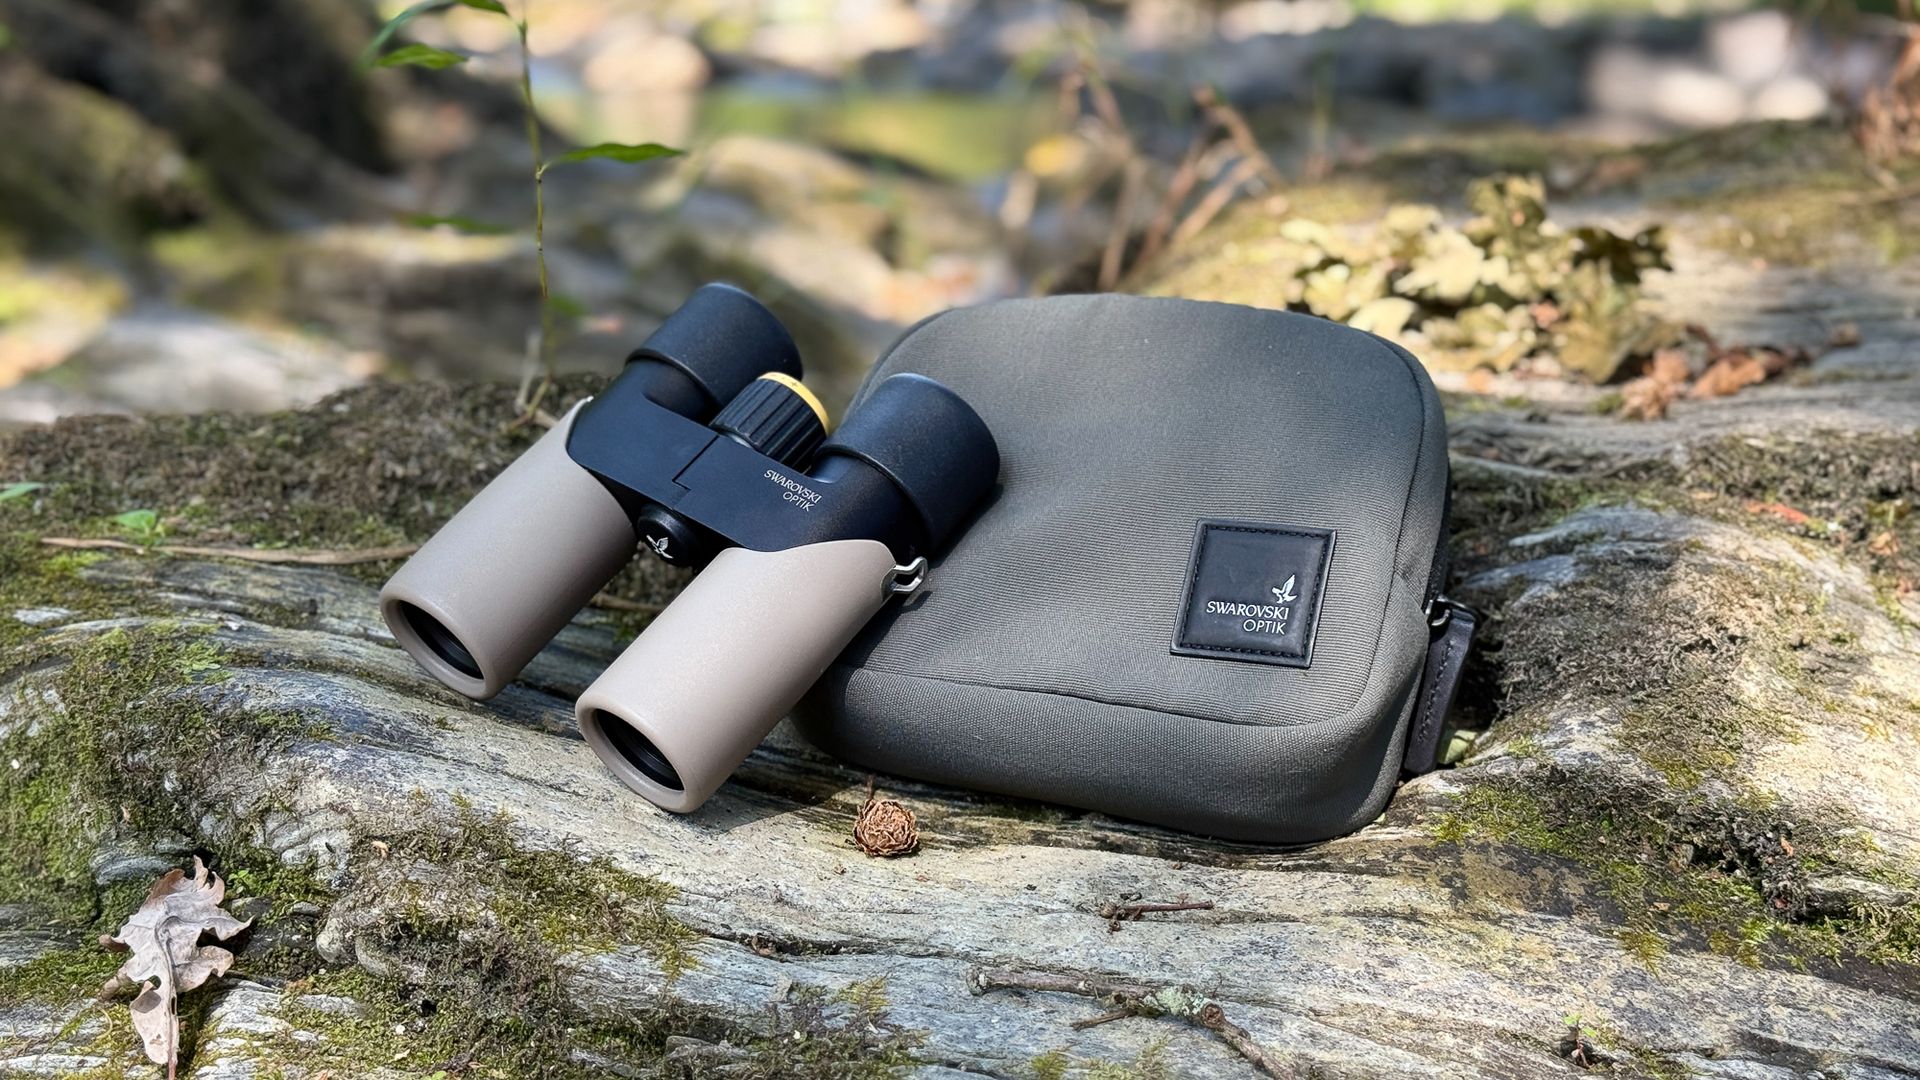
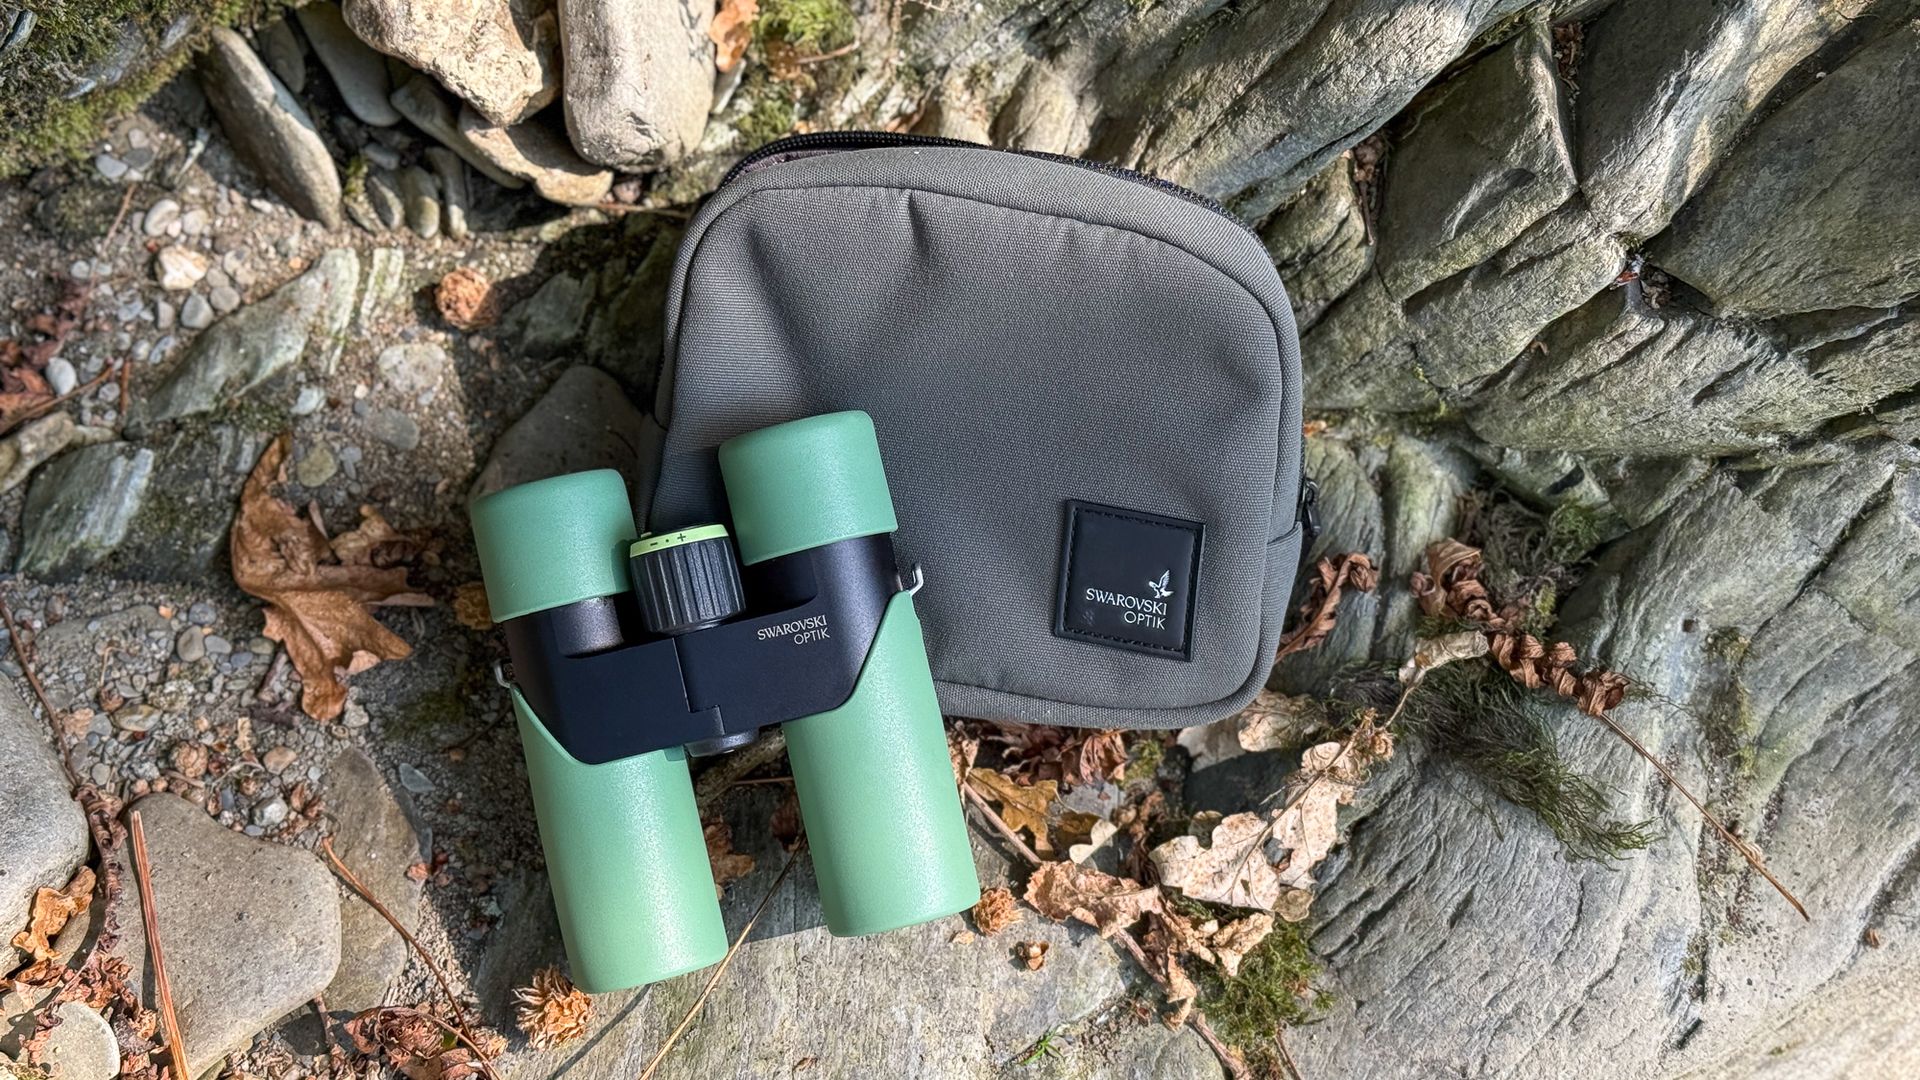
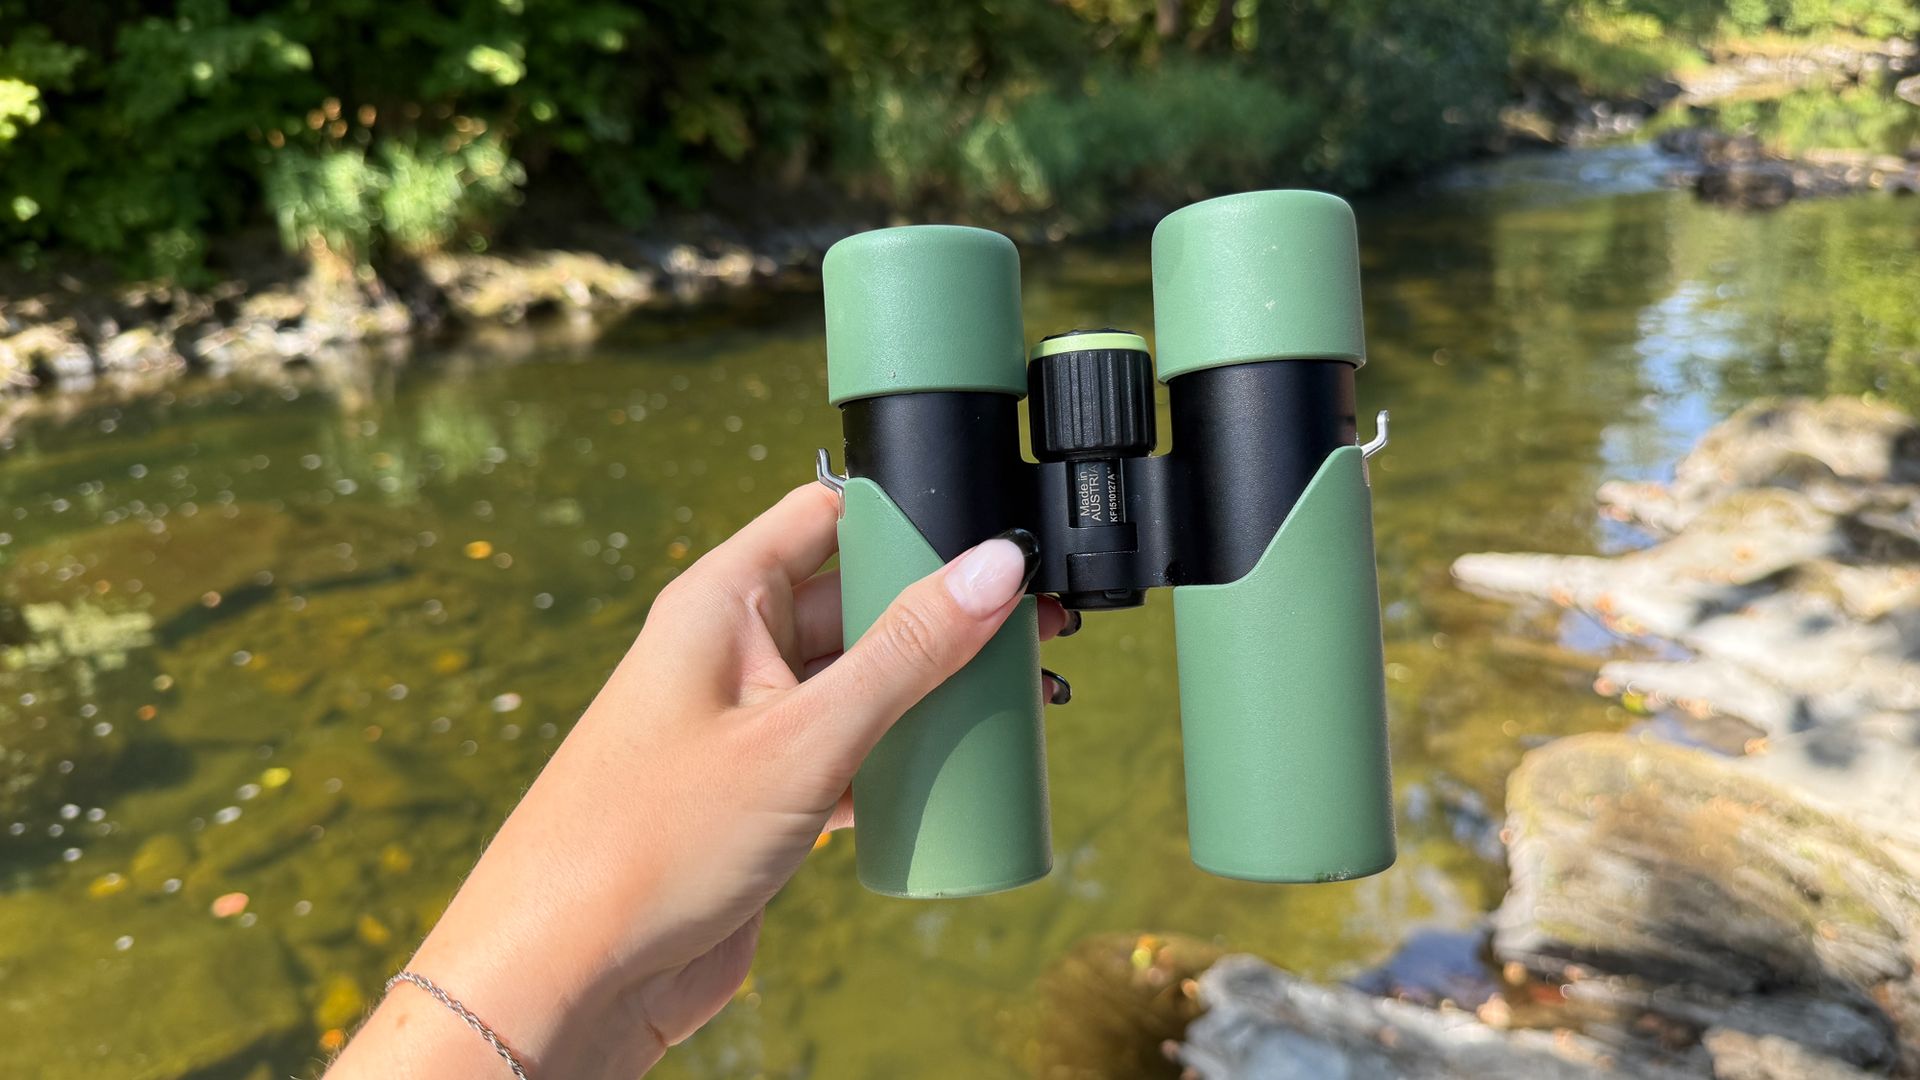
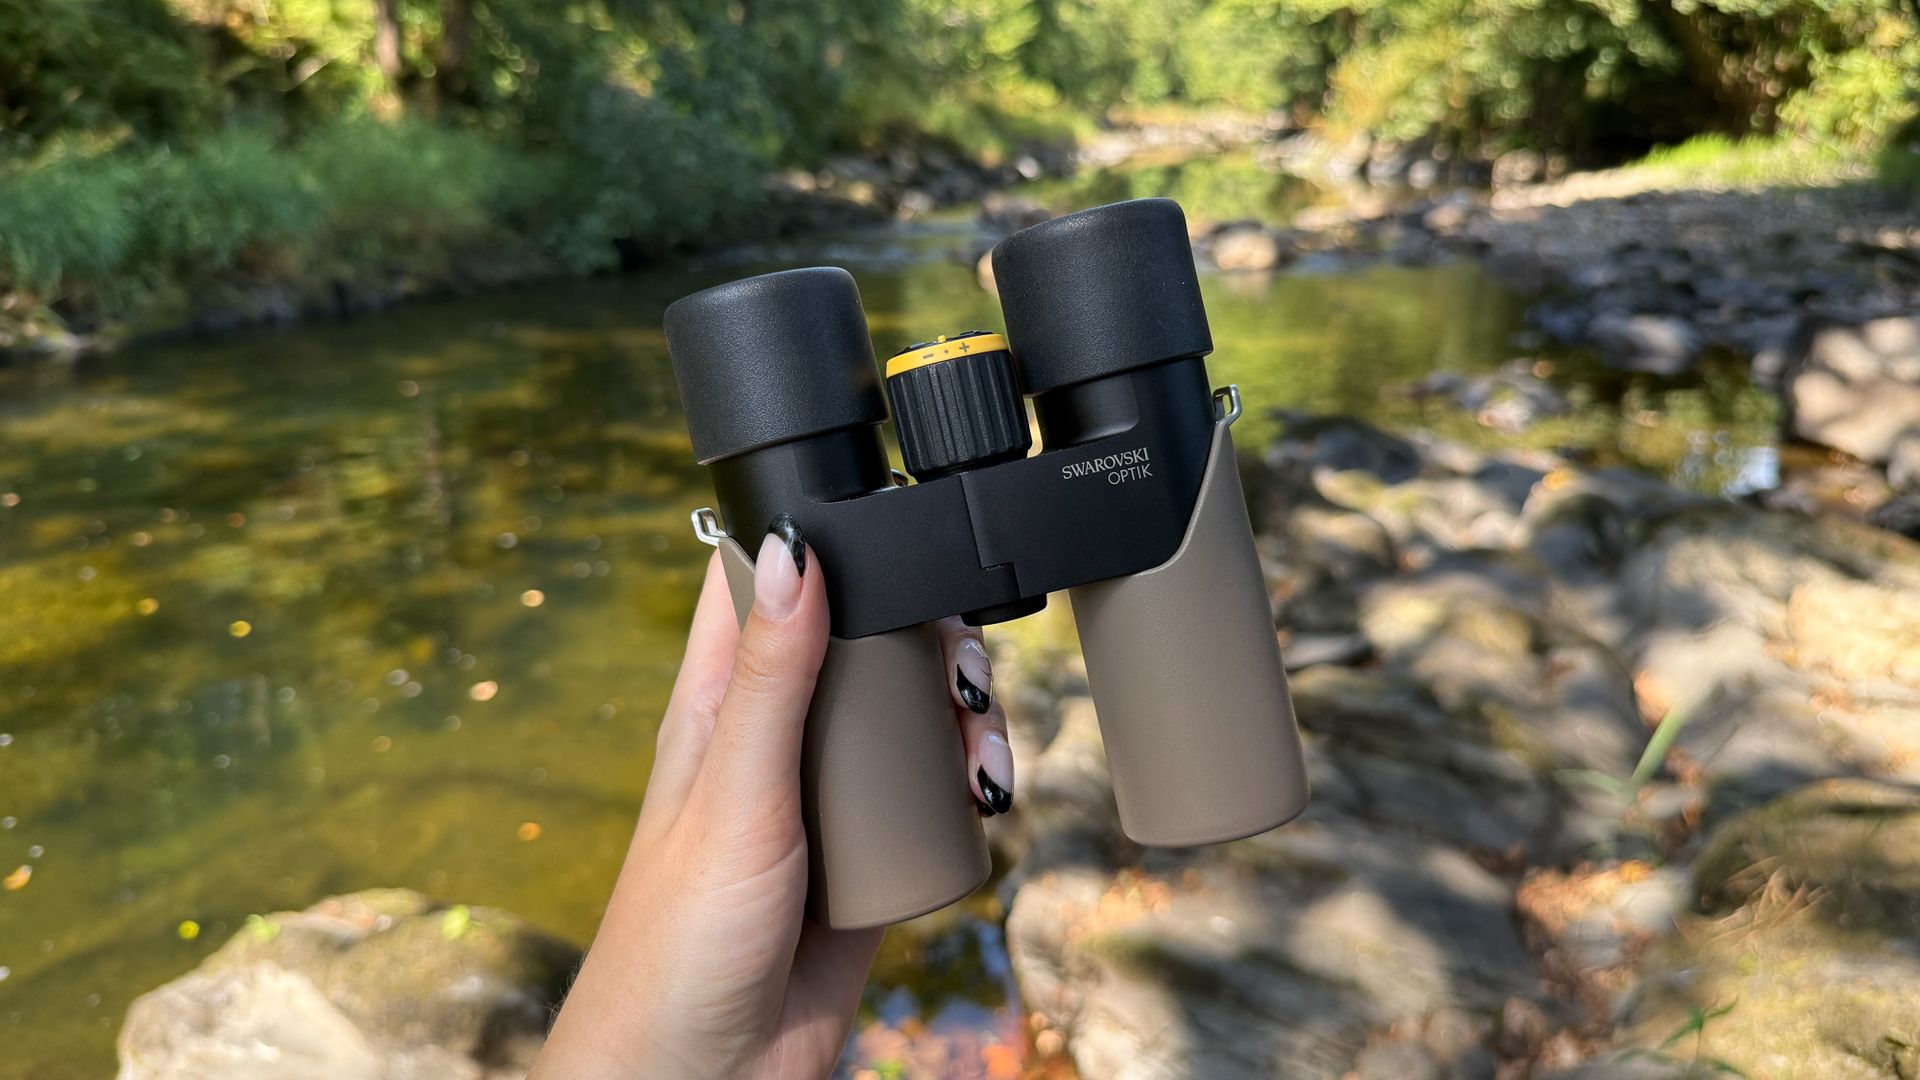
The biggest change in comparison to the old-style CL Companion is in the design. The original version was more of a traditional binocular aesthetic, but this updated design breathes life into the range with three new earth-toned colorways: mountain green, desert orange and safari brown. While some users have said they look somewhat toyish (or just downright ugly), when you handle them in person, they are much more sleek and stylish than the product images would have you believe.

Both the 8x30 and 10x30 weigh just 1.21 pounds (550 grams), so you can easily wear them around your neck all day without even knowing they're there. They're compact enough to put in a large jacket pocket, or you can just wear the included carry bag.

Key specifications

Magnification: 8x / 10x
Objective lens diameter: 30mm
Weight: 1.21 pounds (550 g)
Exit pupil: 3.8mm / 3mm
Field of view: 8-degrees / 6.6 degrees
Close focusing distance: 9.8 feet (3 m)

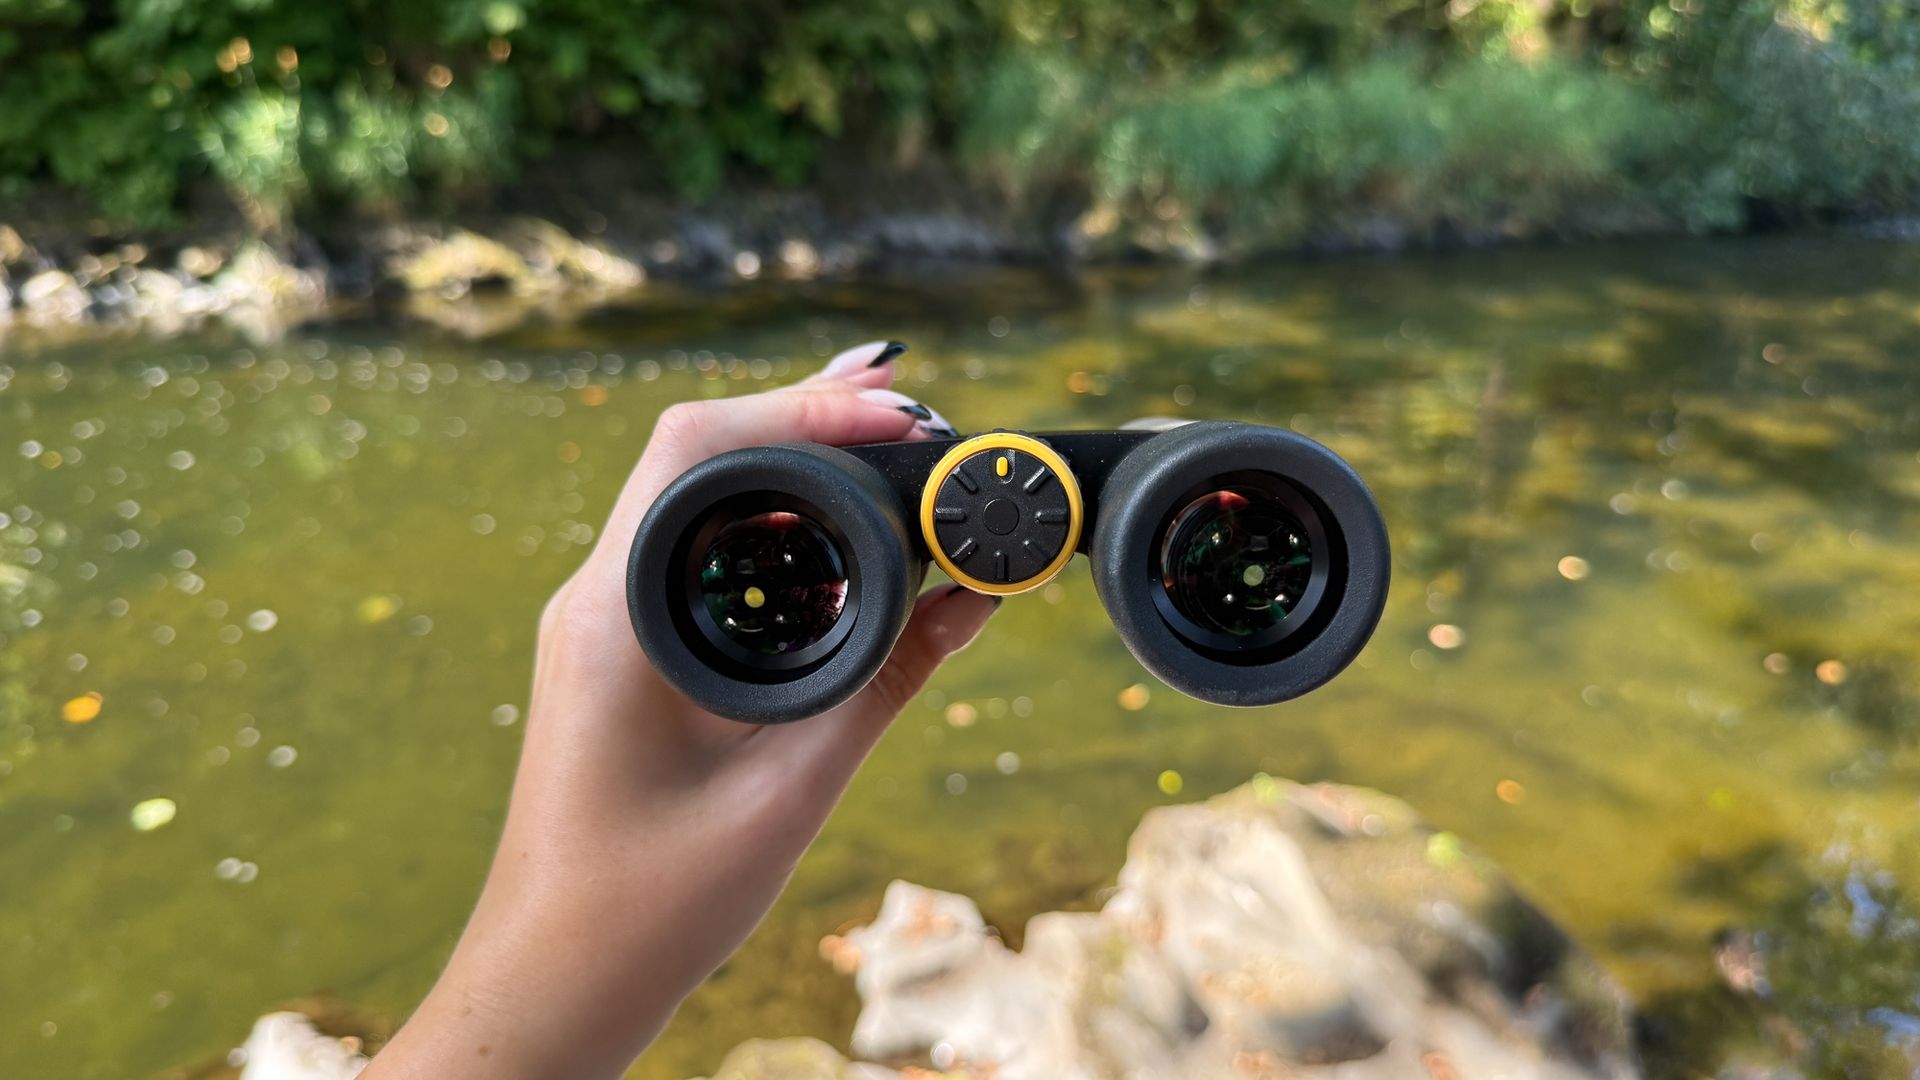
The central focus wheel has just the right amount of slip to make it easy to change focus, but is not so loose that you don't have enough control over it. The diopter is located on the front of the focus wheel, which felt a little off at first, but once we set it, there was no danger of accidentally changing it.

They also have generous eye relief, which is great news for users who wear glasses. The eye relief is 19mm on the 8x30 and 18mm on the 10x30. We used them on a bright, sunny day during a heatwave and were easily able to observe while wearing sunglasses with no issues at all.

Swarovski CL Companion: Performance

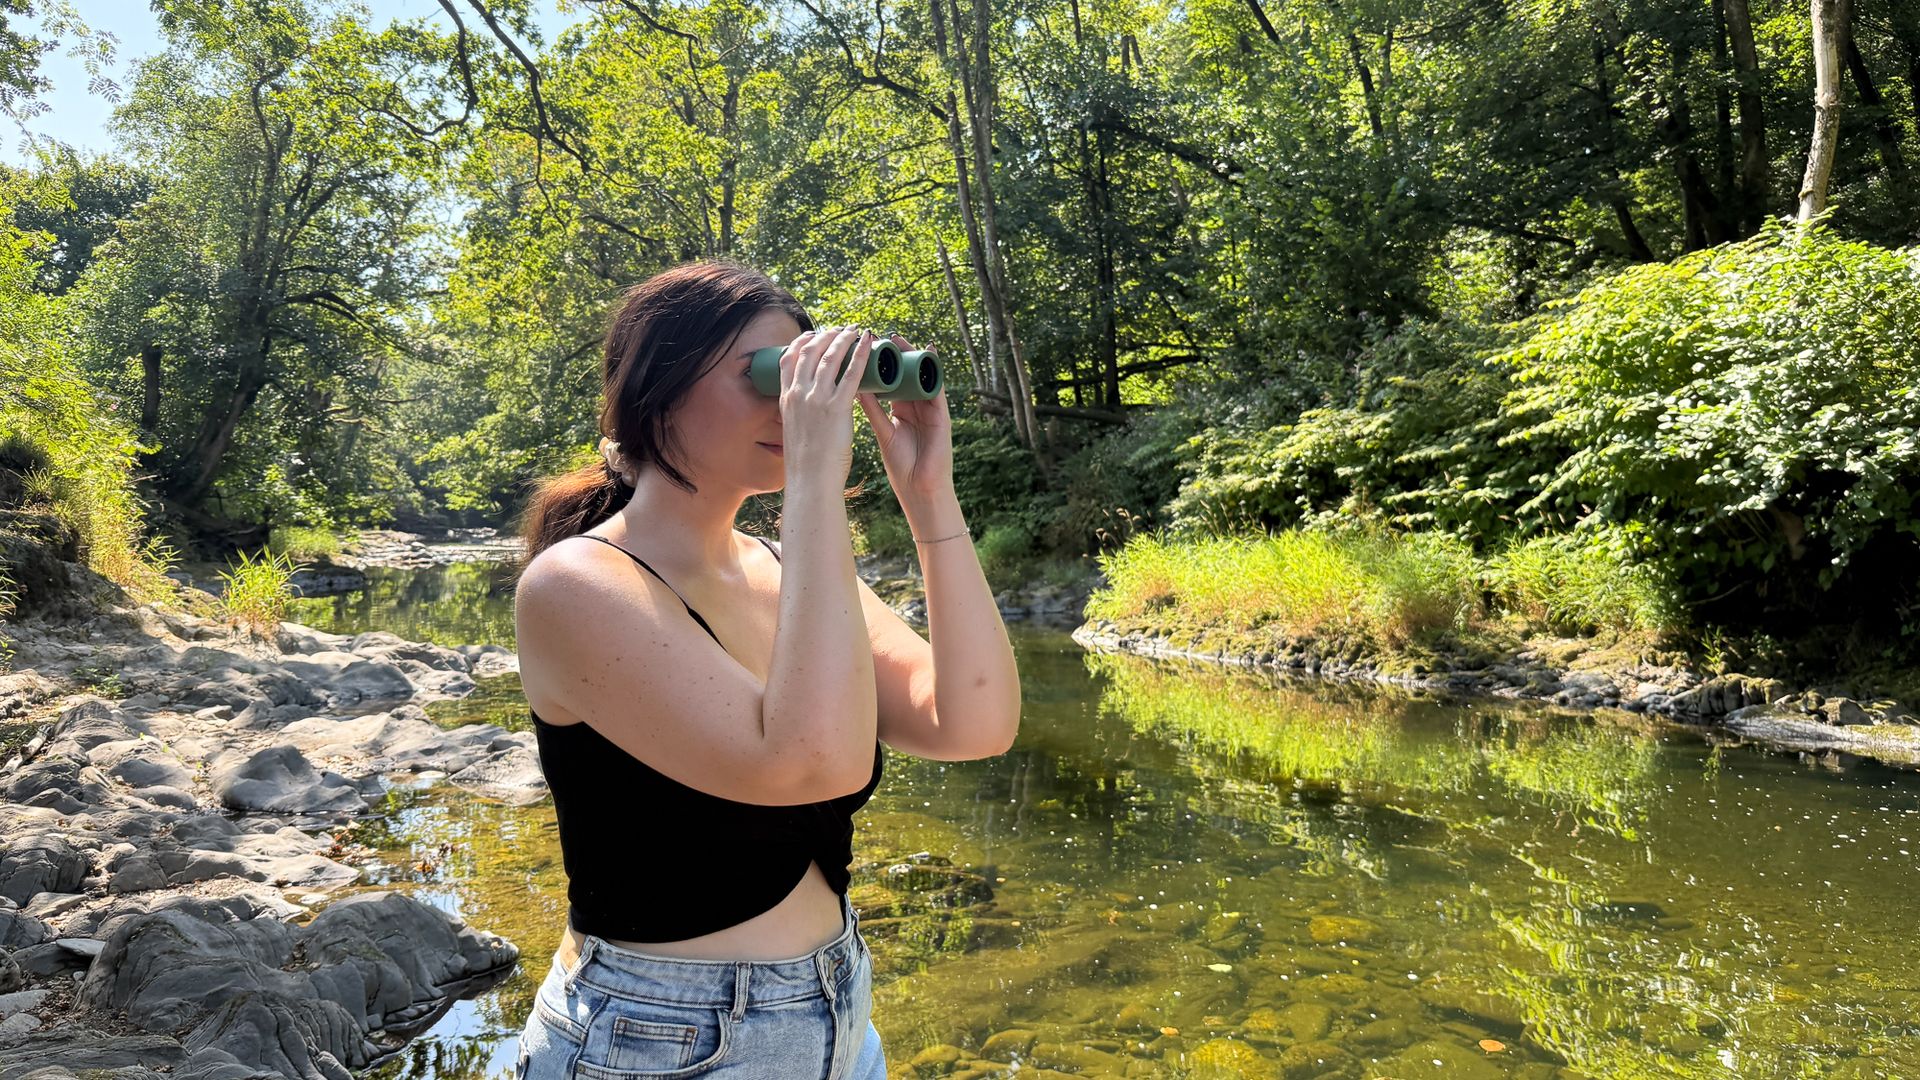
woman using the Swarovski CL Companion 8x30 by a river
Swarovski CL Companion 8x30Kimberley Lane
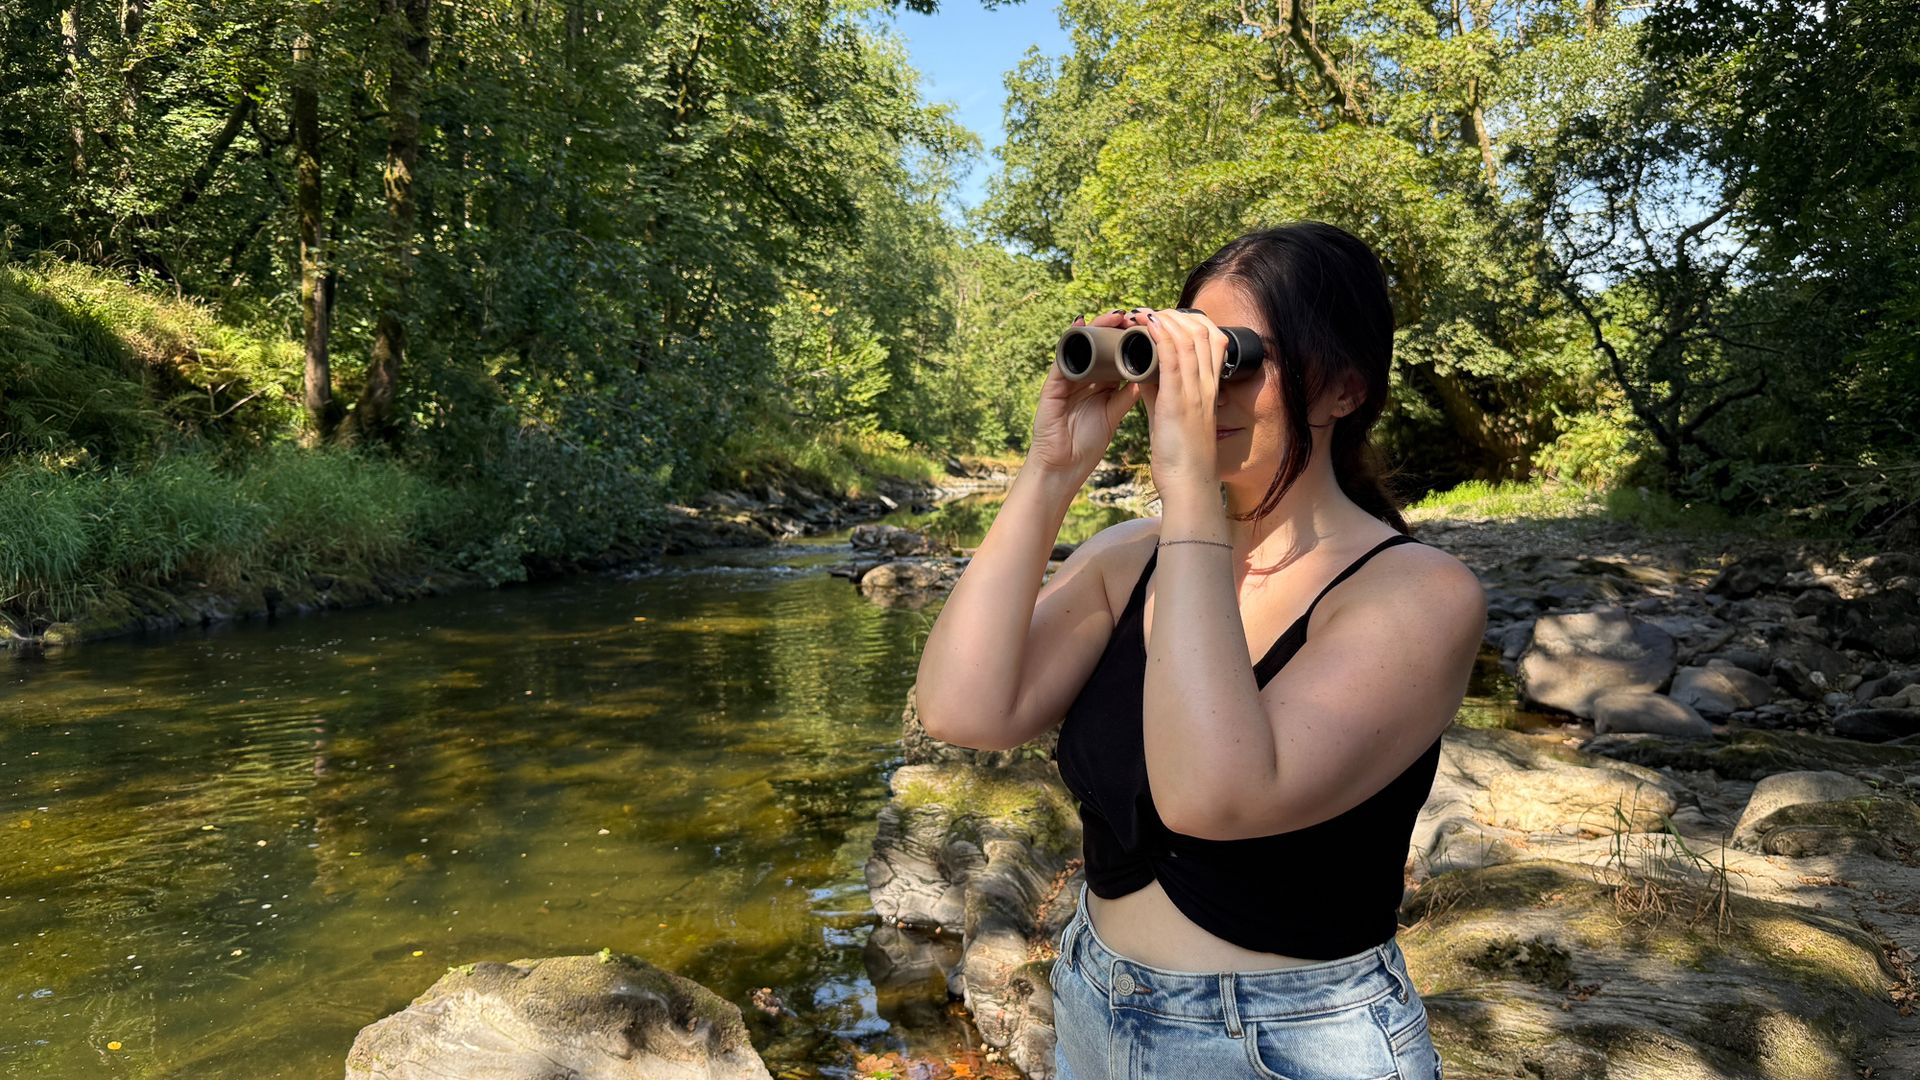
woman using the Swarovski CL Companion 8x30 by a river
Swarovski CL Companion 10x30Kimberley Lane
  • Sharp optics throughout the image circle
  • Minimal defects
  • Excellent for daytime birding

Out in the field, the CL Companions proved to be particularly well suited to daytime birding β€” although with 90% light transmission, they'll still hold their own at dawn or dusk. Both the 8x30 and 10x30 had a clear, sharp image, with plenty of detail across the image circle. The 8x30 felt particularly easy to use when trying to pick up birds quickly, while the 10x30's extra magnification was great for getting a closer look at more distant subjects.

The color reproduction was natural, and the views had good contrast without looking over-processed. Fine details on feathers were easy to pick out, even on smaller birds. There was a tiny sliver of color fringing towards the edges in high-contrast situations, but it didn't spoil the view whatsoever, and you'd only notice it if you were actively looking for it (which we were). Every time we have used a pair of Swarovski binoculars, there's a three-dimensional viewing experience and depth to the image that you just don't get with cheaper brands.

Both models performed well in the bright daylight conditions we were using them in, both in terms of optical clarity and comfort when using them for longer periods. Their small size and light weight meant we could comfortably track birds in flight without having to take breaks, which is often a dealbreaker when it comes to choosing a pair of birding binoculars.

Swarovski CL Companion: Functionality

Swarovski CL Companion 10x30 and bag on a rock
Swarovski CL Companion 10x30Kimberley Lane
Swarovski CL Companion 8x30 and bag on a rock
Swarovski CL Companion 8x30Kimberley Lane
  • Wide field of view for birding
  • Waterproof down to 13 ft/4 m
  • 3m close focusing distance

The wide field of view is one of the more useful features for birding. The 8x30 has a 549 ft (140m) FOV, while the 10x30 has 377 ft (115m) β€” both of which are wider than the original generation of CL Companion. Both made it easy to find birds when scanning trees and bushes, and there was enough space around the subject to follow them easily after they took flight.

The close focusing distance of 9.8 feet (3m) was also handy when birds came closer, and enables you to observe insects like bees and butterflies without spooking them by getting too close. And with the smooth focus wheel, it was easy to change focus between the two distances.

Both models are waterproof down to 13 feet (4 m), which is likely more protection than most people will need, but it is reassuring when using them outdoors in the rain, or if you were to accidentally drop them in a puddle.

Should you buy the Swarovski CL Companion?

On paper, they tick all the boxes. The optics are excellent, and they're lightweight and easy to carry. But with Swarovski being very upfront about the fact that it’s going after a younger audience with these CL Companions, we have to wonder what young person would have a spare $1,500 to spend on a pair of binoculars? It's not a small investment, so you'd need to be a dedicated observer to spend that kind of money.

That said, they're much more than your typical compact binoculars. They're a genuinely impressive binocular with stunning optics built into a small and compact package. Typically you need to compromise on one or the other, but the CL Companion gives you the best of both worlds.

If this product isn't for you

Swarovski NL Pure 8x42 on a white backgroundSomething more premium

Swarovski NL Pure 8x42

Dedicated birders who want a more premium option will want to look at the Swarovski NL Pure range. They're one of the best binoculars we've ever used, and you'd never have to buy another pair again. We tested the 8x32, but if you like to observe at dawn or dusk, the 8x42 would be ideal.

Read our full Swarovski NL Pure 8x32 review

Product photo of the Hawke Endurance ED 8x25Something more compact

Hawke Endurance ED 8x25

The Hawke Endurance ED 8x25 are tiny, pocket-sized compact binoculars with genuinely impressive optics. Our optics writer loved testing them so much she went out and bought herself a pair.

Read our full Hawke Endurance ED 8x25 review

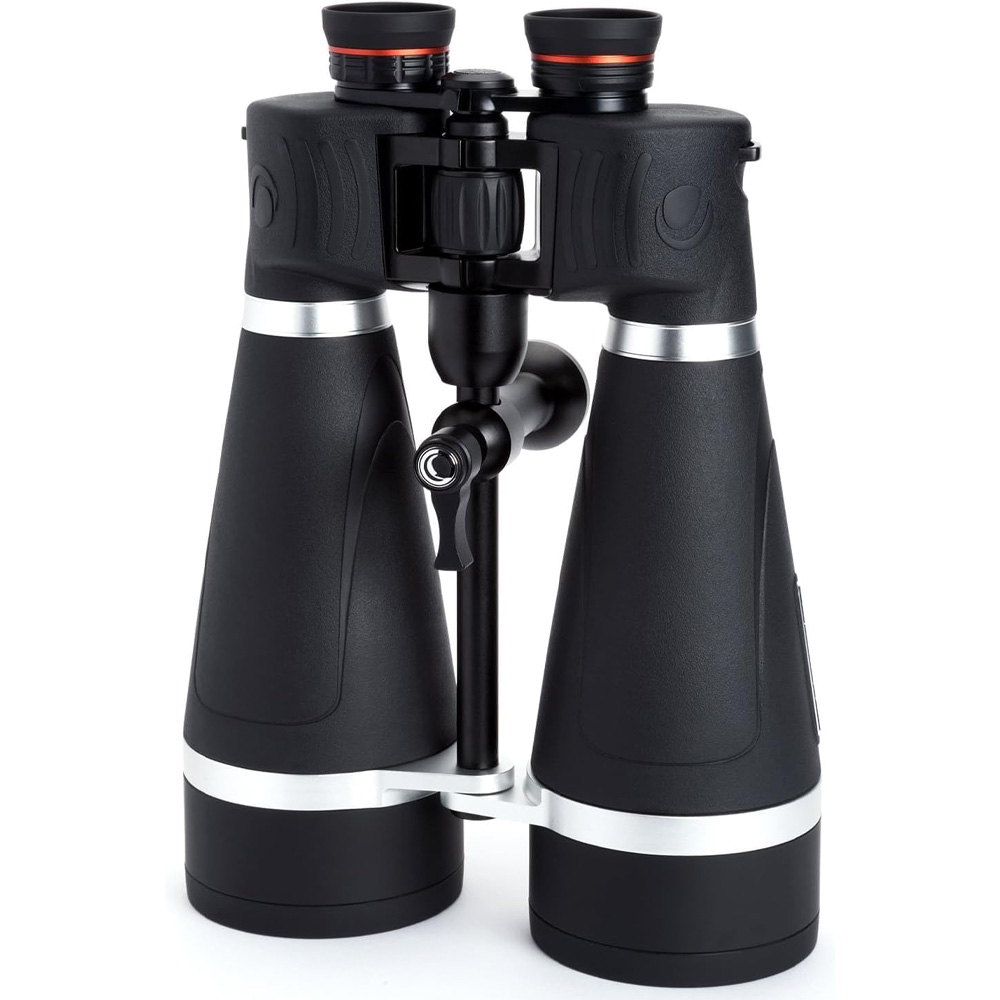
Celestron SkyMaster Pro 20x80 on a white backgroundSomething better for stargazing

Celestron SkyMaster Pro 20x80

Dedicated stargazing needs a bigger objective lens diameter β€” we love the Celestron SkyMaster Pro 20x80, although you'll need to mount them on a tripod.

Read our full Celestron SkyMaster Pro 20x80 review

  •  

Canon RF 20mm f/1.4L VCM review: Wide, bright and built for the dark

The Canon RF 20mm f/1.4L VCM is an intriguing lens for photographers who want a wide field of view without sacrificing aperture. Its f/1.4 maximum aperture makes it particularly appealing for astrophotography, while the 20mm focal length offers plenty of room for landscapes, architecture and other wide-view scenes.

We took the lens out to the dark skies of Wales to photograph the night sky and the Perseids, giving it a real-world test in some of the best conditions we could find.

With a premium L-series build and a price tag to match, there's a lot to consider before adding this lens to your kit. We wanted to find out how it actually performs in the real world, and whether it's worth the investment.

Canon RF 20mm f/1.4L VCM: Design

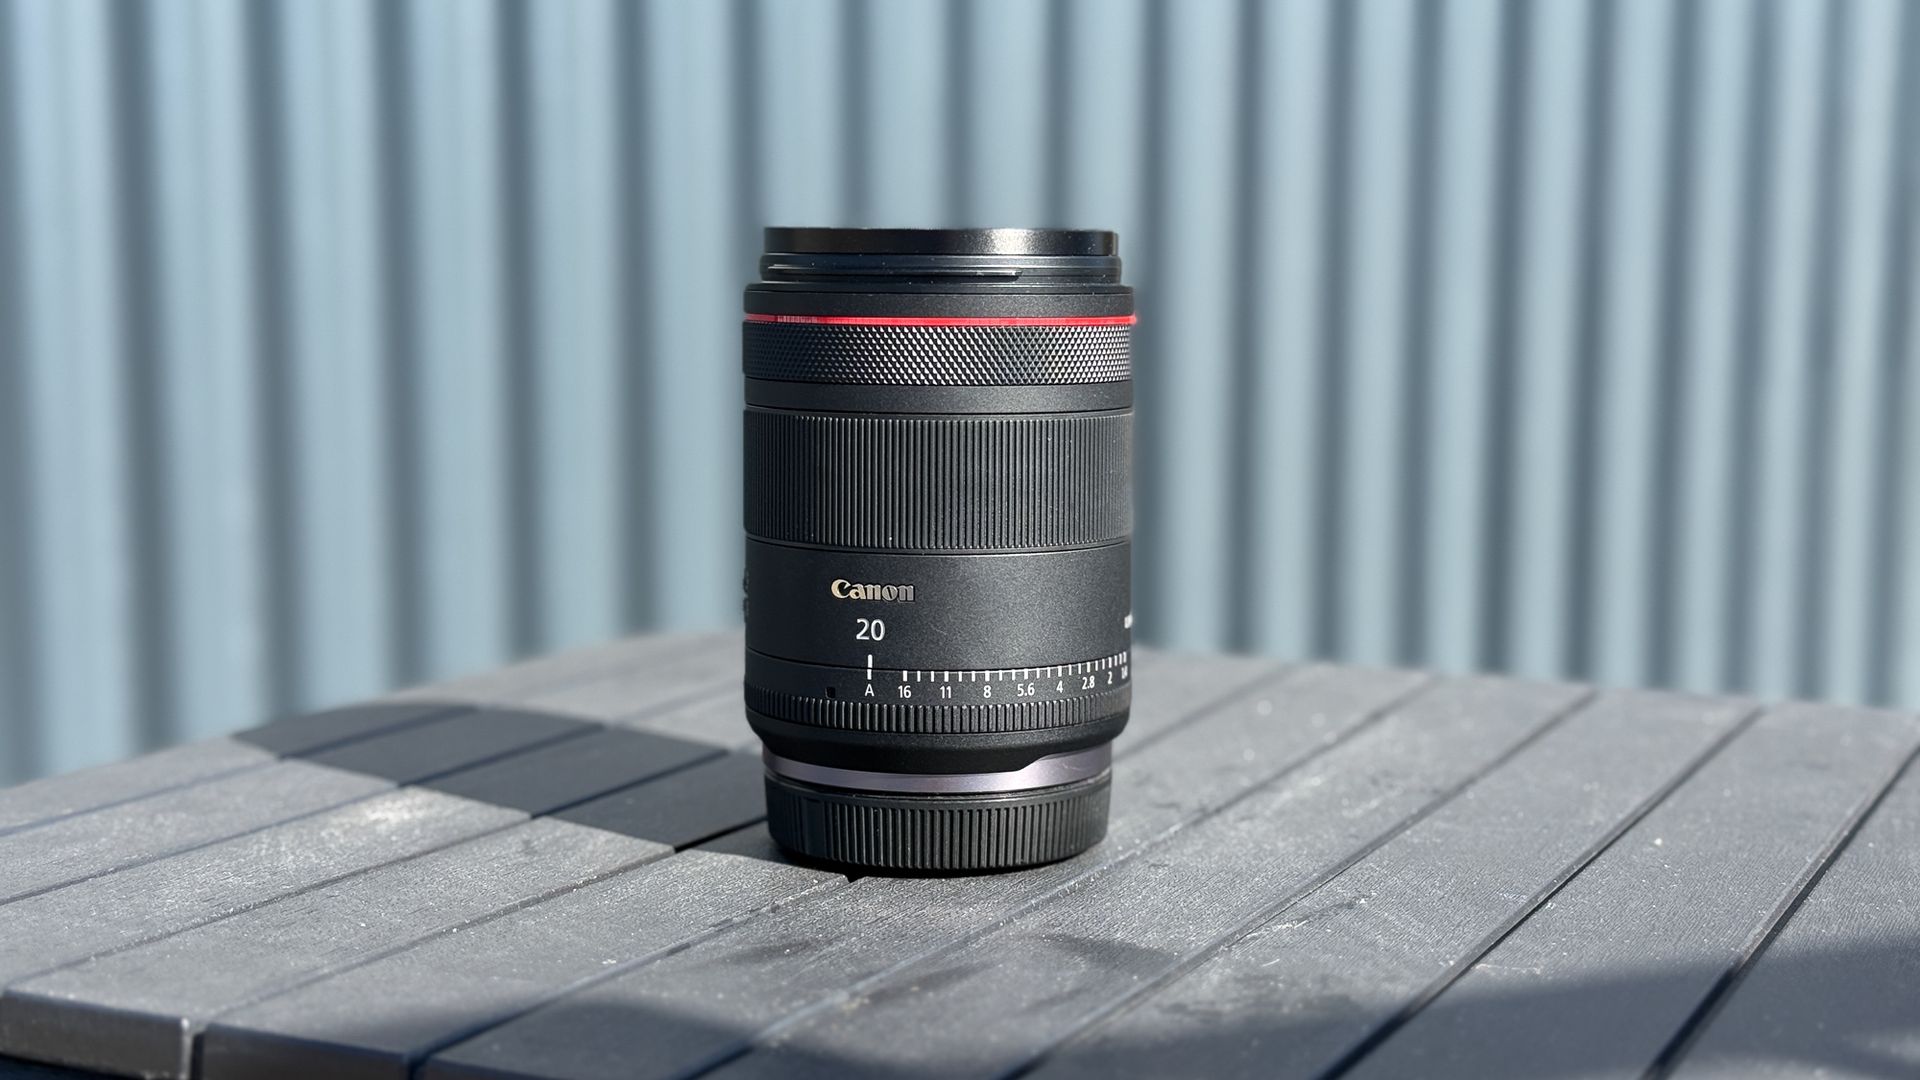
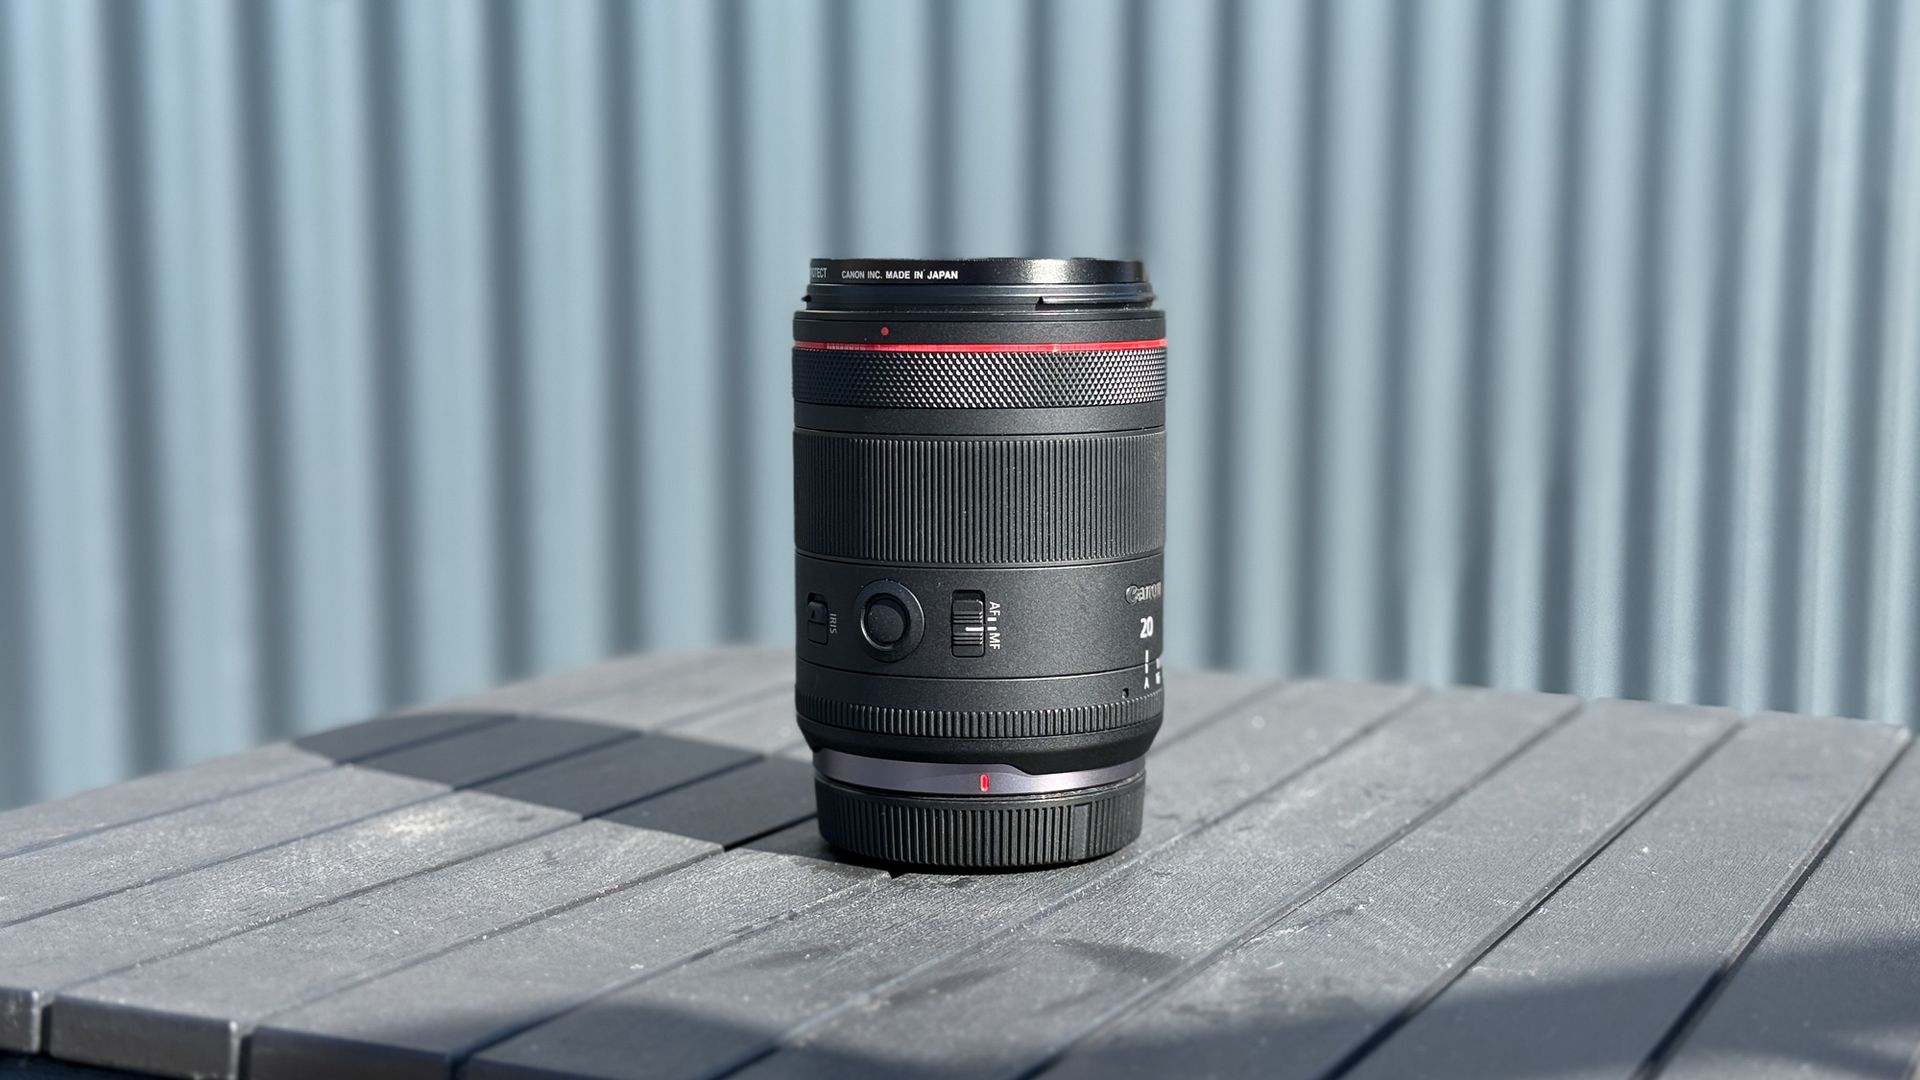
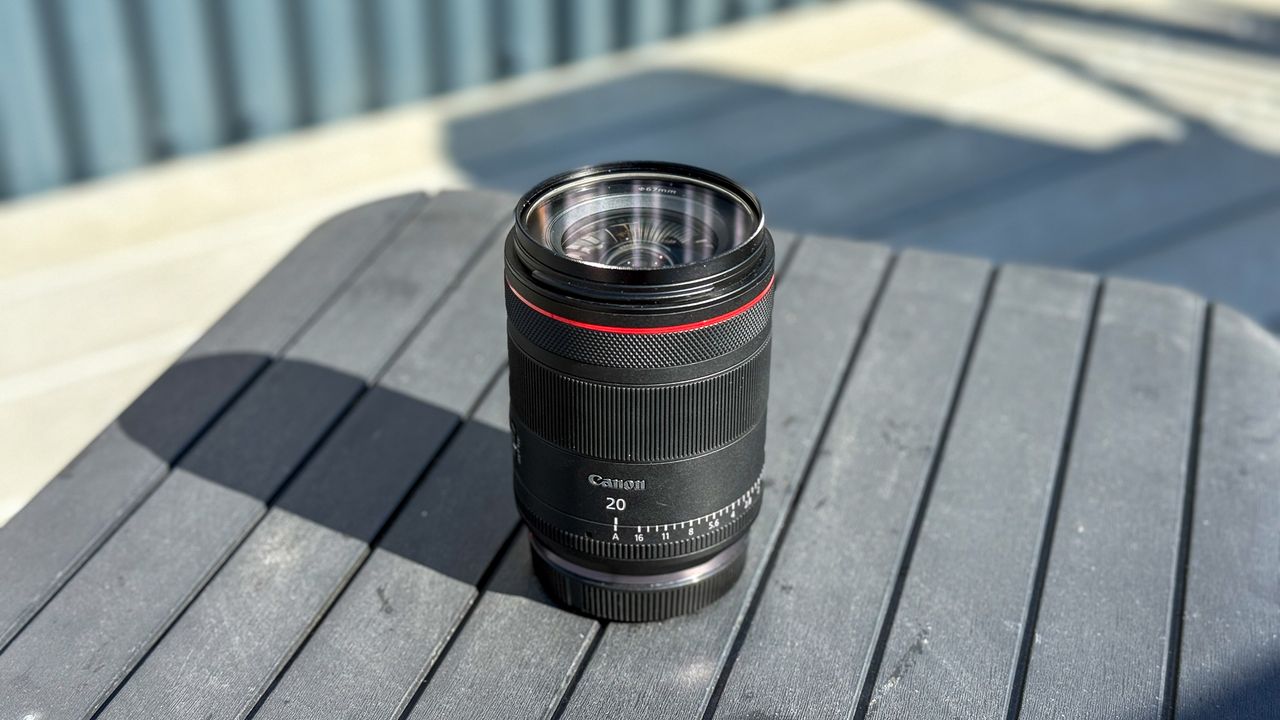
Canon RF 20mm f/1.4L VCM on a table

It's a nice size and weight, despite not being the smallest lens. (Image credit: Kimberley Lane)
  • Premium, solid build
  • Surprisingly manageable for an f/1.4 lens
  • A few small quirks keep it from being flawless

The Canon RF 20mm f/1.4L VCM feels like a proper L-series lens from the moment you pick it up. It's solid and reassuringly well-built, but it never felt excessively heavy or awkward on the camera. At 1.41 pounds (519 grams), it's certainly not a tiny 20mm prime, but the weight is well balanced and it was comfortable to carry and shoot with. And considering it'll often be used for astrophotography, it'll be on a tripod a lot of the time anyway.

The focus and control rings both feel smooth and nicely weighted, while the switches and customizable buttons are easy to find without having to look at the lens. The weather-resistant build is another bonus for outdoor shooting, which will come in handy if you also use the lens for landscapes where you might encounter inclement weather.

The dedicated aperture ring is also a nice feature, especially if you prefer having more physical controls rather than relying on the camera body and remembering which dial is set to each setting. Plus, the clickable nature of the aperture ring is an ASMR dream.

Canon RF 20mm f/1.4L VCM: Performance

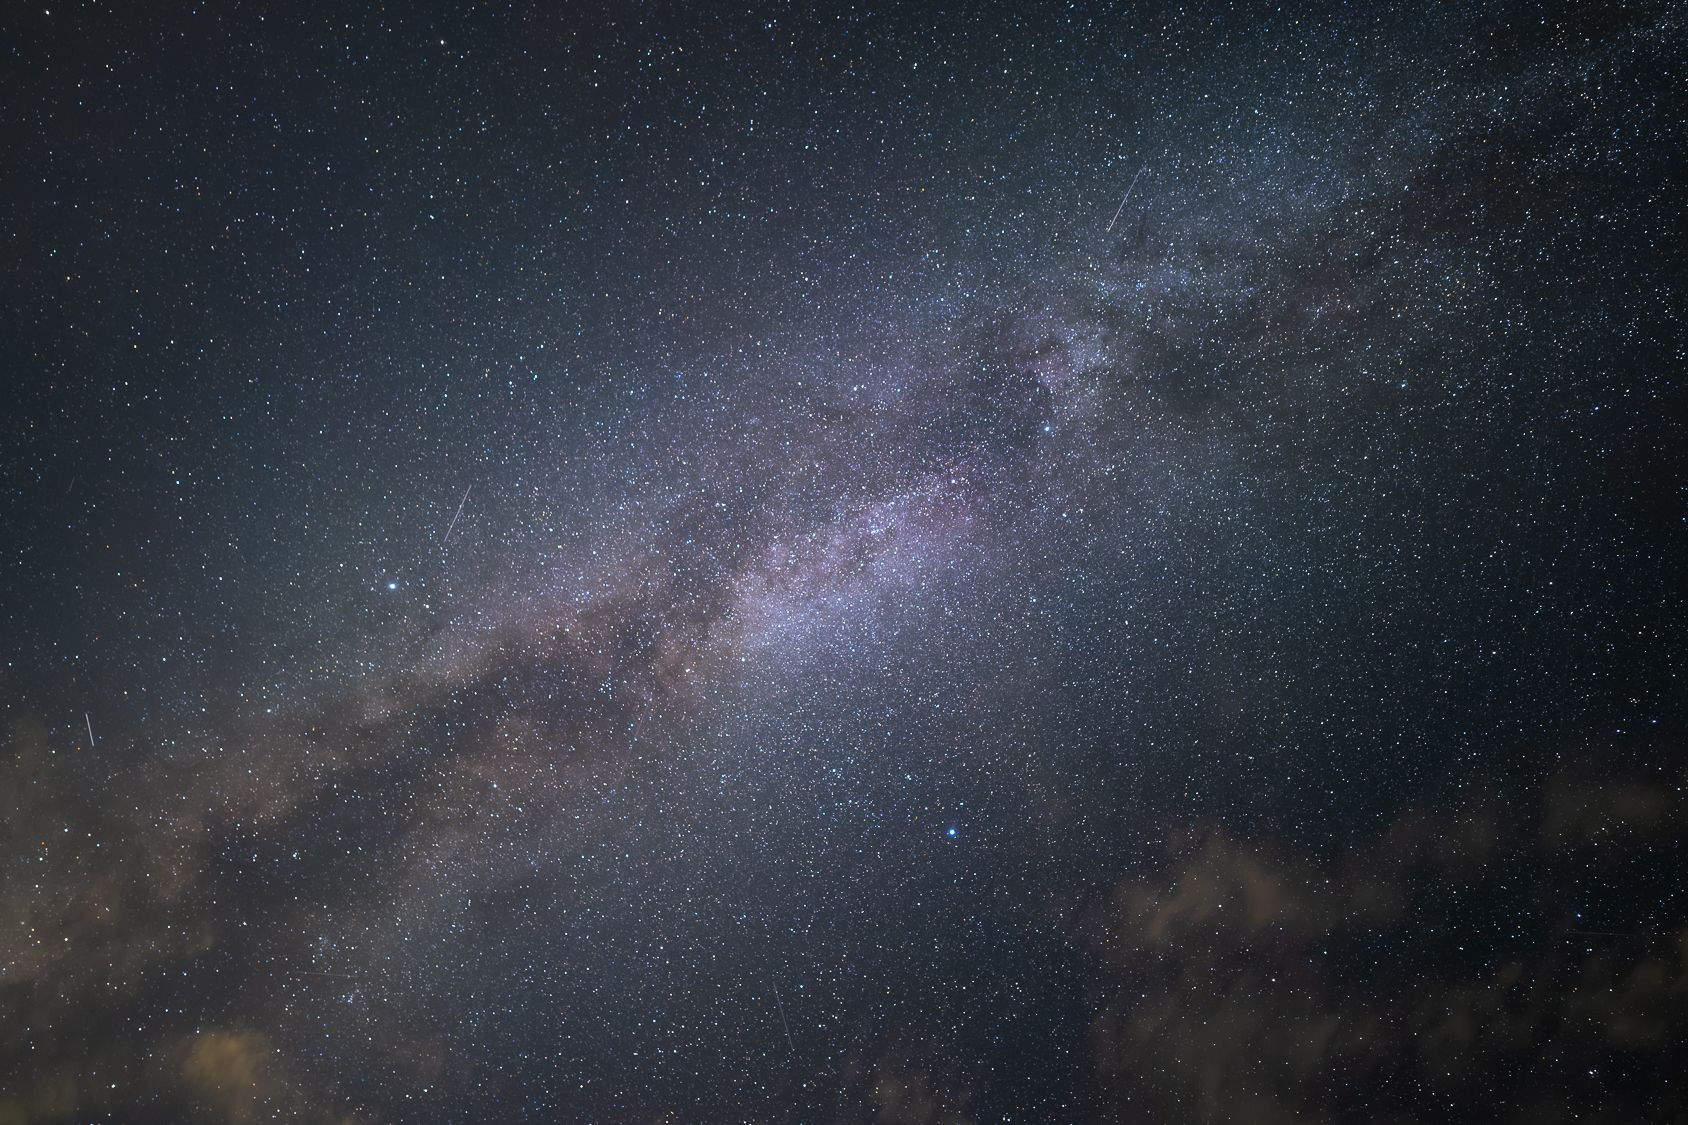
milky way

The wide 20mm focal length and fast f/1.4 aperture are perfect for astrophotography. (Image credit: Kimberley Lane)
  • Excellent low-light performance
  • Sharp in the center with some corner softness
  • f/1.4 makes a real difference under dark skies

A fast 20mm is a pretty exciting combination for astrophotography. It gives us plenty of sky to play with, while the f/1.4 aperture pulls in a lot of light. Under those dark skies, the Milky Way came through beautifully, with plenty of detail without needing to resort to boosting the ISO too high.

We took the lens out to Carmarthenshire in Wales under Bortle 3 skies to photograph the night sky during the peak of the Perseids, which also coincided with the new moon β€” the perfect recipe for astrophotography.

The center of the frame is where this lens is at its best. Stars are crisp and well-defined, which is exactly what we want from a lens that is being used for astrophotography. The edges aren't quite as impressive, though. There is some softness and a little stretching of the stars towards the outer parts of the frame, particularly when the lens is wide open. It's not enough to ruin an image, but it becomes obvious when zooming in and pixel-peeping at the corners.

Canon RF 20mm f/1.4L VCM: Functionality

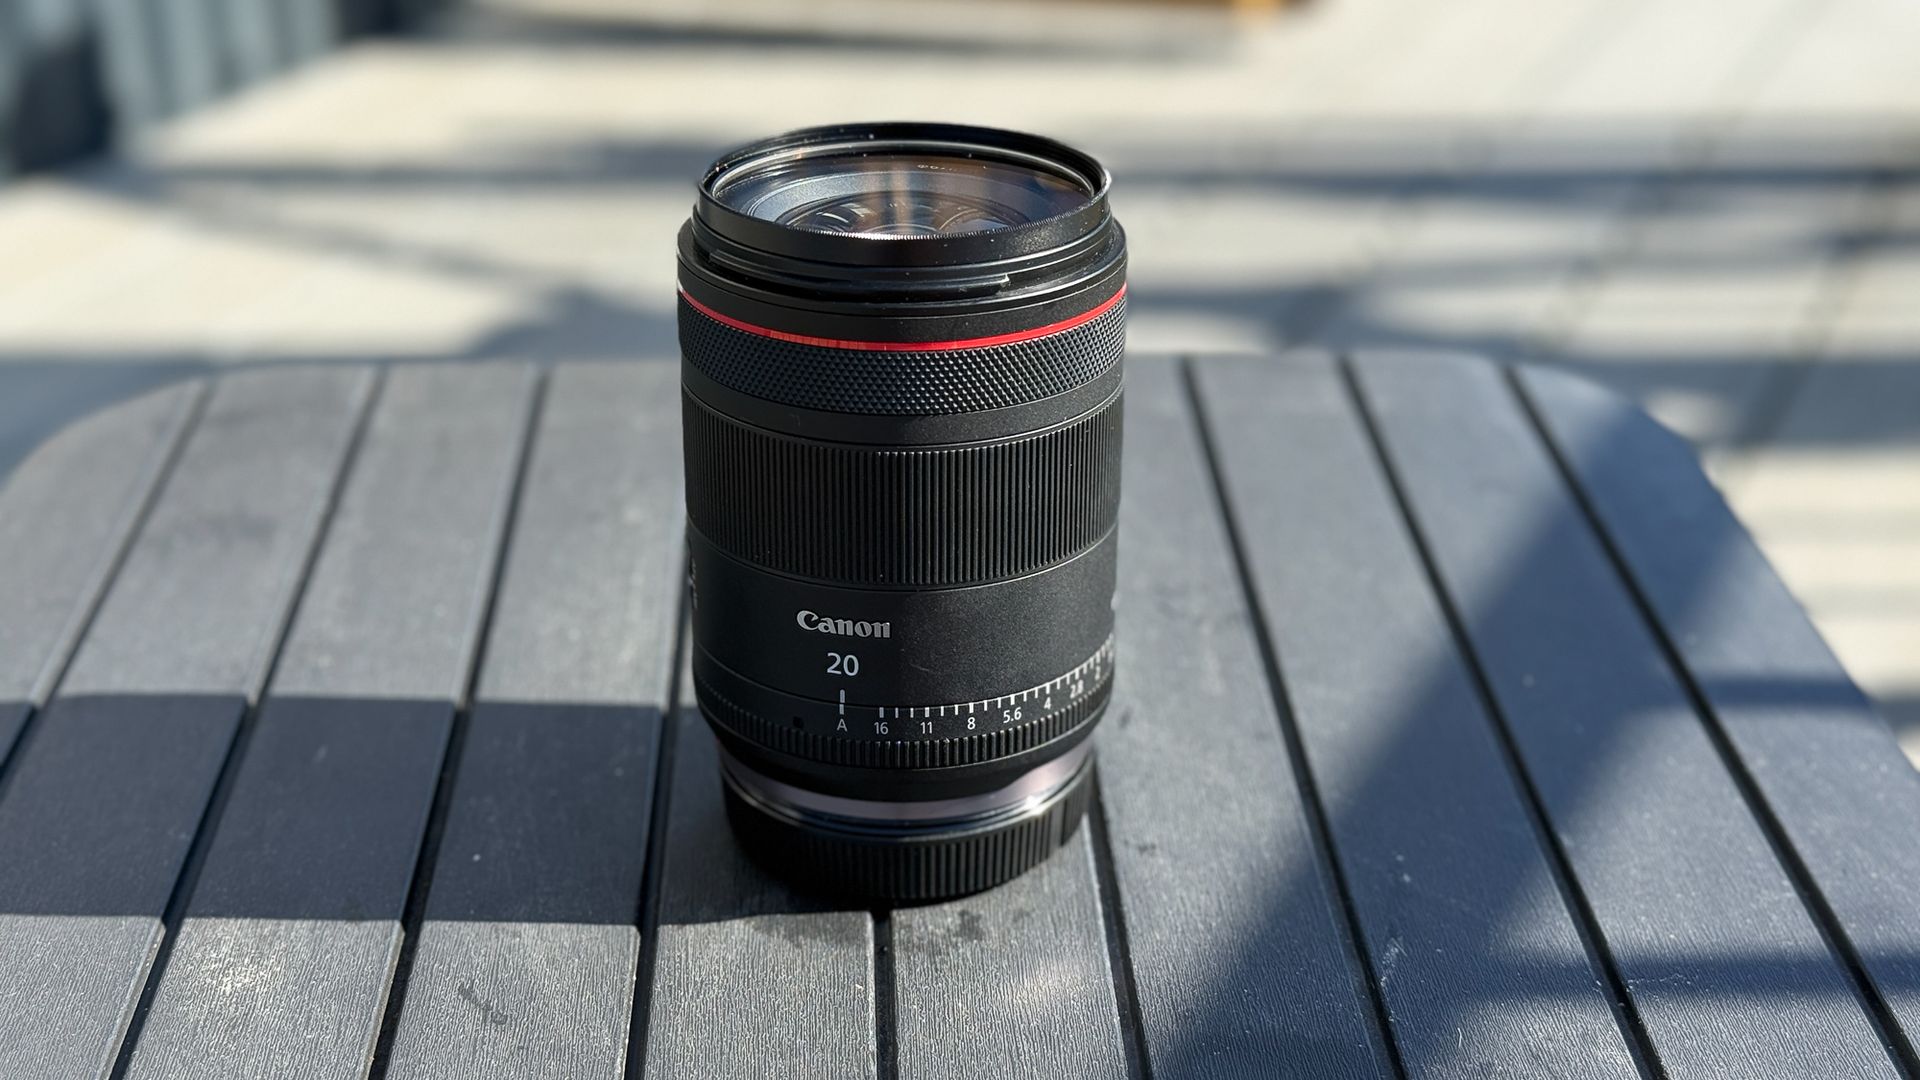
Canon RF 20mm f/1.4L VCM on a table
It's a very practical choice for everyday shooting.Kimberley Lane
Canon RF 20mm f/1.4L VCM on a table
Kimberley Lane
  • Quick and reliable autofocus performance
  • Customizable controls are genuinely useful
  • A practical choice for everyday shooting

The Canon RF 20mm f/1.4L VCM is very straightforward to use out in the field β€” especially in the dark. The autofocus was quick and reliable during testing, and for everyday shooting of landscapes, or even for video, this means there's very little to think about.

The customizable controls are useful, too. The lens function button and control ring can be assigned to different settings, allowing you to put the controls you use most within easy reach. It's a small thing, but being able to set the lens up around your personal shooting style makes it feel more intuitive and can save a surprising amount of time.

Key specifications:

Focal length: 20mm
Aperture: Constant f/1.4
Weight: 1.14 pounds (519 g)
Dimensions: 3 x 3.9 inches (76.5 x 99.3 mm)
Filter thread: 67 mm

The 67mm filter thread is another practical advantage, as it's a common filter size, so you won't necessarily need to invest in an entirely new set of filters if you already own that size.

The lens doesn't feature a ton of bells and whistles, but that's not a bad thing. It's designed to be picked up and used without much fuss, and after spending time with it, we found that its simplicity is one of its strengths.

Should you buy the Canon RF 20mm f/1.4L VCM?

The Canon RF 20mm f/1.4L VCM lens makes the most sense for photographers who regularly work in low light or want a dedicated wide-angle prime. Astrophotographers are likely to get the most from it, but it also has plenty to offer for landscapes, architecture, interiors and environmental photography.

Its biggest appeal over a zoom is its f/1.4 aperture. If you already have a wide-angle zoom but regularly find yourself having to bump up your ISO in low light, this lens fills that gap while also offering the control of a fast prime.

However, it's a fairly specialist addition to a lens lineup, and the price makes it tricky to justify if you only occasionally shoot wide. If you need the flexibility of changing focal lengths, or if you primarily shoot distant subjects, you'd be served better by a zoom or longer lens

If this lens isn't for you

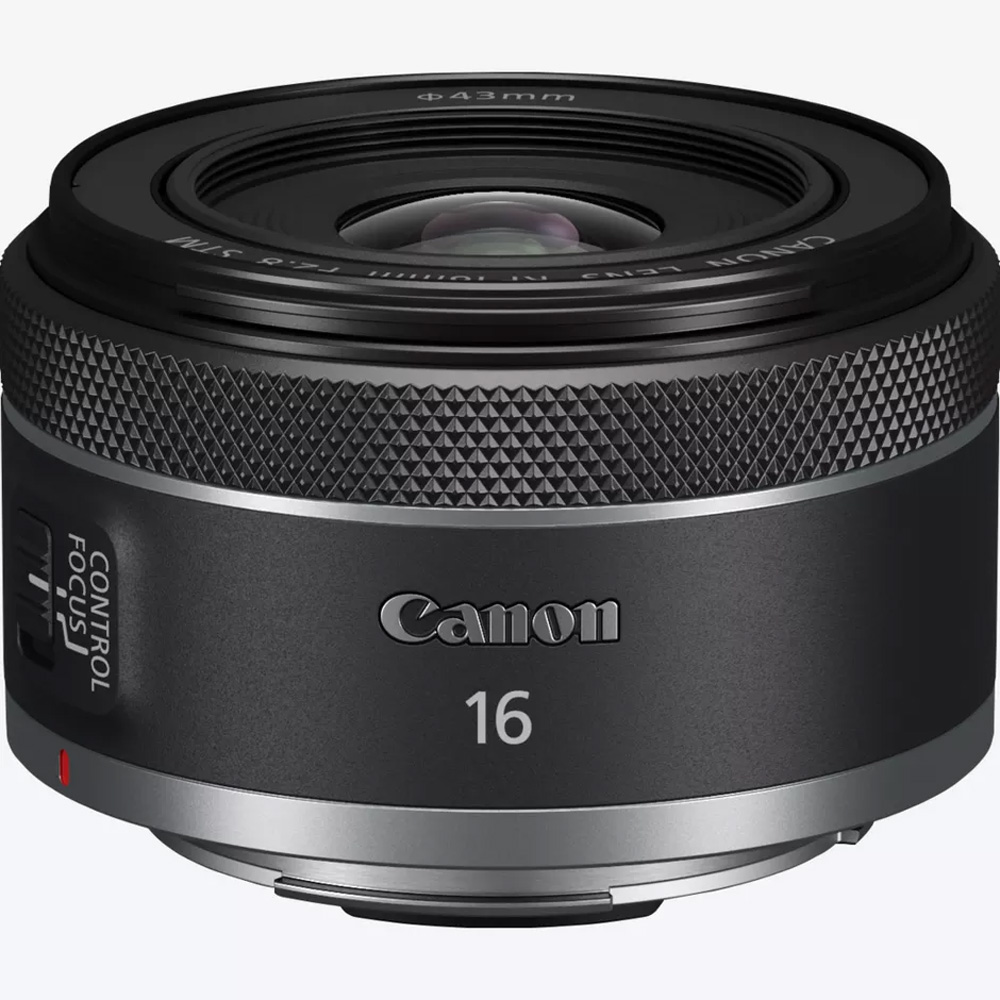
Canon RF 16mm f/2.8 STM on a white backgroundCheaper option

Canon RF 16mm f/2.8 STM

The Canon RF 16mm f/2.8 STM is a much more affordable way into Canon's full-frame RF wide angle range, and it's much smaller and lighter. It lacks the 20mm f/1.4L's fast aperture, L-series glass and premium build, but if you're just starting out, or you only occasionally shoot wide, it could be a better option.

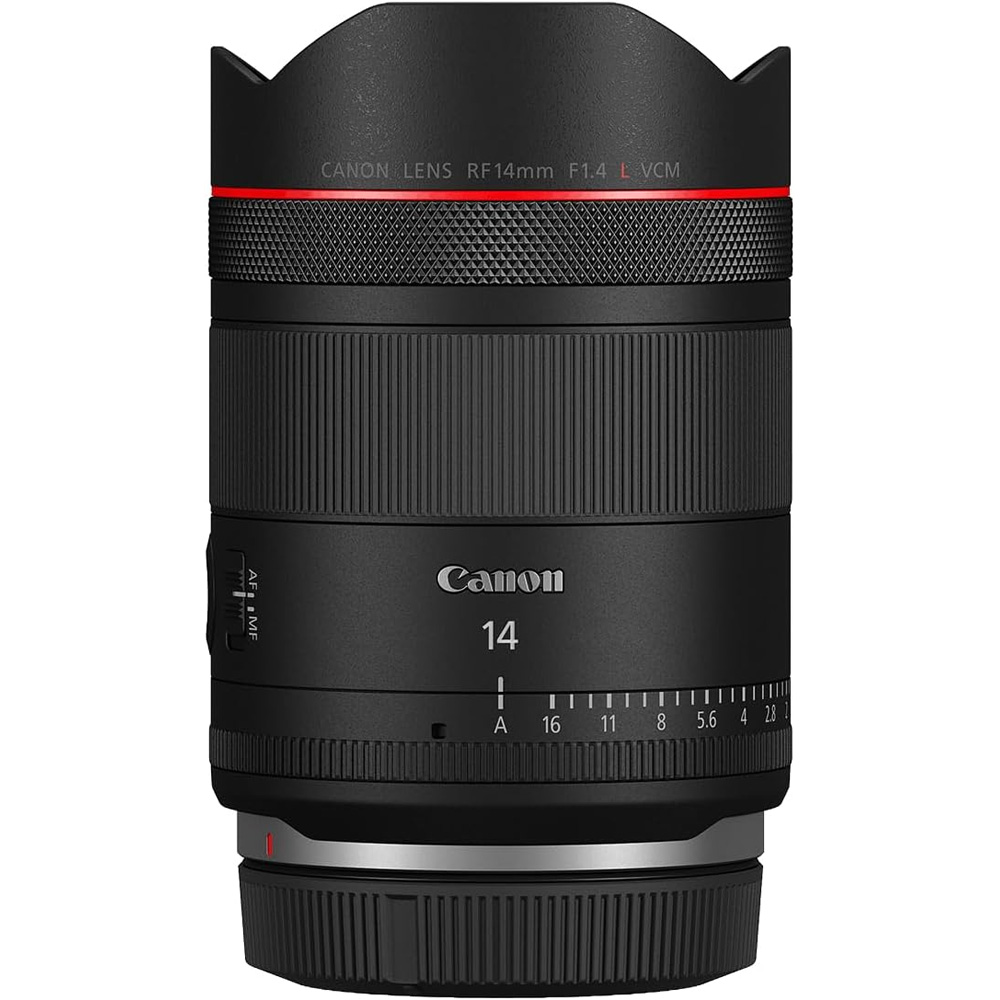
Canon RF 14mm f/1.4L VCM on a white backgroundIf you want to shoot wider

Canon RF 14mm f/1.4L VCM

If 20mm isn't wide enough, the Canon RF 14mm f/1.4L VCM gives a noticeably more expansive view while keeping the same fast f/1.4 aperture. It's a slightly more specialist choice for dedicated astrophotographers who want to capture as much sky or landscape as possible.

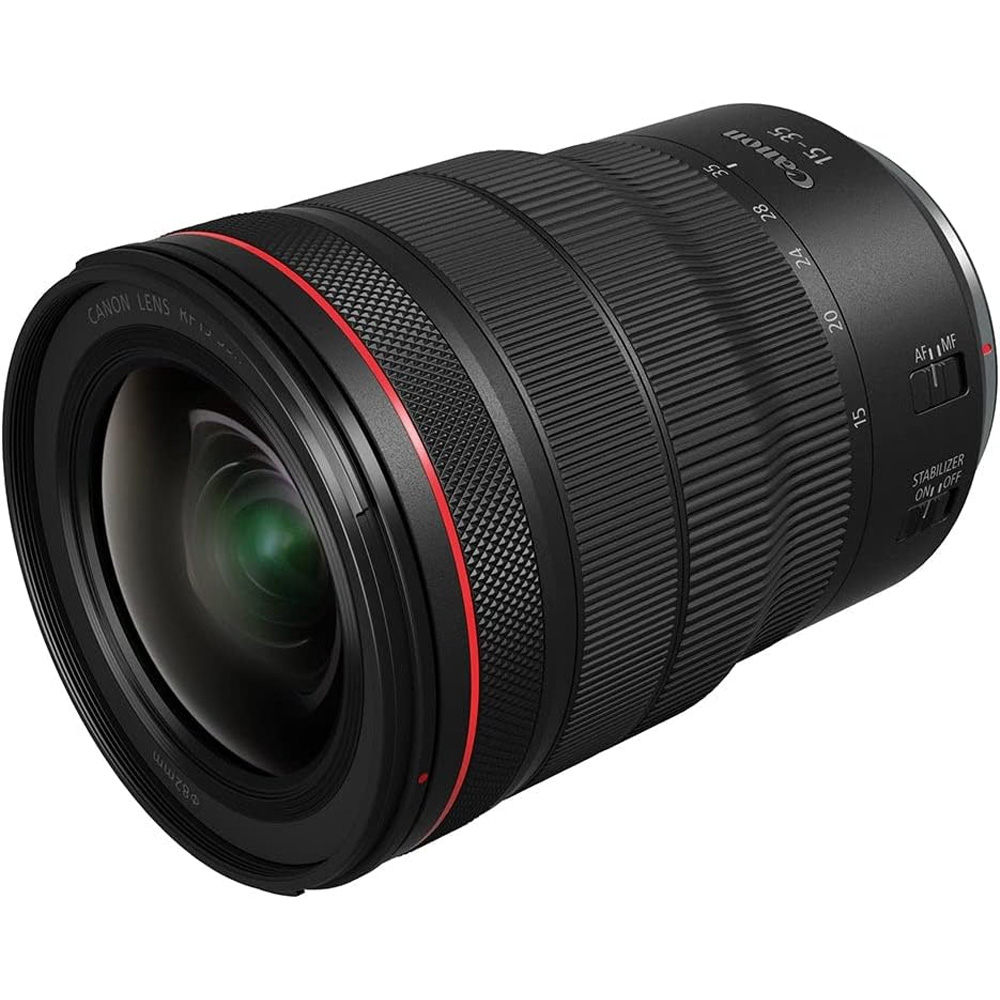
Canon RF 15-35mm F2.8 L is USM on a white backgroundIf you want more versatility

Canon RF 15-35mm F2.8L IS USM

If you don't want to be stuck with one focal length, the Canon 15-35mm f/2.8L IS USM is the obvious choice for astrophotographers. The focal range covers a much wider variety of photography styles, making it more practical for everyday shooting.

  •  
❌